


Want to transform Easter eggs into little works of art with minimal effort? A surprisingly simple hack using shaving foam will help you create bright and unique Easter eggs that captivate at first sight. At Joy-pup, we are ready to reveal all the secrets of this creative process.
Easter Eggs with Shaving Foam – Step-by-Step Guide

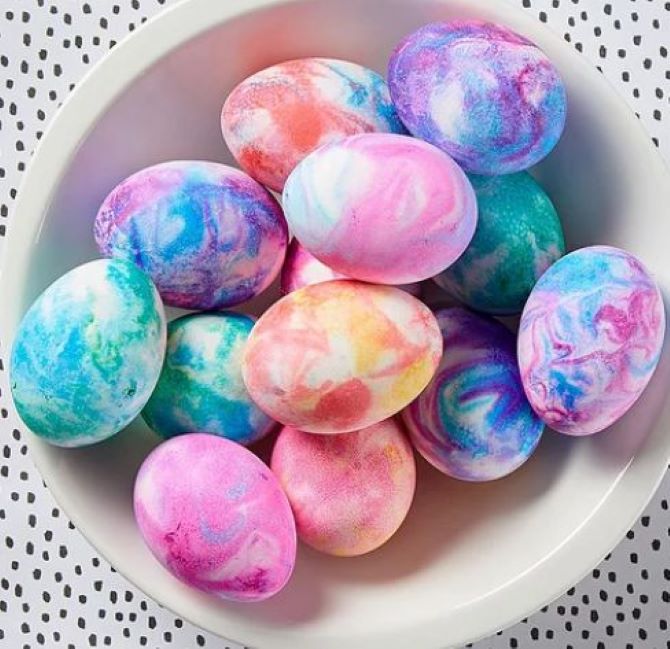
Every year, we strive to surprise our loved ones with original Easter eggs—whether with classic patterns or bold experiments. With just a little shaving foam, you can give your Easter eggs an impressive design. This method is incredibly simple, making it a delight for children as well. Follow our step-by-step tutorial on how to dye Easter eggs using shaving foam.
What You’ll Need:
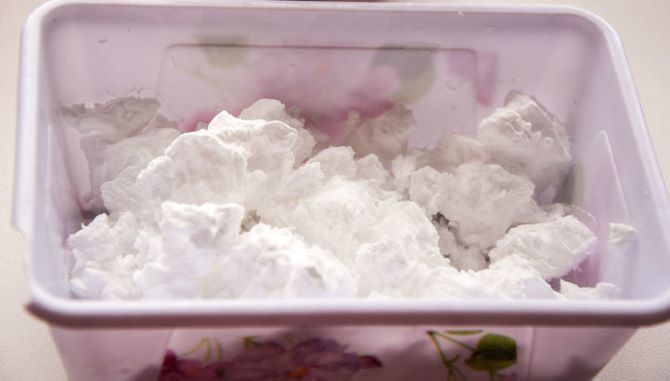
- A can of shaving foam
- A container
- 2–3 food colorings
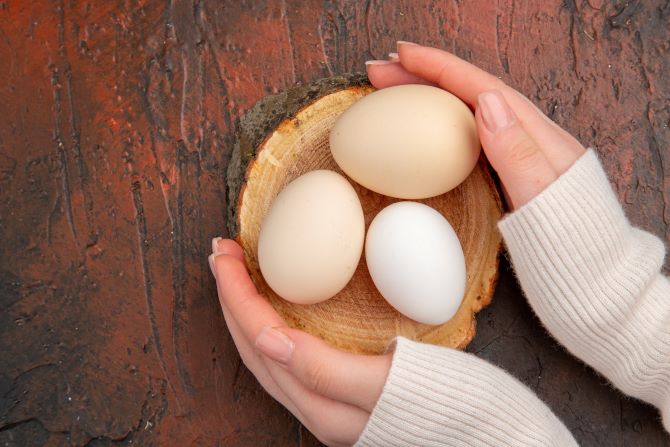
- Hard-boiled eggs
Step-by-Step Instructions:
1. Boil the eggs for about 12–15 minutes after the water starts boiling, then let them cool completely.
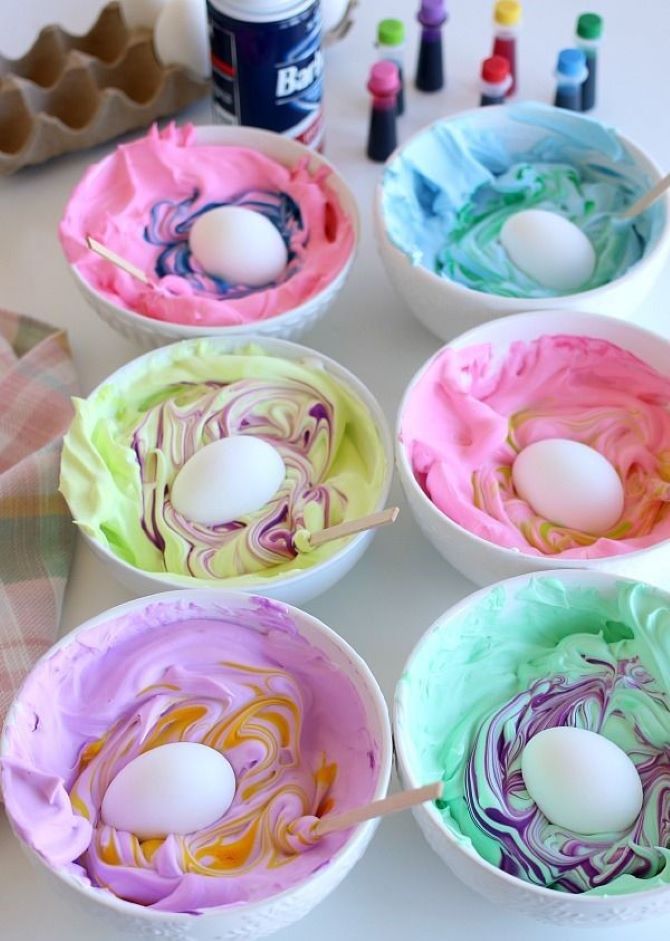
2. Take a container and spray shaving foam into it, creating a layer of the desired thickness.
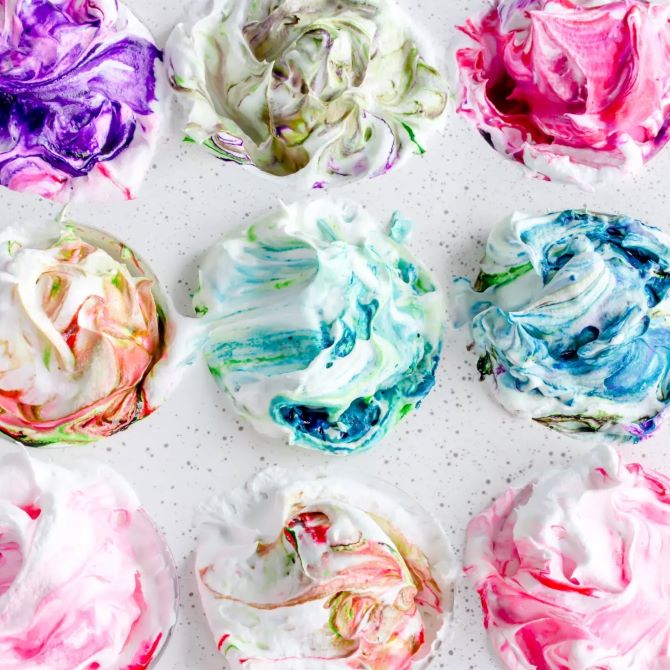
3. Add a few drops of food coloring to the foam (you can mix different colors for an interesting effect) and gently stir to distribute the dye, forming abstract patterns.

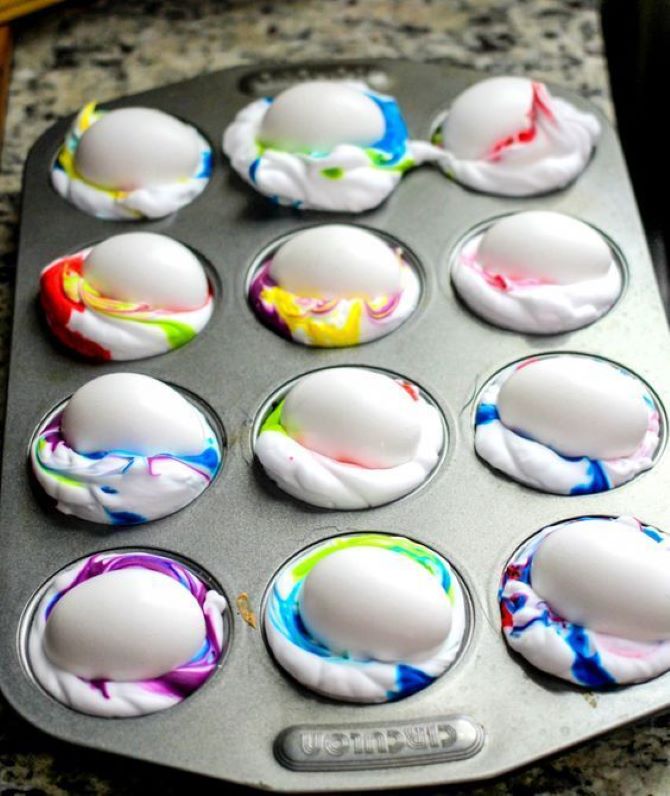
4. Place the boiled eggs into the foam and carefully roll them around so the mixture covers the shell completely.
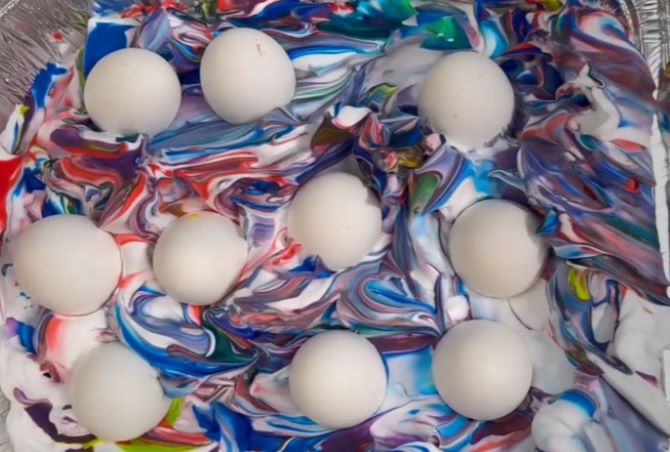
5. Leave the eggs in the foam for 10–20 minutes to allow the dye to absorb.
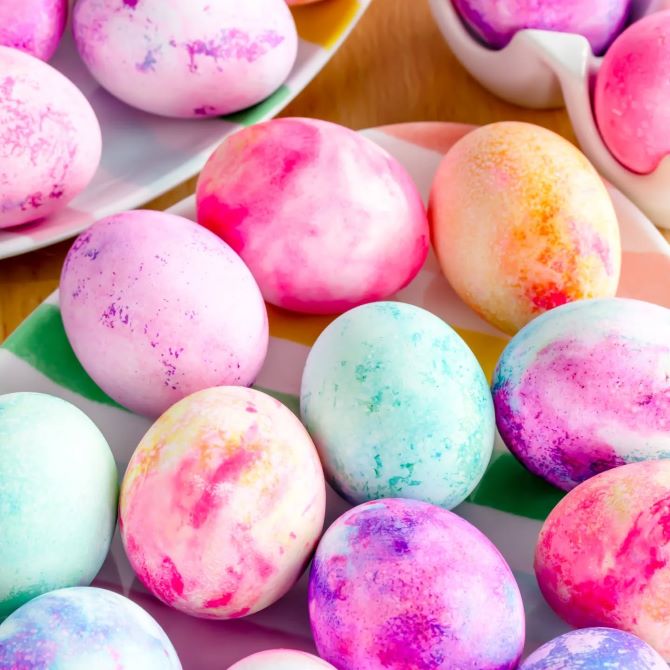
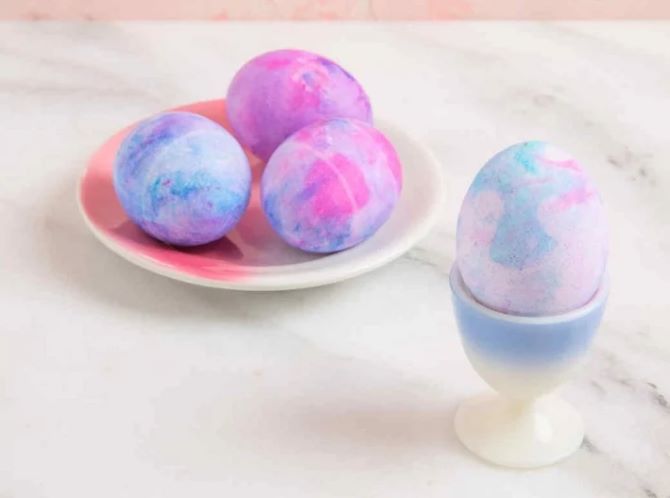
6. Remove the eggs and rinse them under running water—revealing a unique marbled design!


Only registered users can leave comments