Halloween is a great time to unleash your creativity and create unique decorations for your home. One of the most popular and simple DIY crafts is a gauze ghost. It will add a spooky touch to your decor and perfectly complement the festive atmosphere. At Joy-pup, we will show you how to quickly and easily make such a ghost with your own hands, using a minimal amount of materials.

How to Make a Gauze Ghost
Materials:
- Gauze
- PVA glue
- Water
- An empty glass jar
- A foam ball (4 cm in diameter or any size of your choice)
- Plastic wrap
- Black felt
- A deep container
- A stirring stick
Step-by-Step Guide
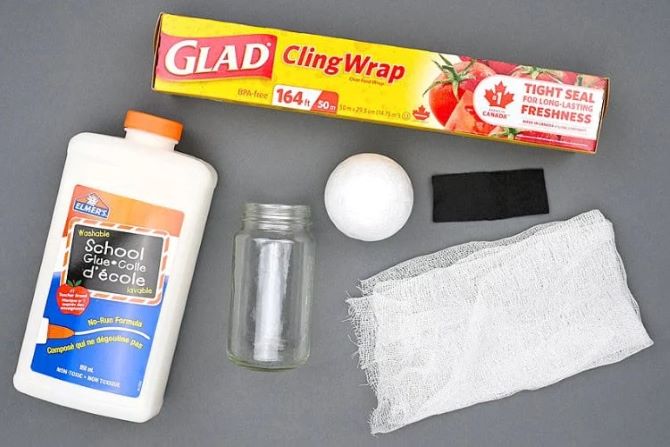
Step 1. Prepare the necessary tools and materials.
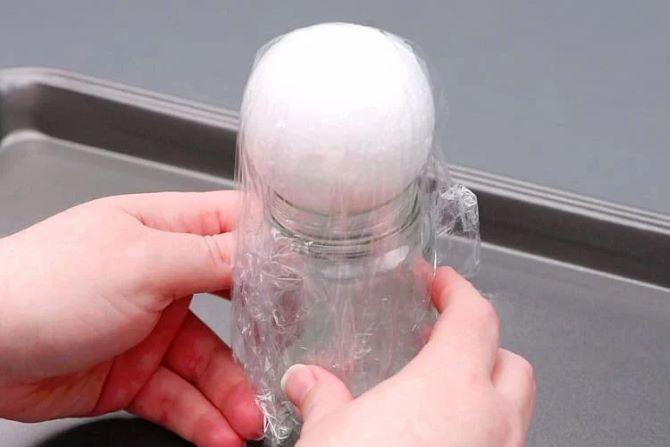
Step 2. Take the jar and place the foam ball on its neck. Cover both the ball and the jar with plastic wrap to protect them from glue.
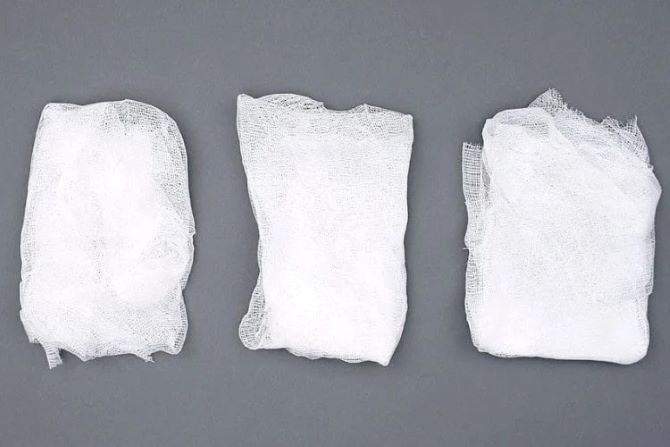
Step 3. Cut three pieces of gauze, each measuring 30×30 cm, to cover the shape of the future ghost.
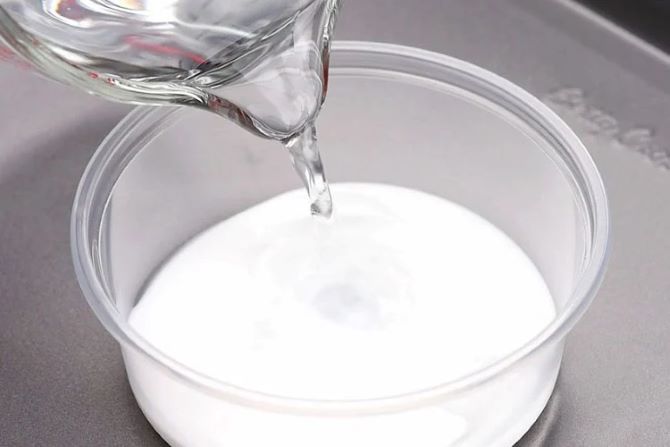
Step 4. Pour some glue (about 1/3 cup) into the container. Then add a bit of water and mix thoroughly until smooth.
Step 4. Take one piece of gauze and dip it into the glue mixture. Squeeze out the excess glue, so the fabric is slightly damp.
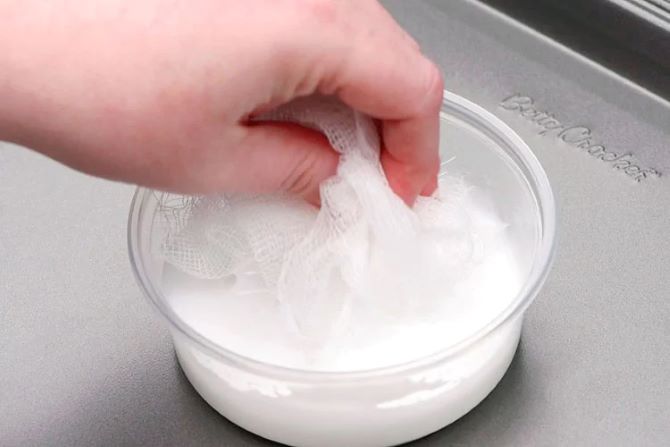
Step 5. Unfold the damp gauze and place its center over the foam ball. Gently spread the fabric over the shape, creating light waves.
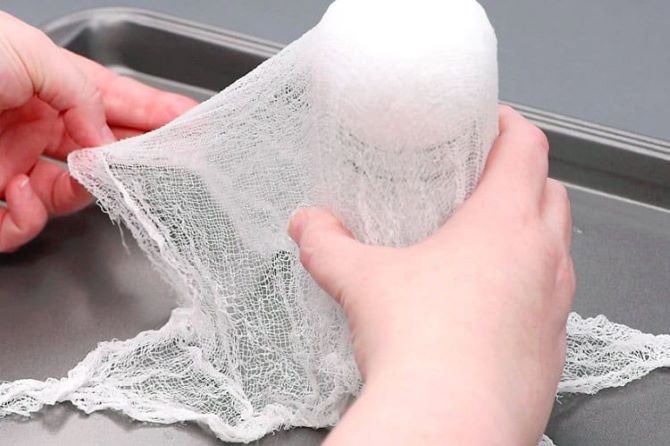
Step 6. Leave the ghost to dry for several hours.
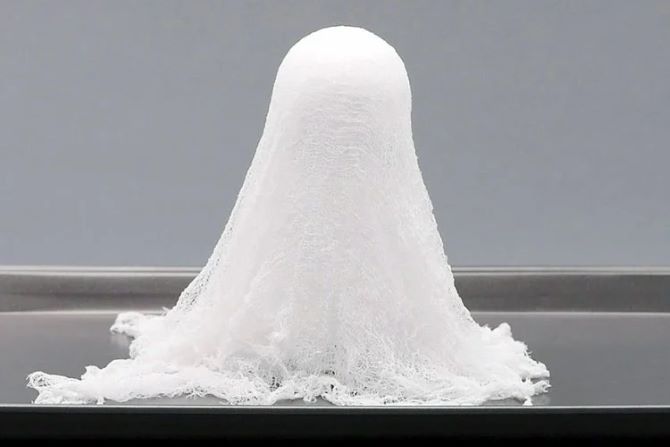
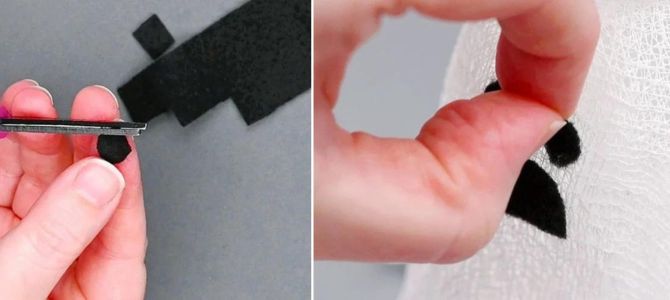
Step 7. Once the gauze is dry, cut out two eyes and a mouth from the black felt and glue them onto the ghost’s head.
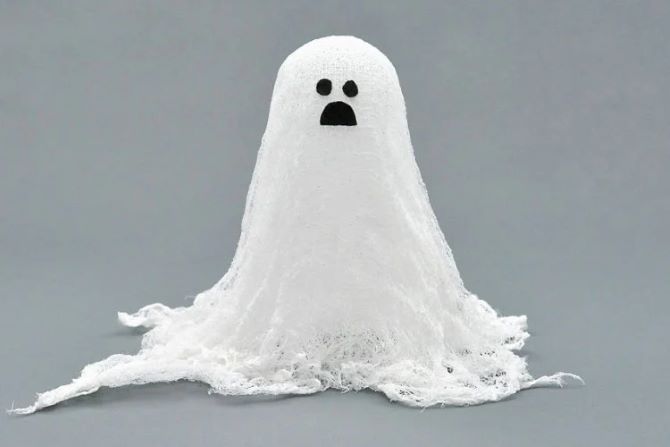
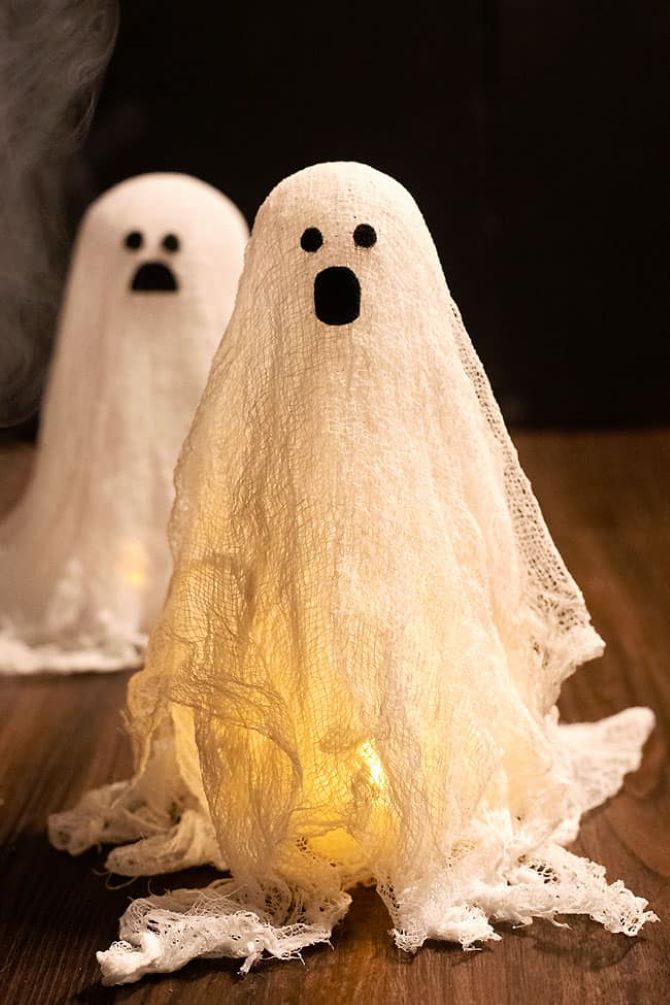
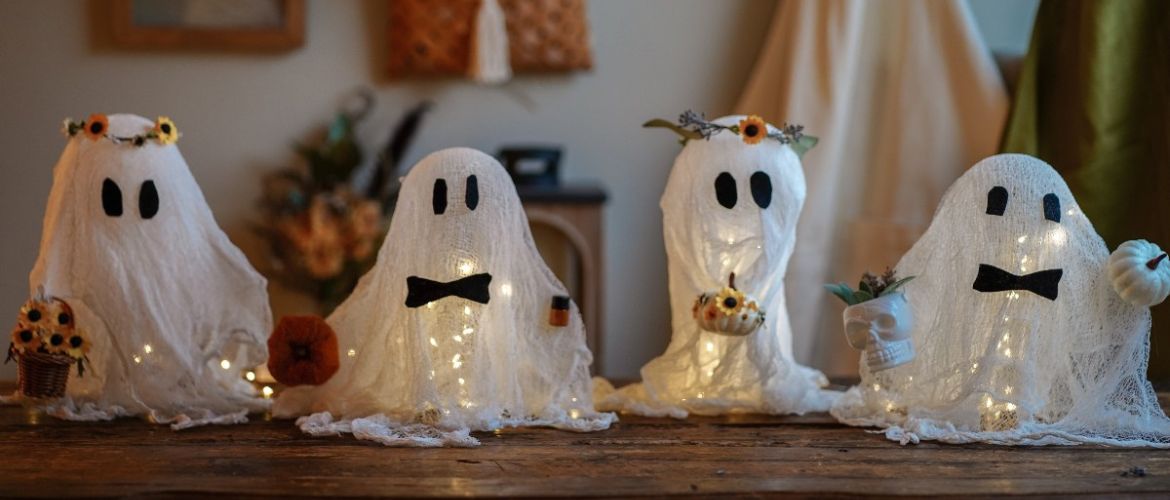
Step 8. To create an even spookier atmosphere, place a small LED garland inside the ghost.





Only registered users can leave comments