

Well-groomed feet are an important part of overall self-care, but not everyone can visit a beauty salon regularly. However, a neat and beautiful pedicure can easily be done at home. On Joy-pup, you will learn how to do a home pedicure step by step.
Tools for a Home Pedicure
Before starting the procedure, prepare the following tools:
- cotton pads
- nail polish remover
- nail clippers or scissors
- nail file
- foot bath basin
- sea salt
- essential oils
- pumice stone or heel file
- cuticle remover
- foot cream
- toe separators
- nail polish
Professional Pedicure at Home: Step-by-Step Procedure
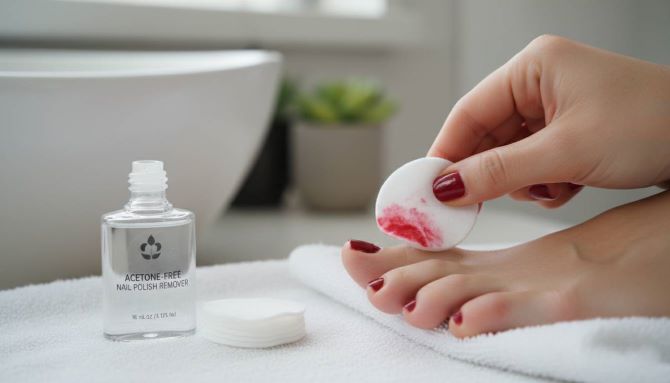
1. Remove Old Nail Polish
First, remove the old nail polish from your nails. Use nail polish remover and cotton pads. They work better for this procedure than regular tissues because they create more friction and allow you to remove the coating faster. If possible, choose acetone-free products — they dry out the nails and cuticles less.
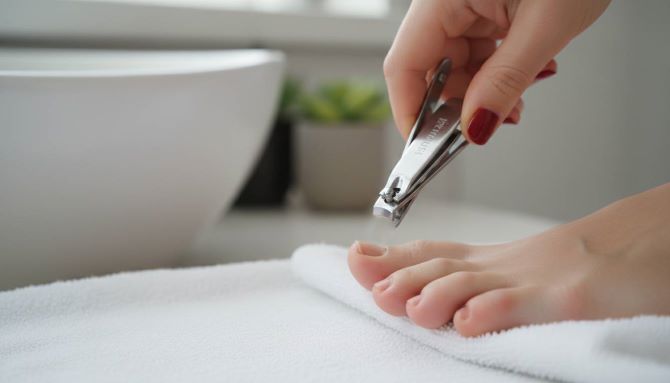
2. Trim Your Nails
Using clippers or scissors, carefully trim your nails to the desired length. Toenails are recommended to be cut straight across without rounding the edges too much. This reduces the risk of ingrown nails.
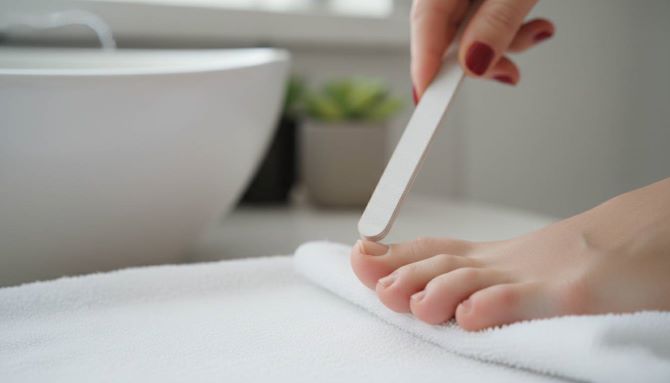
3. Shape the Nails with a File
Use a fine-grit nail file and follow the natural shape of the nail bed. The optimal length is when about 2–3 mm of the free edge remains. The corners can be slightly rounded, but excessive filing may lead to an ingrown nail.
4. Buff the Nail Surface
If there are uneven areas or noticeable longitudinal ridges on the nails, they can be gently smoothed with a buffer. Buffing is done with light cross movements. Usually, three to five strokes per nail are enough. If the nail starts to feel warm during buffing, it means the pressure is too strong and the procedure should be stopped.
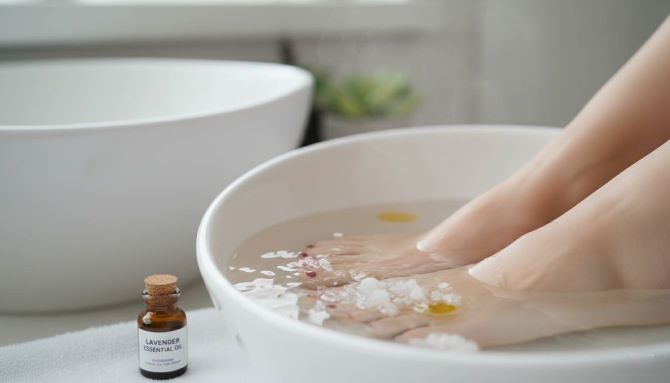
5. Foot Soak
Pour warm water into a small foot bath. Add sea salt or Epsom salt, as well as a few drops of your favorite essential oil. Keep your feet in the water for 10–15 minutes. Warm water softens the cuticle, rough skin, and calluses on the heels. After soaking, rinse your feet with warm water and dry them thoroughly with a clean towel.
6. Treat the Cuticles
Apply a cuticle softener. It helps dissolve dead skin cells and makes it easier to treat the nail area. Then remove the softened skin with a damp tissue or towel. Gently push back the cuticle with an orange stick. If there are protruding hangnails, they can be carefully trimmed with manicure scissors, avoiding damage to healthy skin.
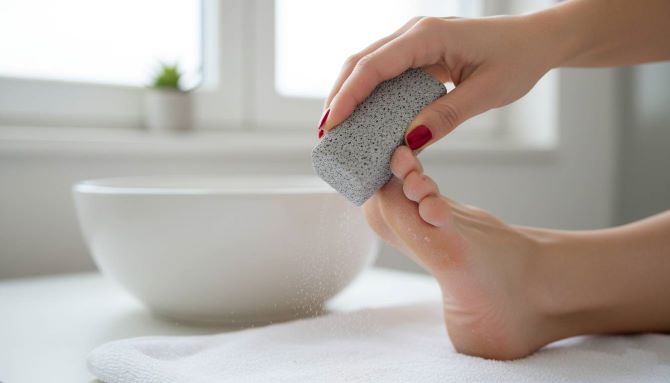
7. Remove Rough Skin from the Feet
After softening the skin, you can move on to treating the feet. Use a pumice stone, heel file, or a special foot grater. Carefully treat areas with rough skin — the heels, the balls of the feet, and the sides of the foot. You can also clean the space around and under the nails with a small brush.
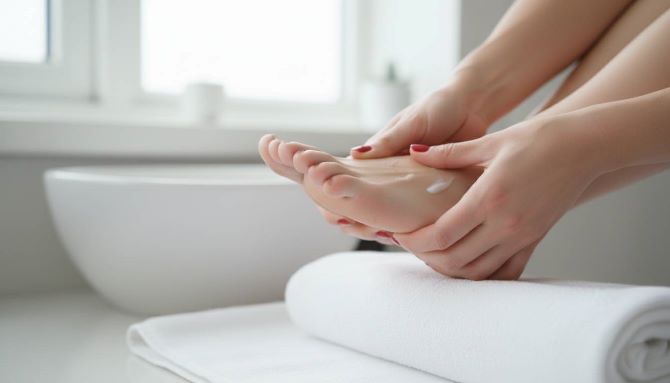
8. Do a Foot Massage
Massage helps improve blood circulation and relieve tension in the feet. Take one foot and gently rotate it at the ankle, then carefully bend and straighten it. The toes can be squeezed and then spread apart. This simple exercise relaxes the muscles of the foot.
9. Moisturize the Skin
After treating the feet, apply a rich foot cream or balm. Spread the product well over the entire surface of the foot, paying special attention to the heels, cuticles, and the spaces between the toes.
10. Apply Nail Polish
Before applying nail polish, place toe separators or use cotton balls. Then wipe the surface of the nails with a nail dehydrator. This removes any remaining cream, allowing the polish to apply more evenly.
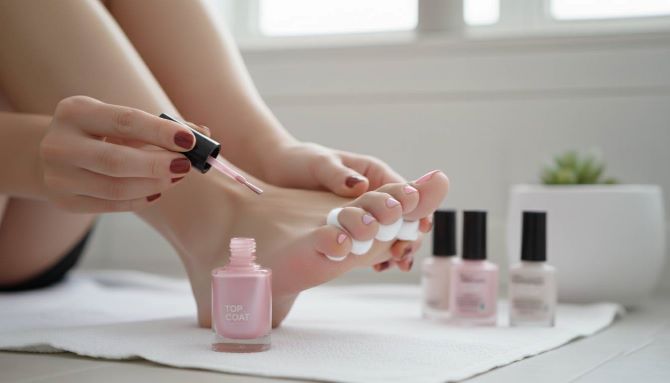
First apply a thin layer of base coat, which helps the polish last longer, strengthens the nail plate, and protects it from pigments in colored polish. After the base, apply two thin layers of colored polish, followed by a top coat. After finishing the procedure, allow the nails to dry for about 10 minutes.
Read also: how to dry nail polish quickly.


Only registered users can leave comments