Dried flowers are an excellent material for creating a variety of crafts that can decorate your home, bring joy and highlight your creative nature. They retain their natural beauty for a long time, making them an ideal choice for handmade projects. We at joy-pup offer several interesting ideas for crafts made from dried flowers.
Paintings from dried flowers
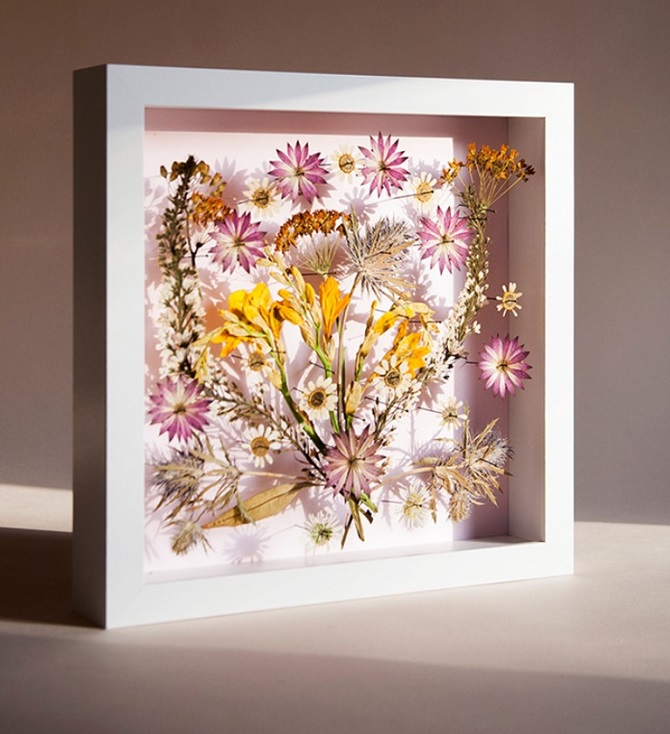
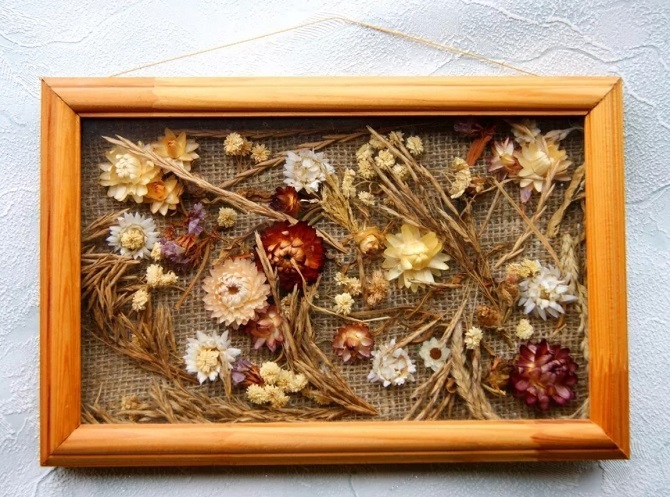
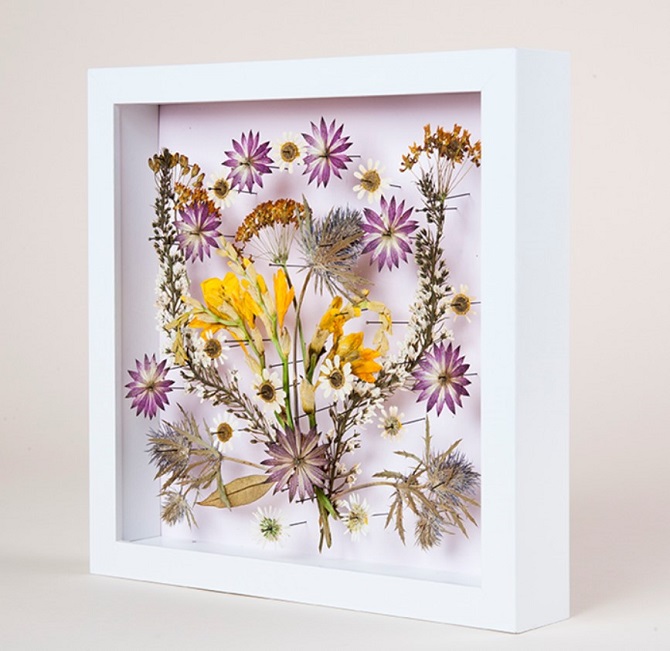
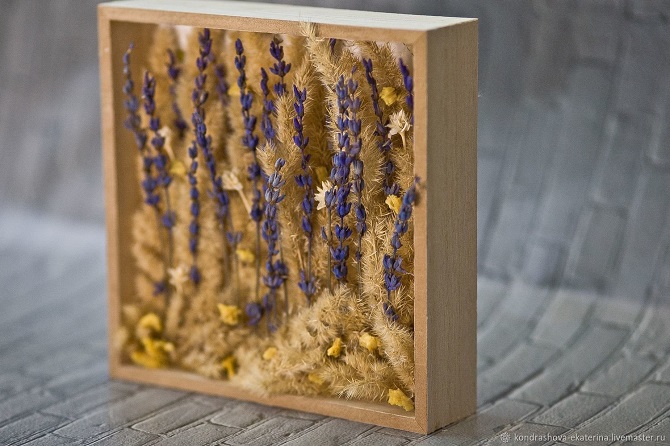
Creating a picture of dried flowers is a wonderful way to add a touch of natural beauty to your interior. You will need:
- Dried flowers (roses, lavender, chrysanthemums and others)
- Picture frame
- Sheet of paper or cardboard
- Glue and brush
- Scissors
Step 1: Select dried flowers in a variety of colors and shapes to create an interesting compositional effect.
Step 2: Cut a piece of paper or cardboard to the size of the frame and secure it in the frame.
Step 3: Place dried flowers on paper, creating the desired pattern or composition.
Step 4: Using glue and a brush, glue the dried flowers to the paper and leave them to dry.
Step 5: Frame the painting and hang it on the wall.
Dried flower souvenirs
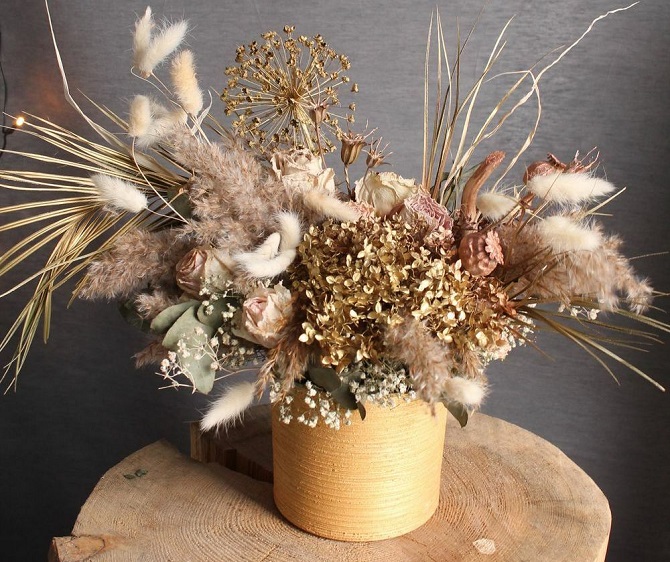
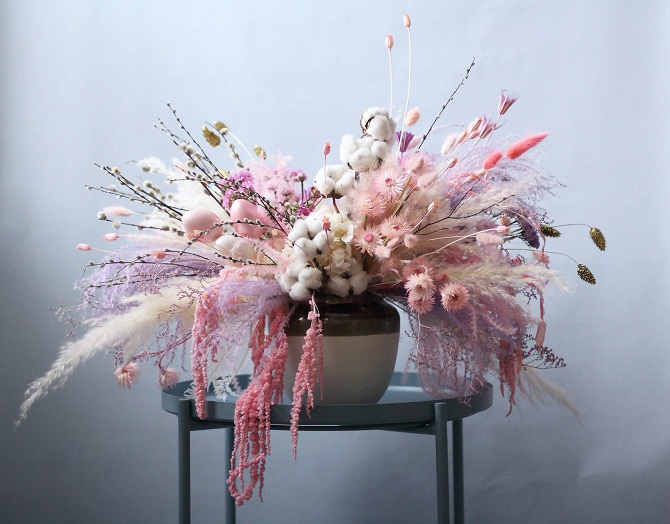
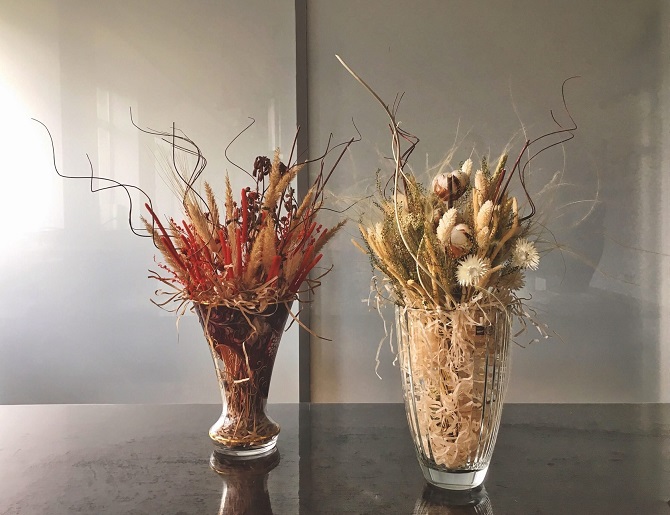
This is a great way to create unique gifts for friends and family. You can make an original souvenir.
Materials:
- dried flower
- Small glass bottle with stopper
- Decorative tape
- Small tag
- Textile
- A label with a message (such as “For you” or “With love”)
Step 1: Place the dried flower in a glass bottle.
Step 2: Close the bottle with a stopper.
Step 3: Tie decorative ribbon around the neck of the bottle and make a bow.
Step 4: Tie a small tag to the bottle using a piece of fabric.
Step 5: Write a small message on the tag and attach it to the souvenir.
Dried flower candles
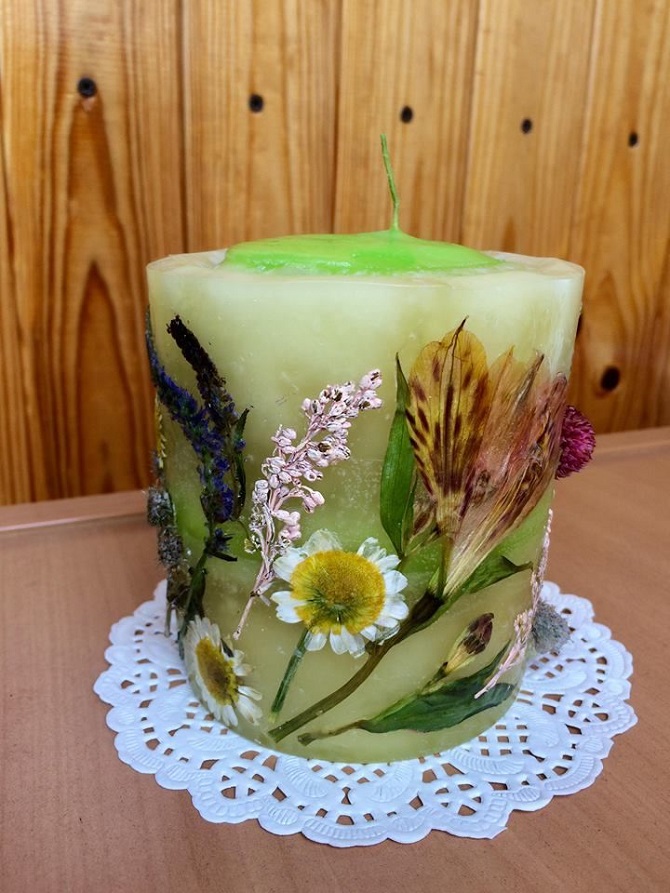
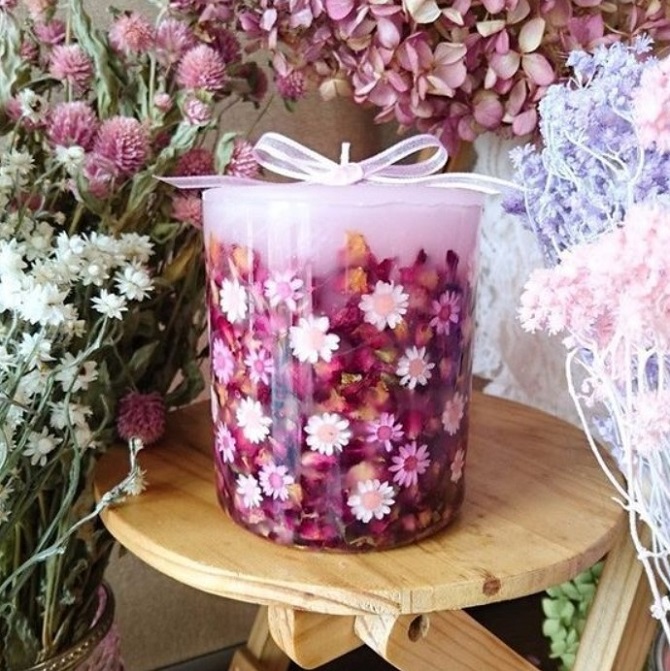
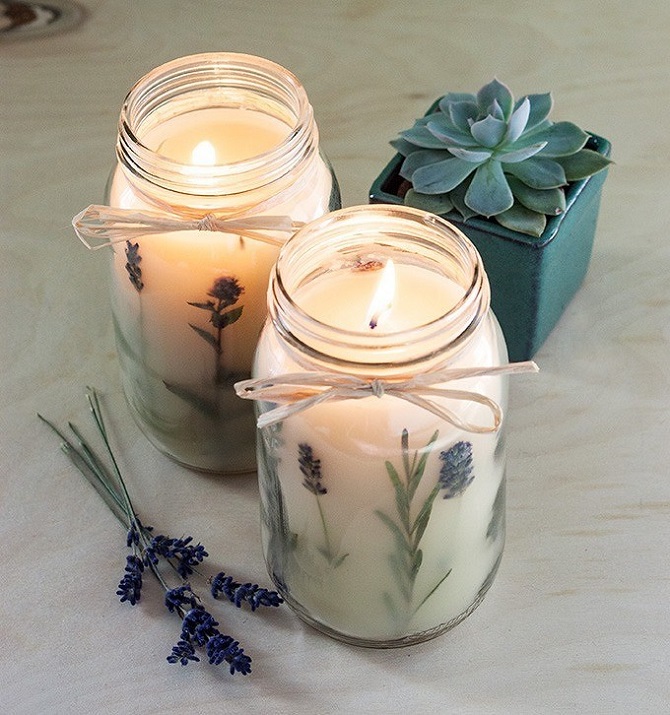
Making candles is another great way to add a touch of romance and warmth to your interior. You will need:
- Large candles (any color)
- Dried flowers
- Silicone baking mold
- Candle wax
- Scotch
Step 1: Coat the inside of a silicone baking pan with silicone oil to prevent sticking.
Step 2: Wrap tape around the candle so that it holds the dried flowers on the candle.
Step 3: Arrange the dried flowers on the candle in your desired order.
Step 4: Melt the candle wax according to the instructions and carefully pour it into the mold around the candle.
Step 5: Allow the candle to cool completely and harden.
Step 6: Remove the candle from the mold, carefully remove the tape and enjoy the beauty of your candle.
To be continued…




Only registered users can leave comments