Flowers decorate any interior and give it a special atmosphere. To maximize the beauty of your plants and make them part of your decor, creating your own flower shelf can be the perfect project for those looking for a combination of creativity and practicality. We at joy-pup offer some interesting ideas and will provide a master class on creating a flower shelf with your own hands.
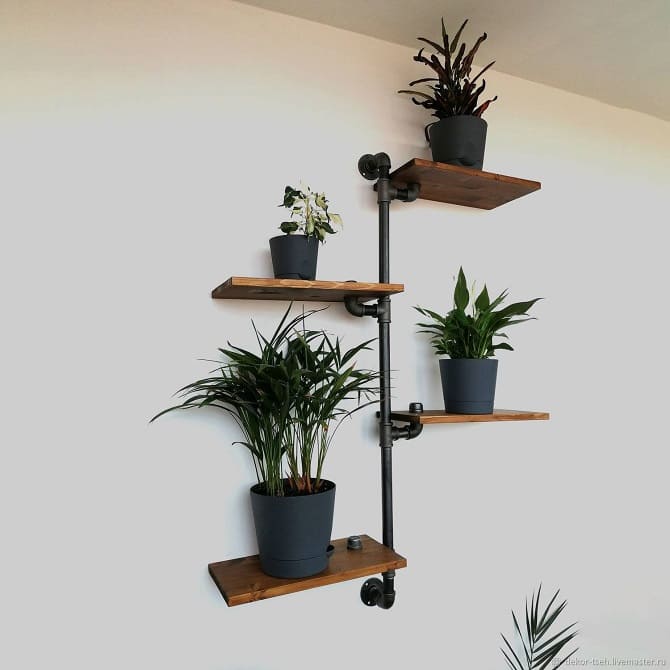
Floating shelf
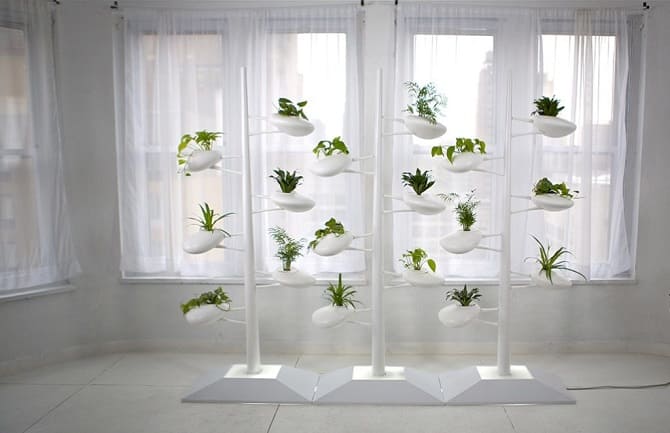
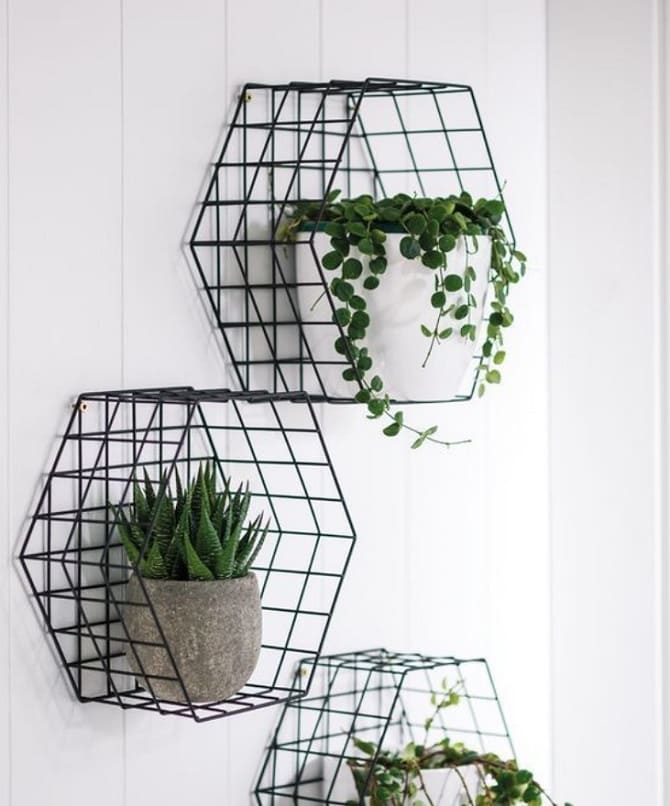
This idea involves creating a shelf that appears weightless and gives the flowers the appearance of floating in the air. This will require glass and a hidden fastening system, or thin metal, with which you can make almost weightless shelves.

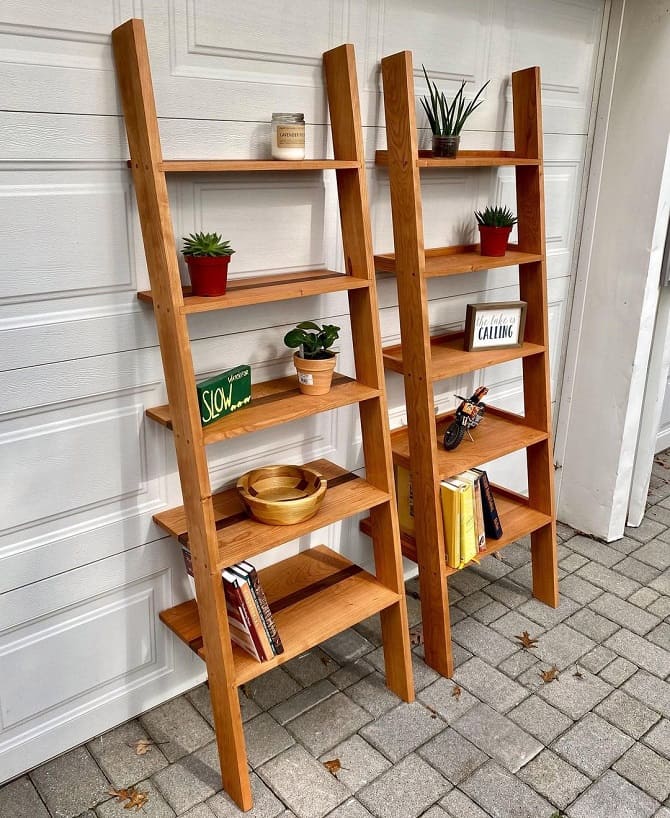
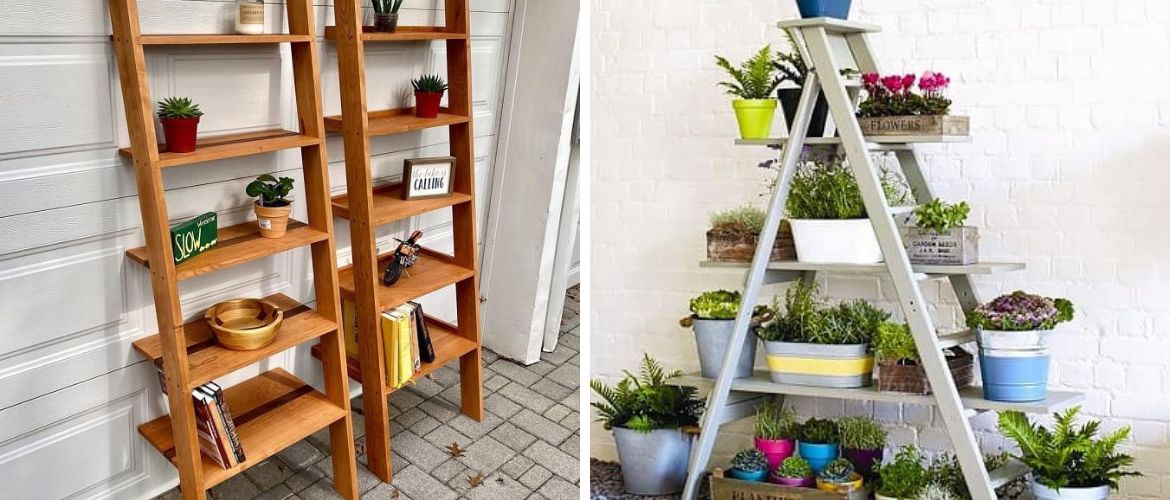
Ladder-shelf
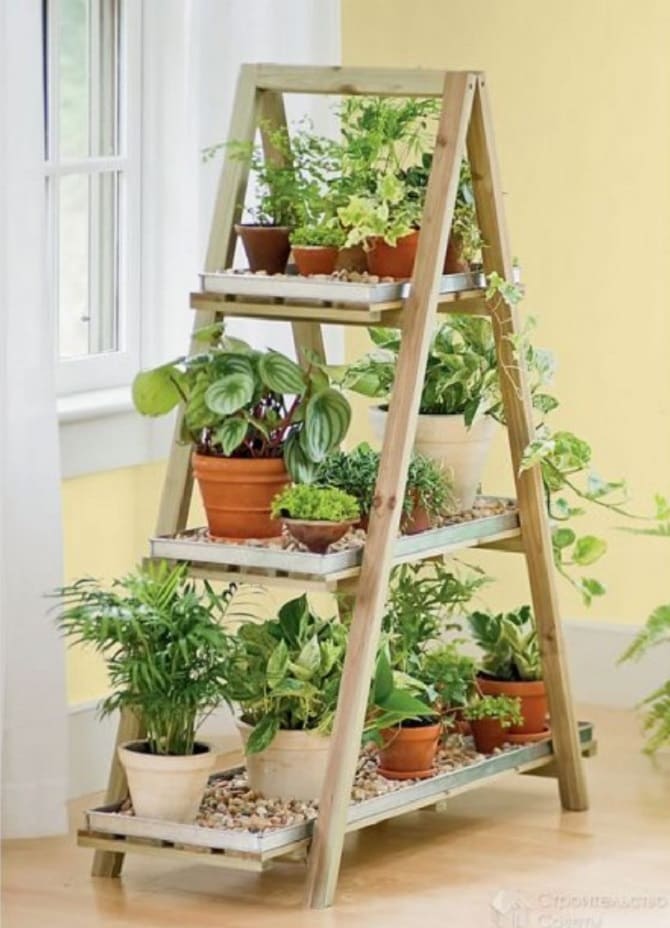
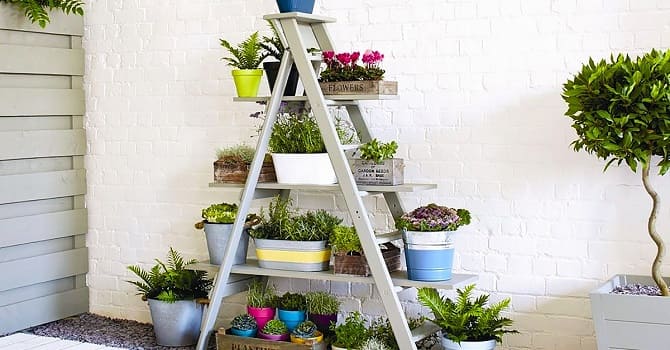
Transform an old wooden ladder into a unique flower shelf. Each step can become a separate shelf for placing plants.
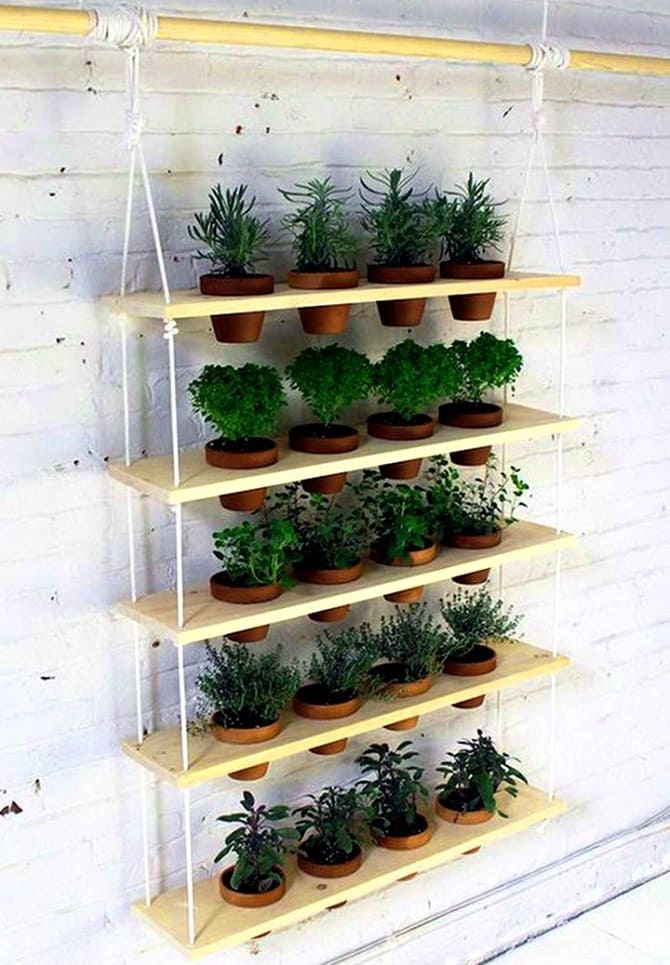
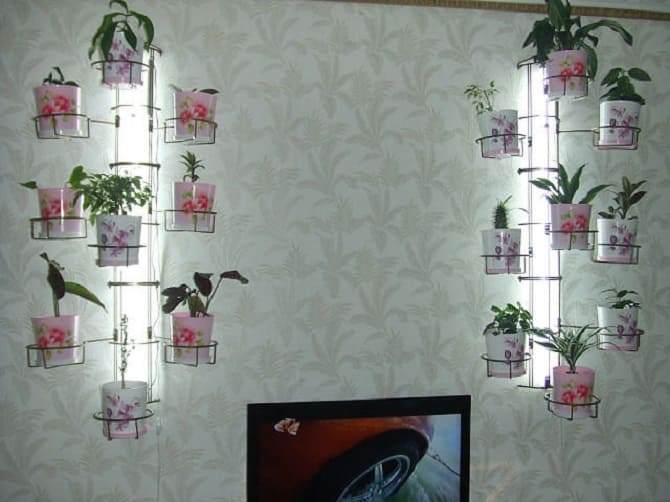
Vertical garden wall
Create a vertical shelf by attaching wood or metal cubbies to the wall. This idea is perfect for those who have little space.
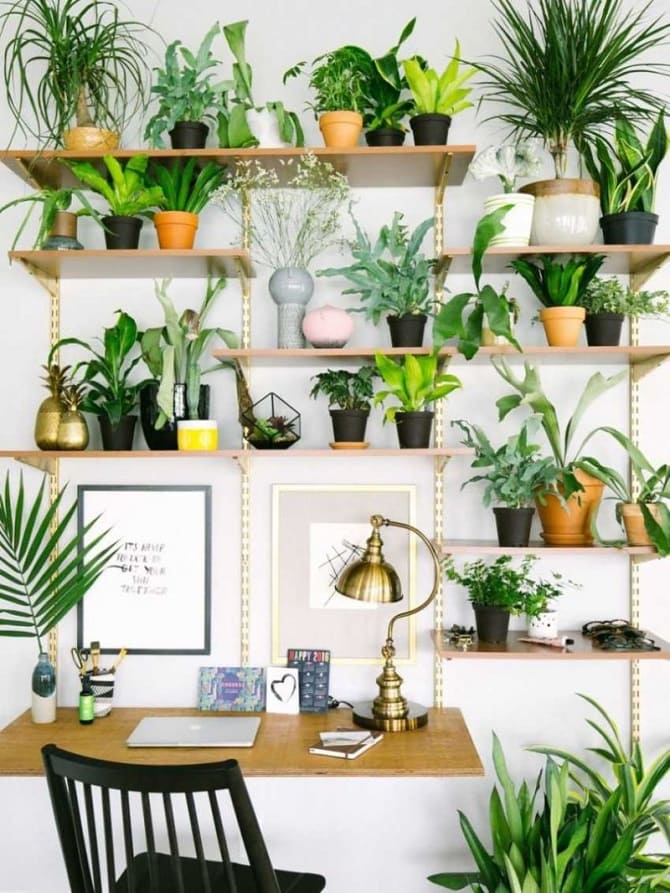
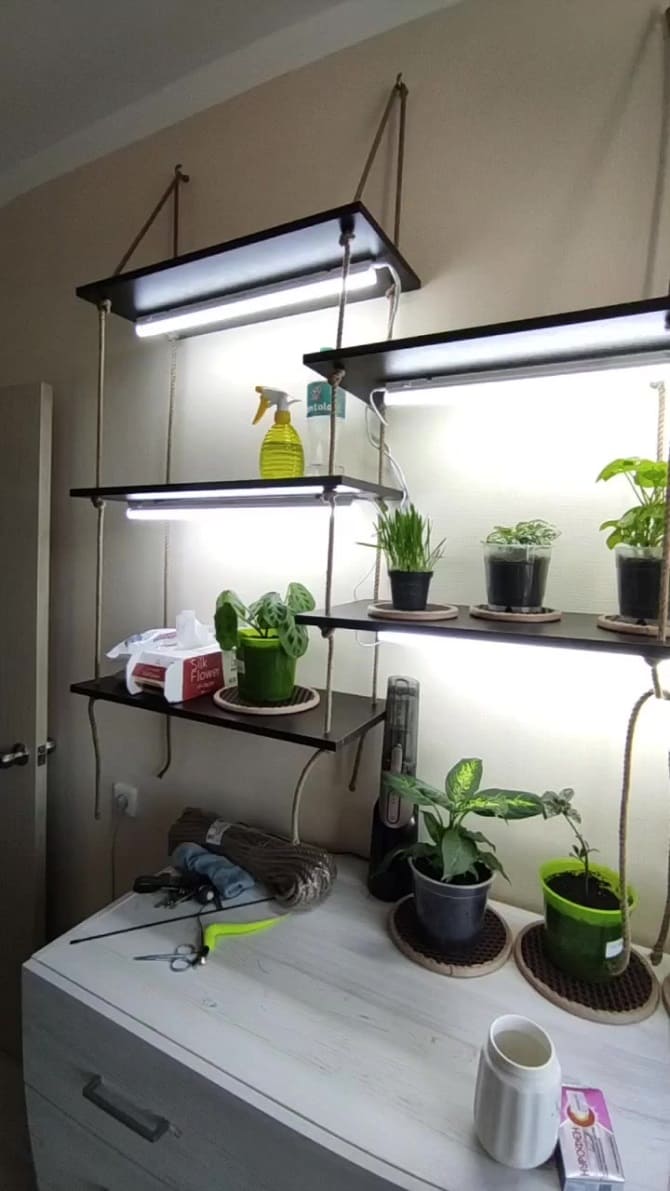
Shelf with lighting
Add ambiance and mystery by installing LED under-shelf lighting to give your plants that extra spotlight.
Master class on creating a flower shelf
What you will need:
- Wooden boards or wooden stairs (depending on the chosen idea).
- Tools (saw, drill, grinder).
- Fasteners (nails, screws, bolts).
- Varnish or paint for finishing.
- Level.
- Plants in pots.
- Lamp (when creating a shelf with lighting).
Steps:
- Planning. Decide what type of flower shelf you want to create and plan the dimensions and design.
- Prepare your materials. If you have wooden boards, cut them according to the plan. If you are using a ladder, prepare it by removing all unnecessary elements.
- Assembly. Assemble the shelf using fasteners. Be sure to check with a level to ensure the shelf is horizontal and stable.
- Finishing. Paint or varnish your shelf for durability and style.
- Installation. Secure the shelf to the wall using fasteners. Make sure it is held securely.
- Plant Placement: Arrange your flowers and plants on the shelf as desired.
If you decide to add lighting, install the light under the shelf and connect it to a power source.
To be continued…





Only registered users can leave comments