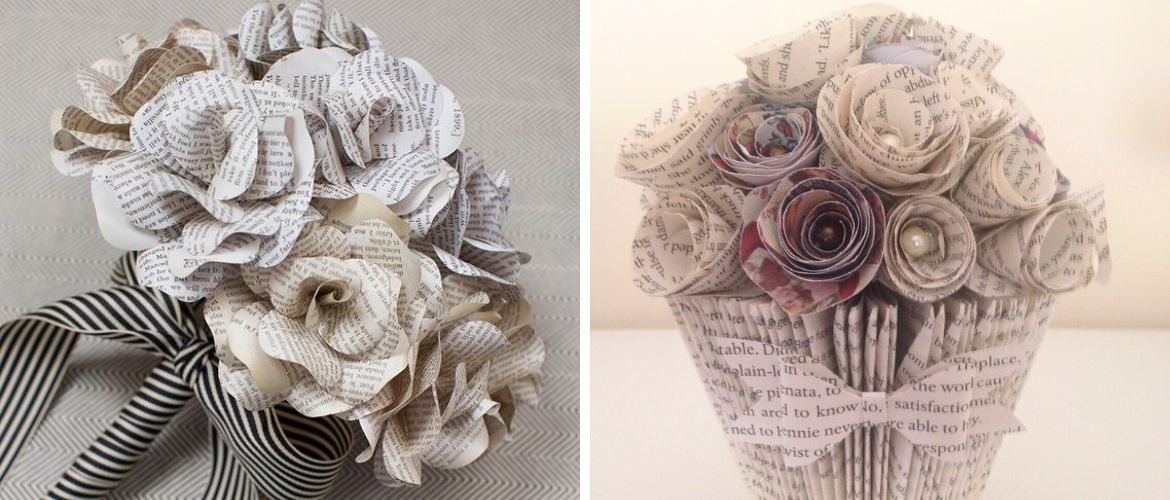


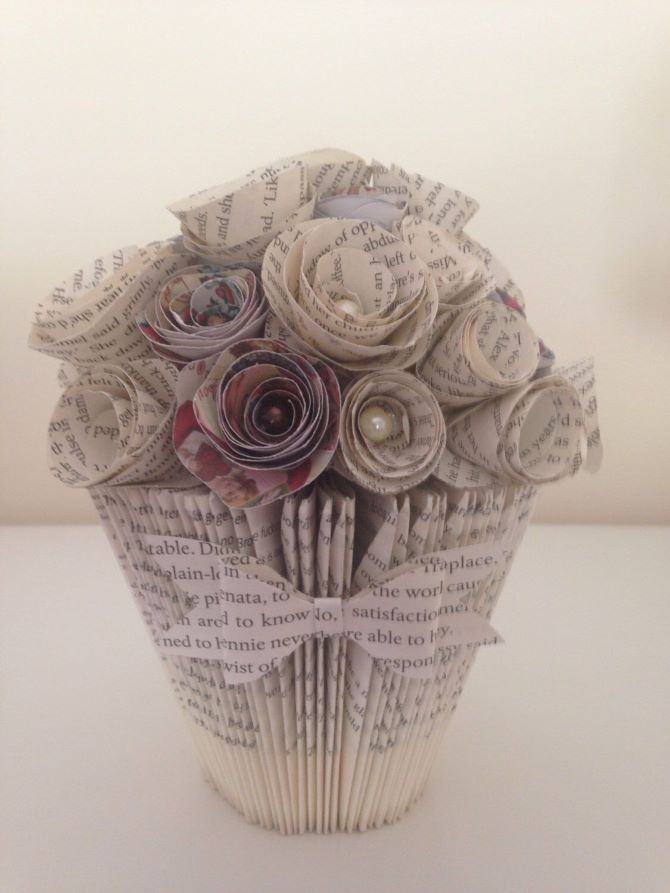
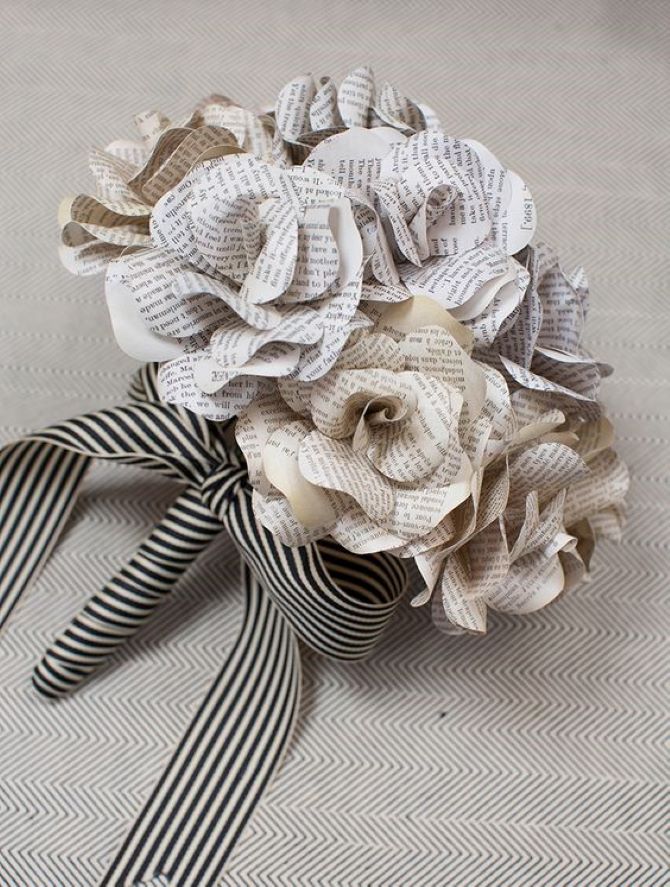
Newspaper flowers are a fun and easy way to breathe new life into old newspapers, book pages, or sheet music. In just a few simple steps, you can create a beautiful and eco-friendly interior decoration. We at Joy-pup will show workshops on how to make charming flowers from old newspapers.
Bonus video Newspaper flower bouquet
How to make flowers from a newspaper with your own hands: a master class
Tools and materials
- newspaper pages;
- scissors;
- glue gun;
- pearl beads;
- wire.
Step by step master class
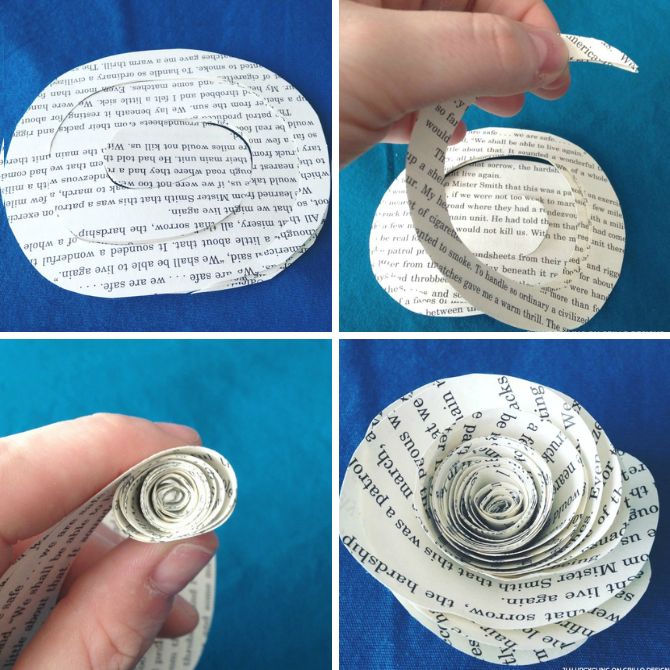
- Cut out 3 rectangles of 4×6 cm from the newspaper, round off the corners. The larger the circle, the larger the flower will be. Stack them on top of each other.
- Cut 3 circles at the same time in a spiral. Start with a thin strip (this will be the center) and gradually expand it as you create a spiral.
- Starting at the outer end of the spiral and holding all 3 pieces together, start twisting the strips inwards to create the center of the flower.
- When you reach the end of the strip, loosen the spiral slightly by adjusting with your fingers to the desired flower shape. Apply a dab of hot glue and attach the end of the strip to the bottom of the rose.
- Apply some hot glue to the pearl bead and press it to the center of the flower.
- Prepare the wire, apply hot glue to one end and attach it to the base of the flower.
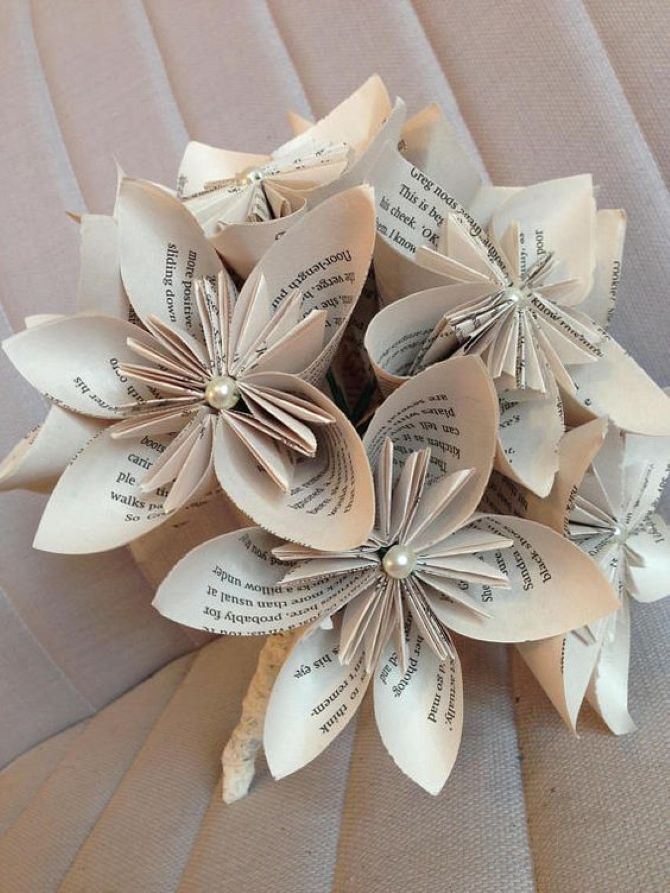
Kusudama
Tools and materials
- pages from a newspaper or book;
- scissors;
- bead;
- wire;
- glue.
Step by step master class
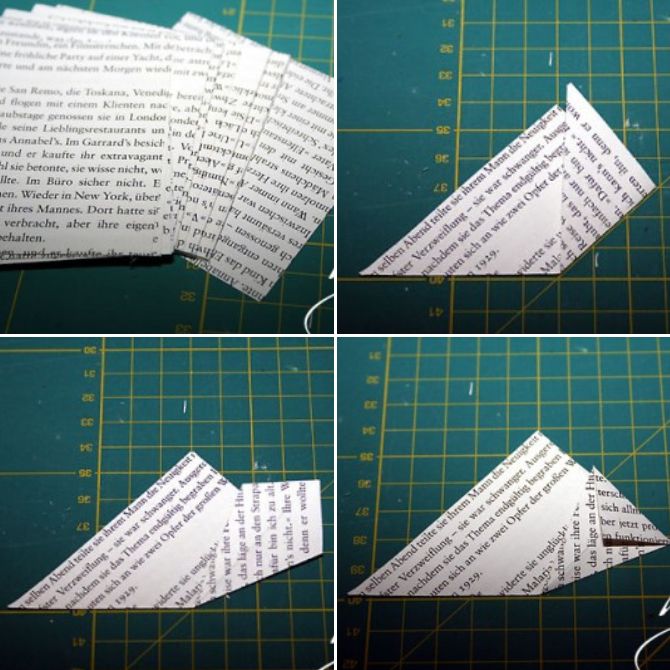
- Cut out 5 8×8 cm squares from the newspaper and fold them in half to make triangles of the same size.
- Fold one corner up to the top of the triangle.
- Repeat on the other corner and fold over to make a square.
- Unfold one of the corners and press the center seam down, repeat on the other side.
- Fold one of the side corners down and flatten it along the center seam, do the same on the other side.
- Fold the outer edge on one side, then the other to form a square.
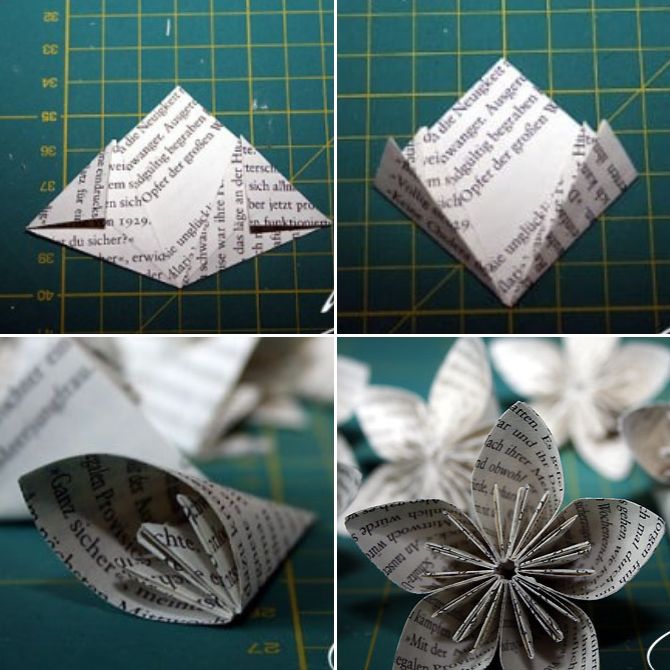
- Apply some hot glue to one of the outer flaps. We fold the part in half, gluing them together, forming one of the petals.
- Make 5 of these petals, glue them together and get a flower.
- Put a drop of glue on the bead and press it into the center of the flower.
Paper rose
Tools and materials
- newspaper or book pages;
- scissors;
- hot glue gun;
- wire;
- toothpick.
Step by step master class
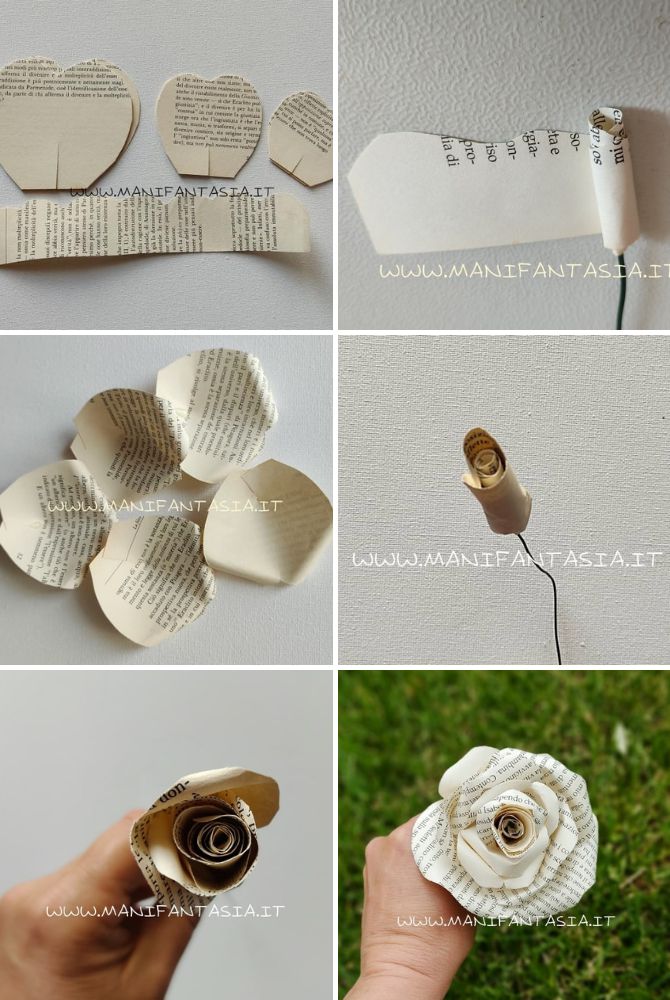
- From the newspaper, cut out 15 petals in three different sizes. Cut out the petals in the shape of a heart, then cut off the tip and make a small cut in the center under the petals.
- Cut out a 15-20 cm x 4 cm strip of paper. Make a wavy edge on one of the long sides.
- Glue this paper strip onto a metal rod with the wavy side facing up and secure it with hot glue.
- Use a toothpick to round the two sides of the petal.
- Glue the first 2 small petals on the central part of the rose one on top of the other and with the right side.
- Continue gluing the small petals, always starting at the center of the last petal you glued, then glue the middle petals, then the larger ones.
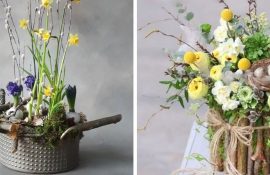
Spring compositions from natural materials...
5 February 2026

DIY New Year’s Photo Booth: TOP 8 Ideas for...
16 December 2025

New Year’s decor with dried oranges...
12 December 2025
Only registered users can leave comments