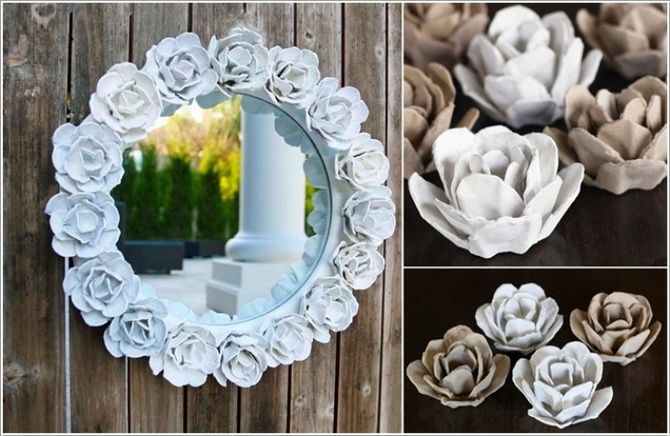
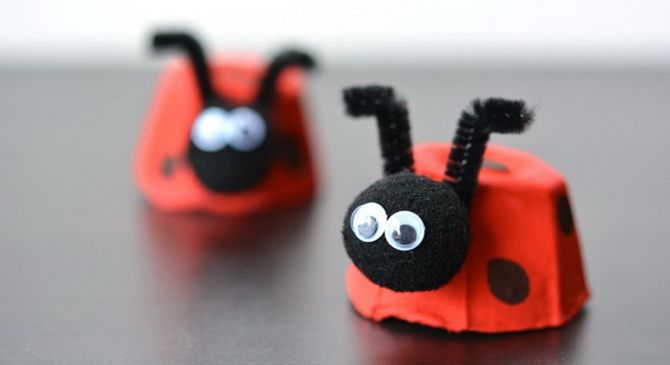
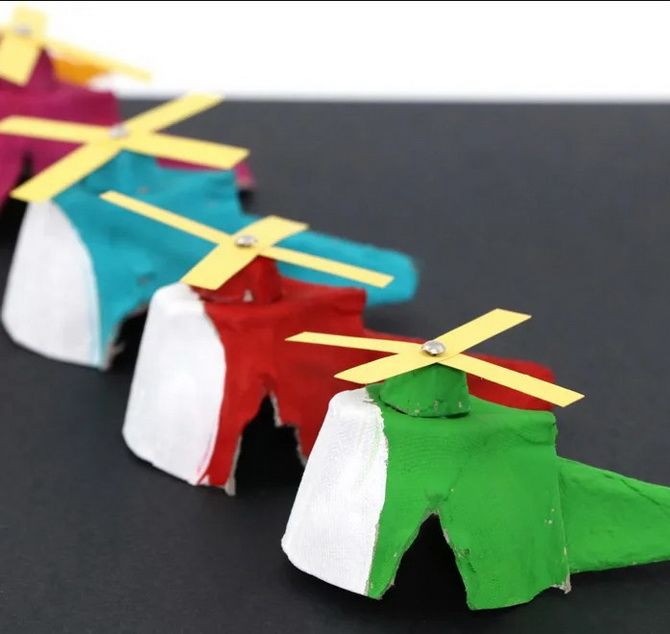
Creative crafts can come from the most unusual materials that could previously just be thrown away as trash. Using egg trays, you can create unique products. Unnecessary things can be turned into interesting crafts, especially if you do it with your children. You don’t need any special tools or materials – just basic materials, creativity and imagination. Look at Joy-pup for interesting crafts from egg trays.
Bonus video easy miniature houses using egg tray
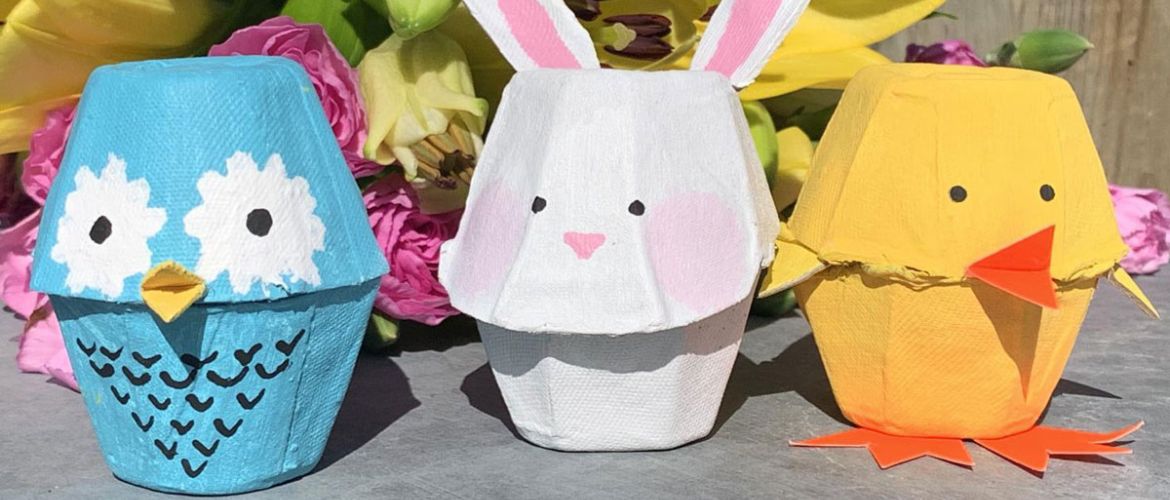
Rabbit
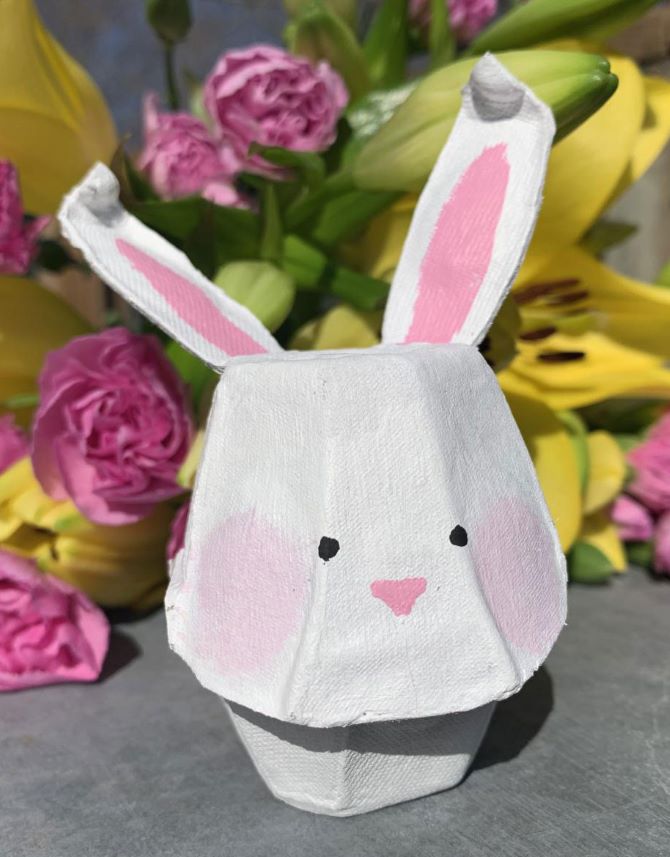
You will need:
- egg trays;
- scissors;
- glue;
- black marker;
- white and pink paint.
Step by step master class
Step 1. Cut out two cups from the egg tray, this will be your bunny’s body.
Step 2. Cut out two ears from the scraps of the egg carton.
Step 3. Paint every detail with white paint.
Step 4. After drying, draw pink stripes on each ear of the rabbit. Let dry again.
Step 5 Apply glue to the inside edge of each egg carton and glue them together to form the bunny’s body. Then apply glue to the bottom edge of the rabbit ears and place them on the rabbit’s head.
Step 6 After assembling and drying, it’s time to create the rabbit’s face. First draw two pink circles – the cheeks of the animal. Draw a pink triangle between them, put two black dots with a marker – the rabbit’s eyes.
Chick
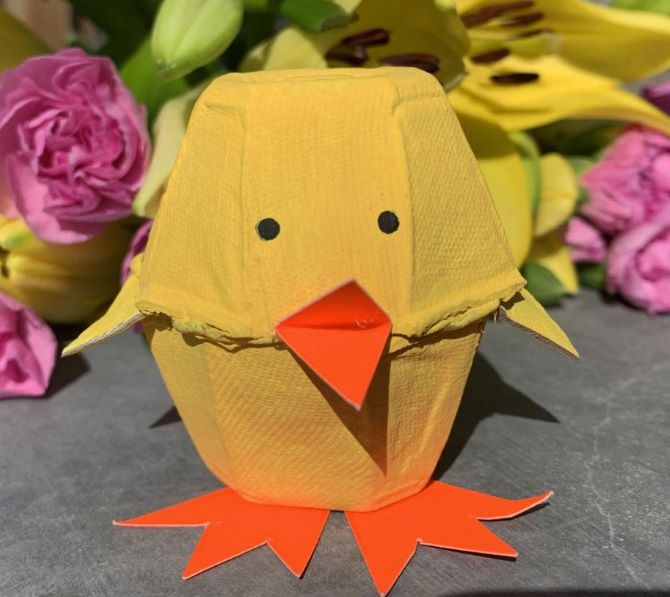
You will need:
- egg trays;
- scissors;
- glue;
- black marker;
- orange paper.
Step by step master class
Step 1. Cut out two indentations from the egg tray.
Step 2. Then cut out two triangular pieces from the scraps of the egg carton. These will be your chicken’s wings, paint each piece yellow and let dry.
Step 3 Take orange paper and cut out a beak and two legs.
Step 4. Once dry, apply glue to the inside edge of each indentation from the egg tray and glue them together to form the chick’s body. Apply glue to the edge of the yellow triangle and stick it on the sides.
Step 5. Apply glue to the beak and paws and attach the parts to the body of the chicken.
Step 6 After assembling and drying, draw two dots for the eyes with a marker.
Owl
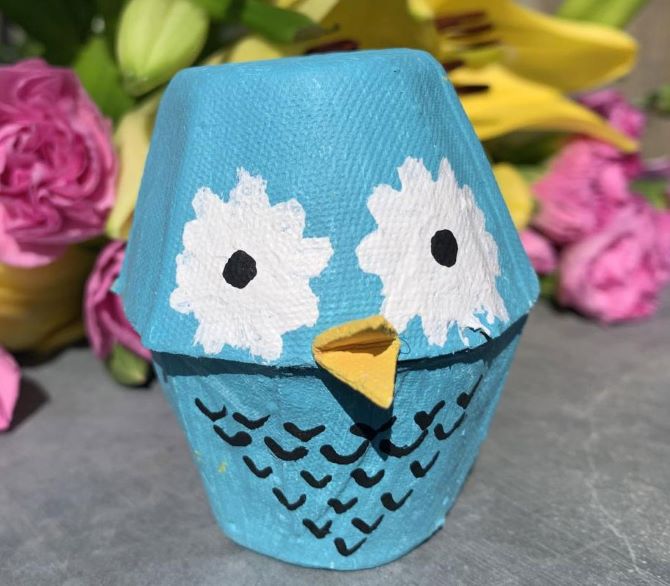
You will need:
- egg trays;
- scissors;
- glue;
- black marker;
- blue, white and yellow paint.
Step by step master class
Step 1. Cut out two cells from the egg tray and paint them blue.
Step 2. Cut out two triangles for your owl’s beak from scraps, paint each part yellow. Let dry.
Step 3 After you’ve cut out the beak pieces from the egg carton, paint each piece yellow. Let dry.
Step 4. Once dry, apply glue to the inside edge of each light blue cell and glue them together to form the owl’s body.
Step 5. Apply glue to the beak and glue it on the owl’s head.
Step 6. On the bottom part, draw small semicircles from bottom to top with a felt-tip pen.
Step 7 Using white paint, paint two flowers on the top of the owl, these will be the eyes. After the paint dries, put dots in the center of each flower with a felt-tip pen.
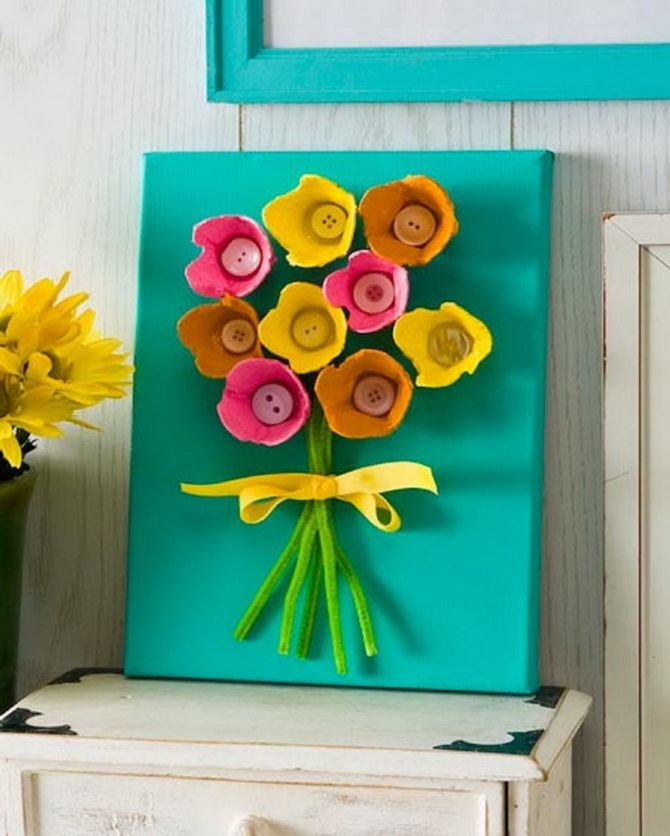
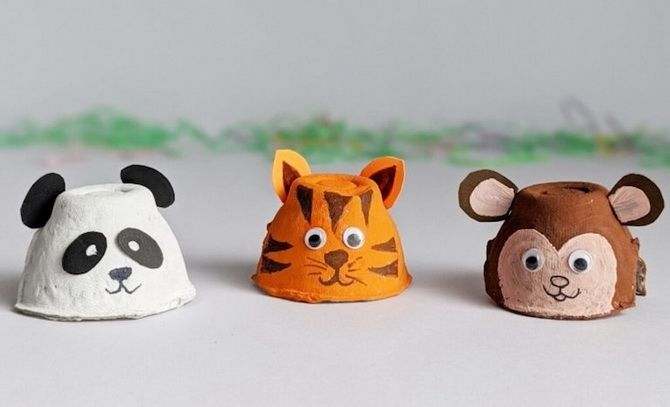
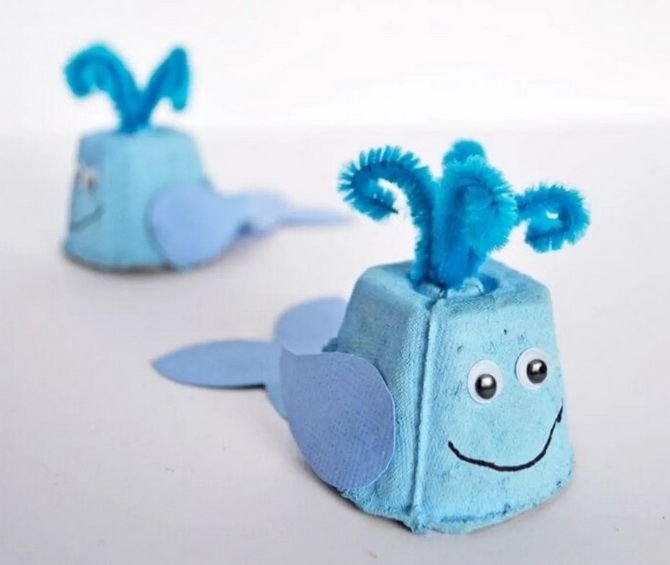
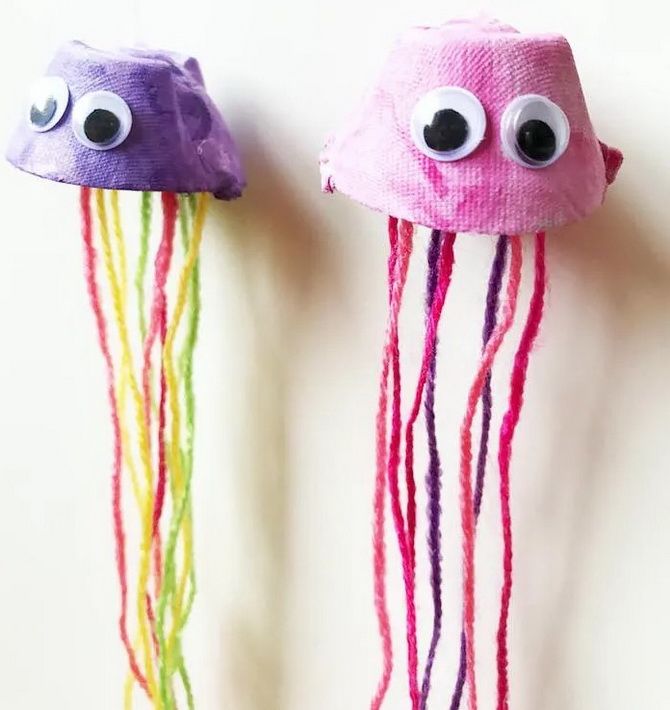
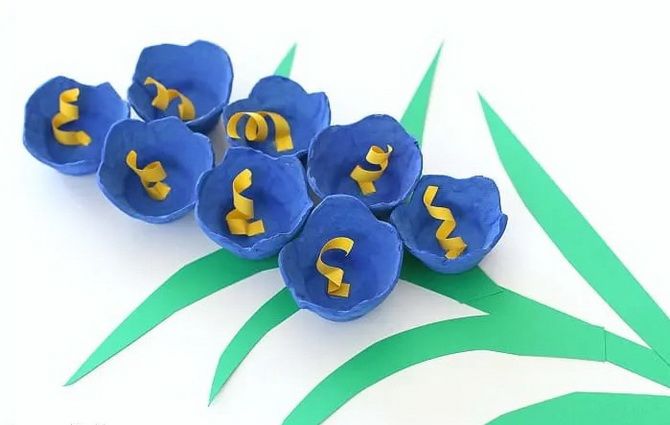
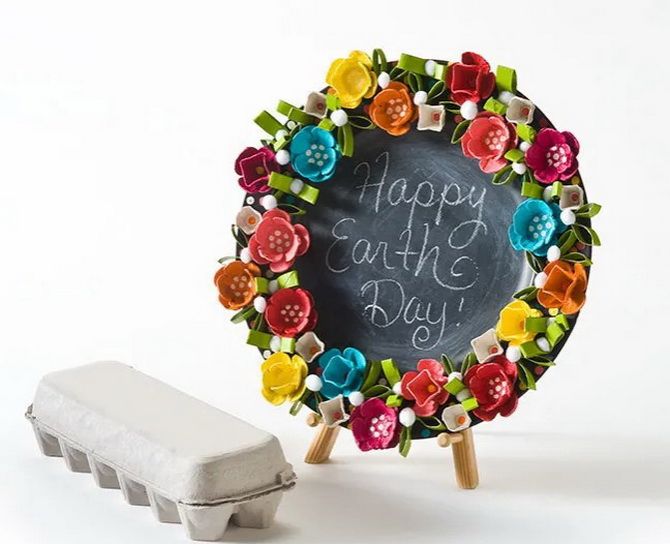
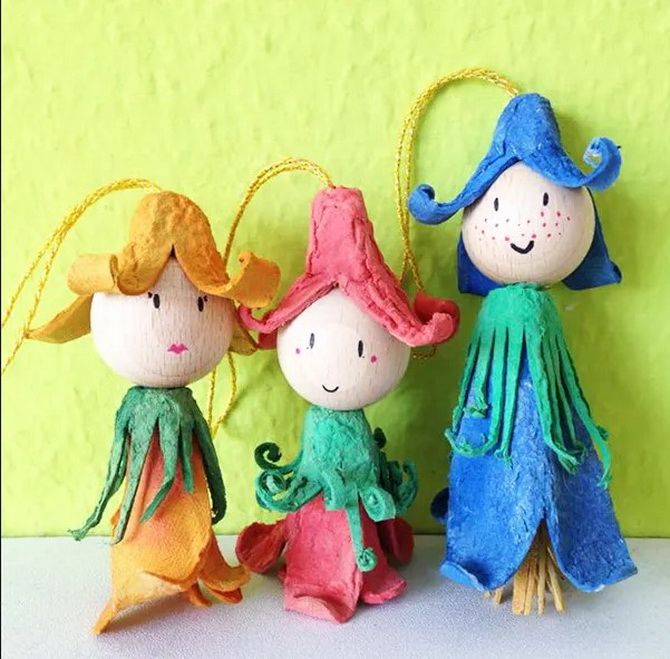
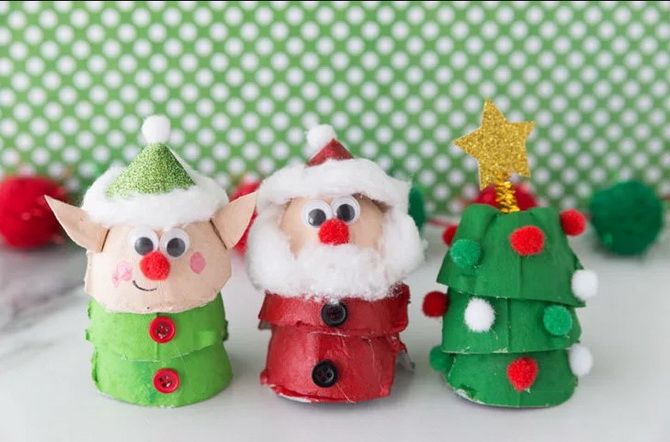
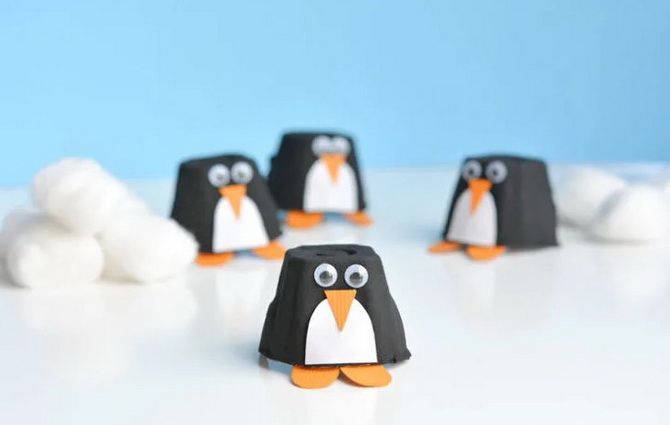
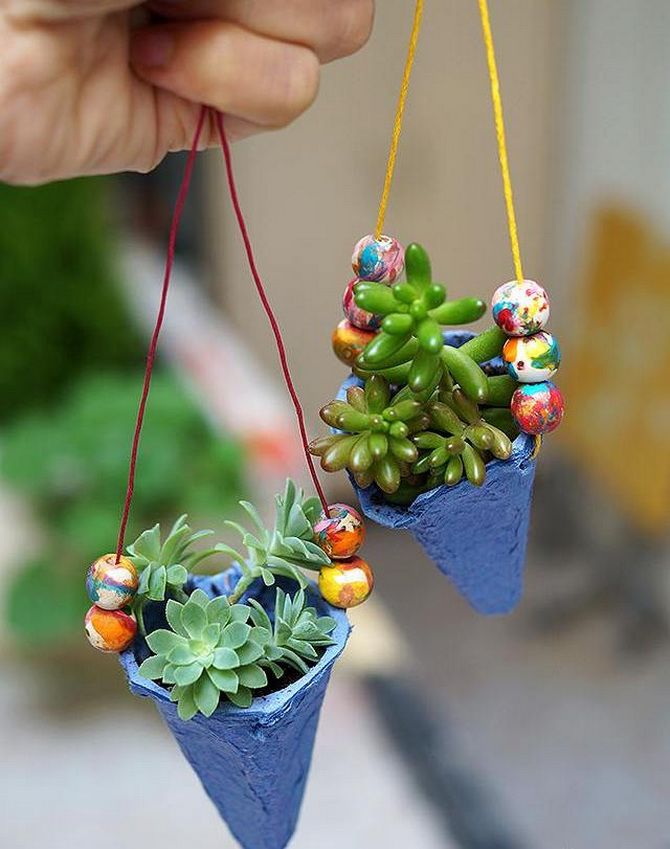
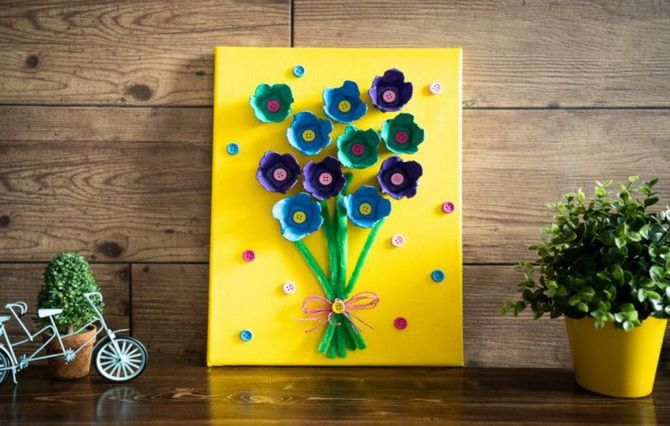
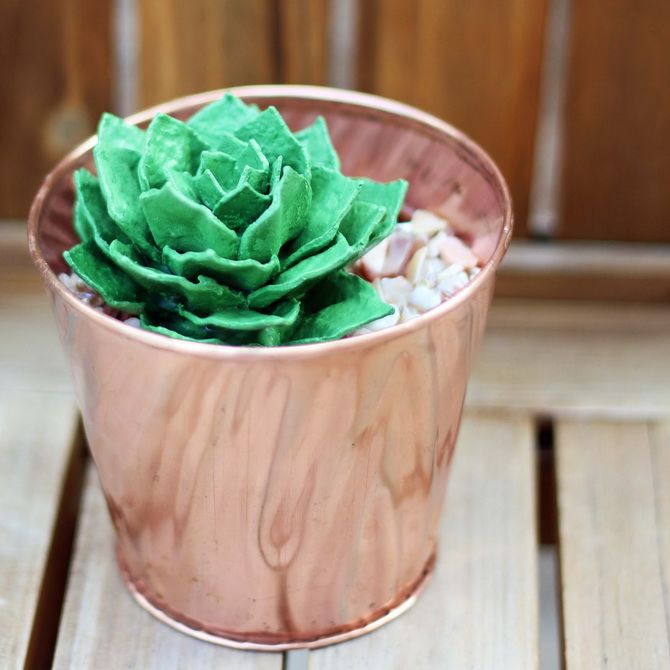
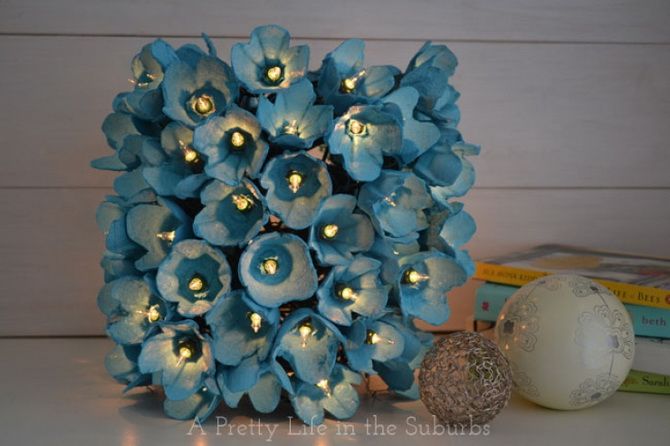
Egg Tray Craft Ideas




Only registered users can leave comments