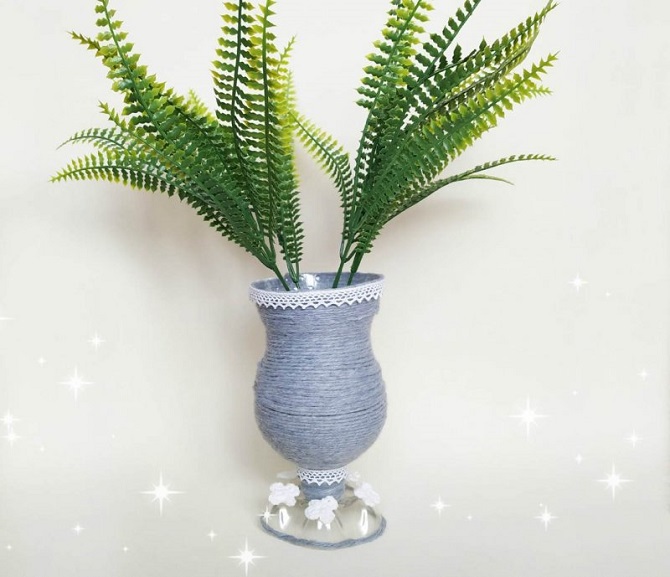
Today, the trend is the use of recycled materials. And if you still have plastic bottles at home, do not rush to throw them away. Turn them into beautiful vases – they will become an original home decoration. We at joy-pup offer a step-by-step master class.
Watch the bonus video on how to make a vase from a plastic bottle with your own hands
Step 1: Prepare materials
To create a vase, you will need the following materials:
- Plastic bottle (any size and shape)
- Scissors
- Acrylic paints
- Brushes of various sizes
- Hot glue or two-component glue
- Decorative elements (ribbons, beads, rhinestones, etc.)
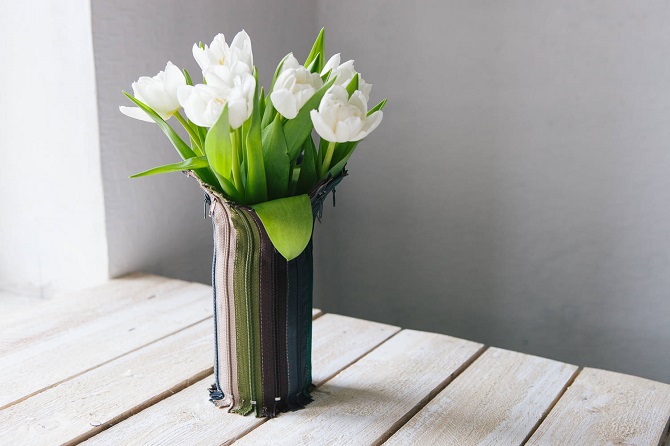
Step 2: Preparing the bottle
First, remove the label and any adhesive residue from the bottle. Then rinse the bottle with water and dry it. This will help to avoid the presence of dust or dirt on the surface during operation.
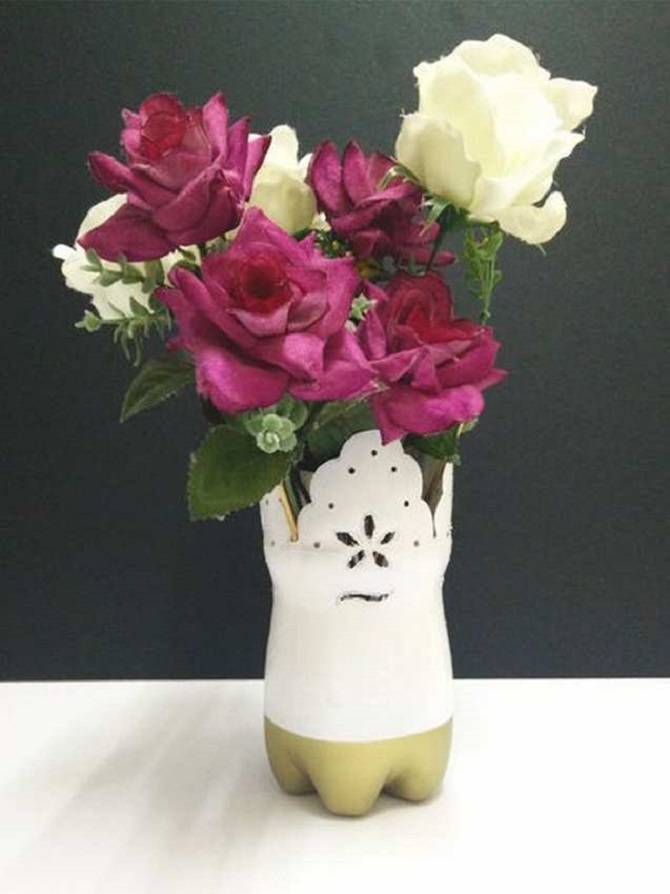
Step 3: Making the Shape of the Vase
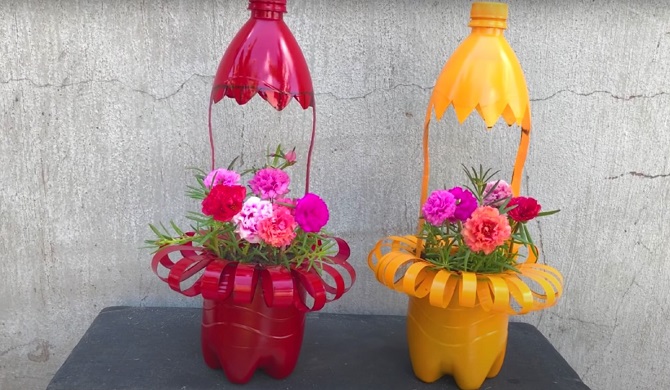
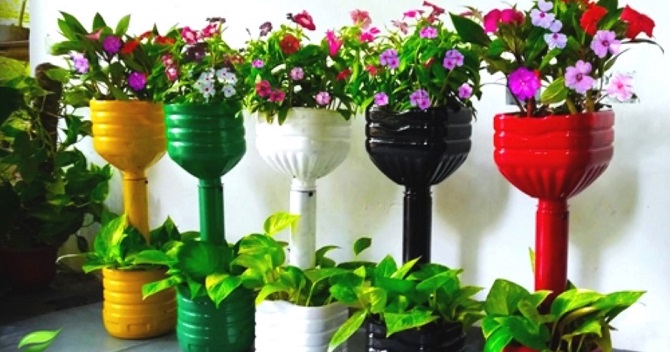
Using scissors, carefully cut off the top of the bottle. The size of the cut off part depends on your wishes – you can make a vase with a high neck or a low, wide open part.
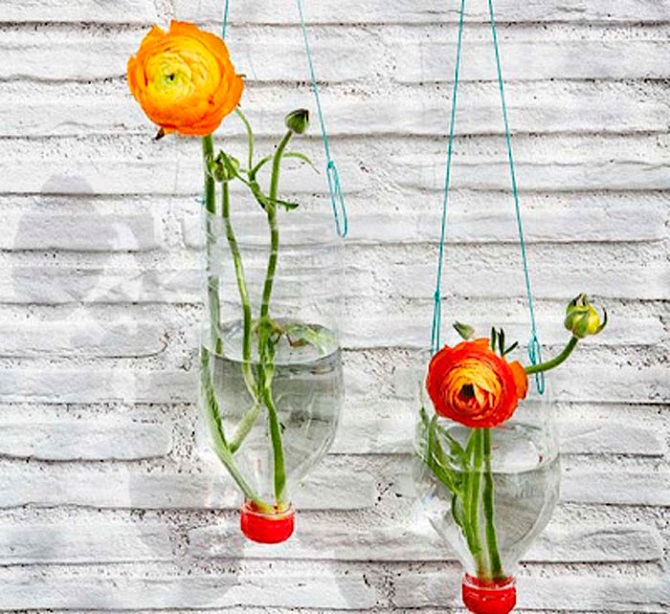
Step 4: Coloring the bottle
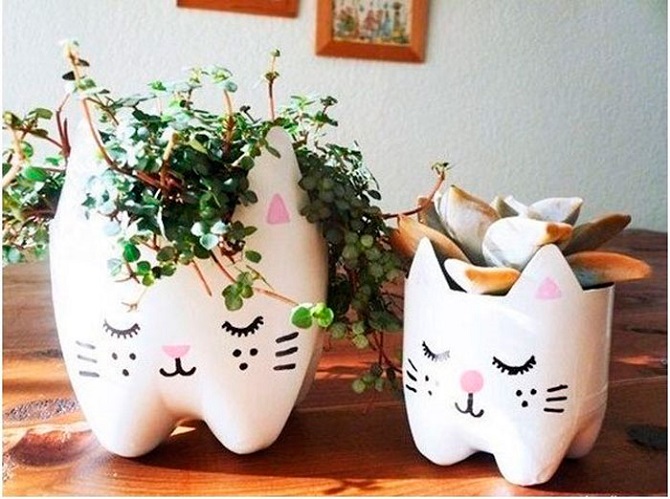
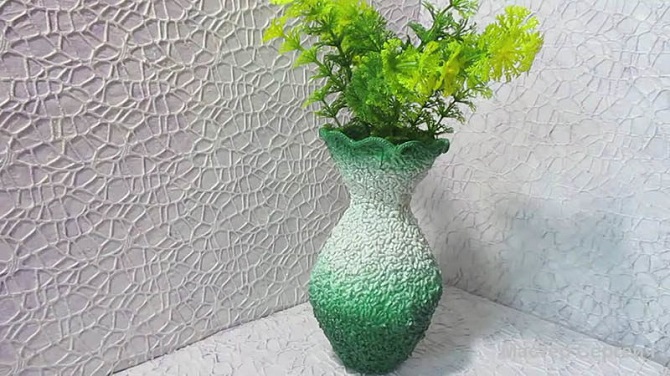
Use acrylic paints to cover the surface of the bottle. Choose colors that match with your interior. You can create a gradient effect, add texture, or apply an abstract pattern. Let the paint dry well before moving on to the next step.
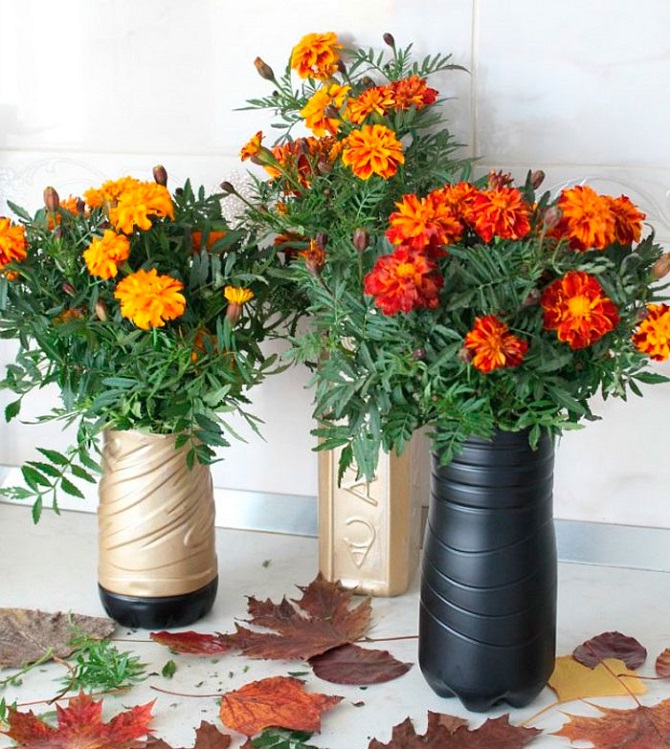
Step 5: Decorate
This step gives you complete freedom to express your individuality. Use hot glue or two-part glue to attach the decorations to the vase. It can be ribbons, beads, rhinestones, stones or even pieces of fabric. Arrange them however you like, creating a unique design.
Step 6: Completion
After the decorative elements are fixed and the glue has dried, your eco-friendly vase is ready! Now you can use it to hold fresh flowers, dried branches, or even just as a stylish piece of decor.
To be continued…




Only registered users can leave comments