For the greatest convenience, needlewomen need to have all the tools at hand. To ensure that needles, pins, and other little things are not lost, you can make your own felt pincushion. We at Joy-pup will show you how to make a beautiful felt cactus that will collect sewing needles in one place and become an interior decoration.
DIY bonus video: How to make a cactus pincushion
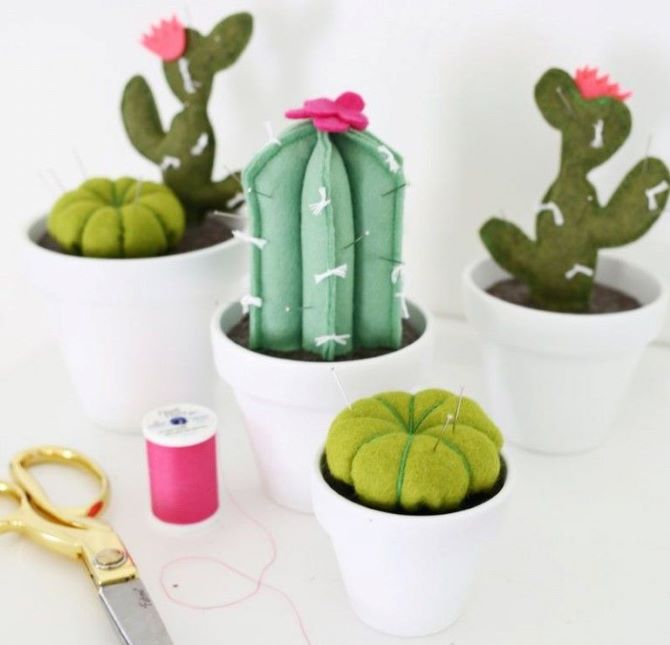
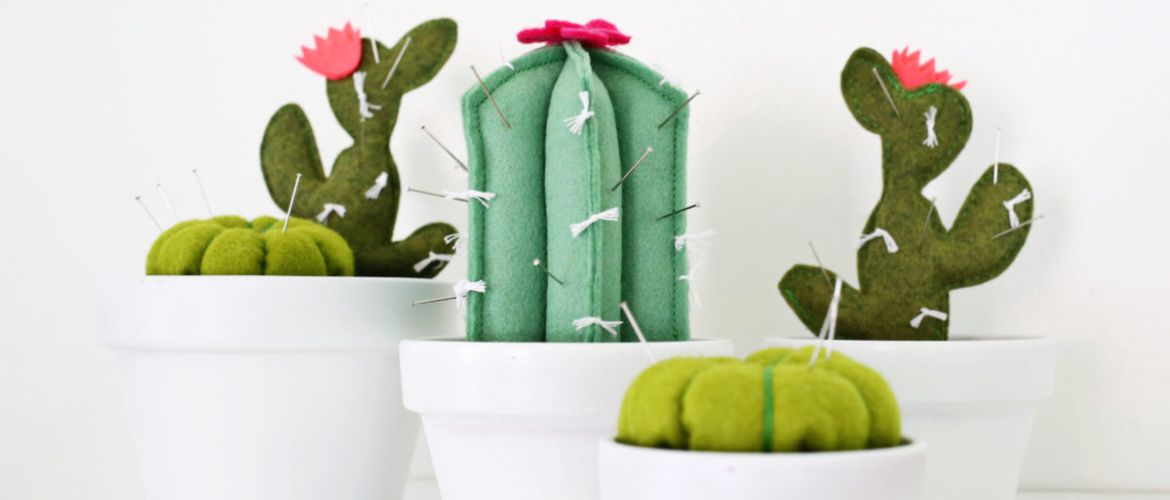
Three types of pincushion cactus made of felt
These easy-to-make needle beds in the form of bright and blooming cacti will please with practicality and beautiful appearance. We offer three options that are best done in different shades of green.
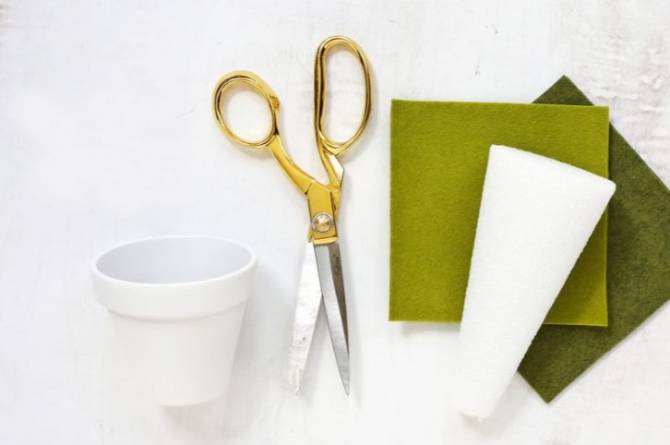
You will need:
- gray and green felt
- scissors
- a flower pot
- Styrofoam
- glue gun
- pillow filler (synthetic winterizer, holofiber, cotton wool)
- sewing threads
- green floss thread
- needle.
First option
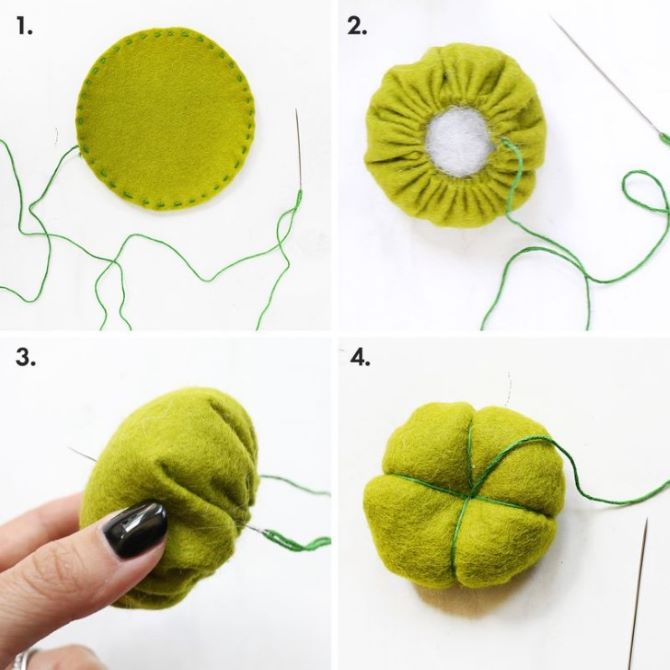
To make the barrel cactus, cut out a green felt circle about twice the size you want. Make stitches along the entire outer edge of the circle, then tighten the thread tightly to make a rounded bag, and fill it with padding polyester or other soft material. Once you get the desired volume, pull and fasten the ends of the thread. Then, with floss, go through the top of the cactus, dividing it into 8 evenly spaced sections. Pull the middle of the product a little to form a small depression.
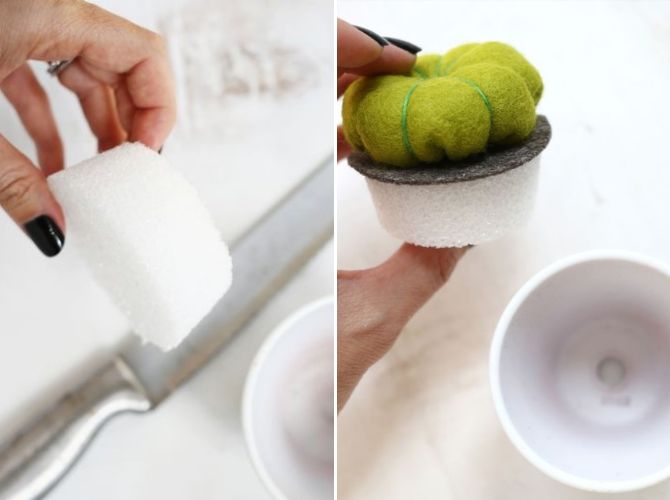
Cut the gray felt and a piece of Styrofoam the size of the pot, glue the pieces together. Using a glue gun, attach the finished cactus to the middle of the round piece. Move the cactus to the pot.
Second option
For the next type of cactus, sketch out the shape and size you want on a piece of paper. Make them wide enough to comfortably fill them with stuffing.
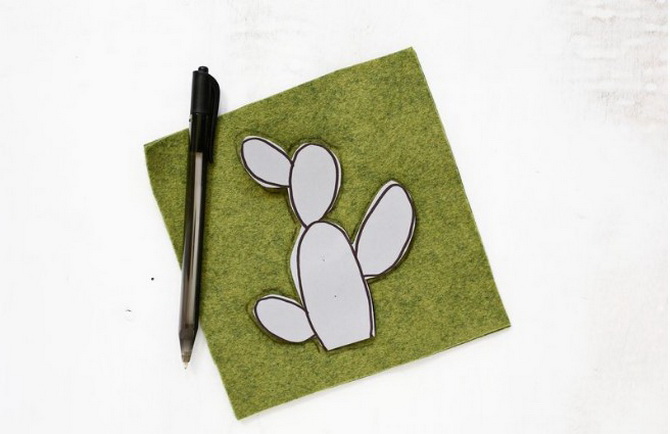
Cut out two identical pieces from green felt according to your pattern. Sew the pieces together around the entire circumference with an overcast seam or use a sewing machine for this.
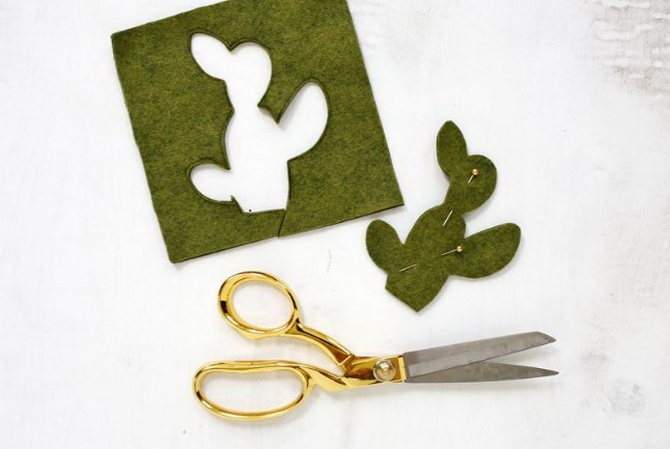
Leave the bottom of the product open. Use a wooden skewer or knitting needle to push the filler into all the different compartments.
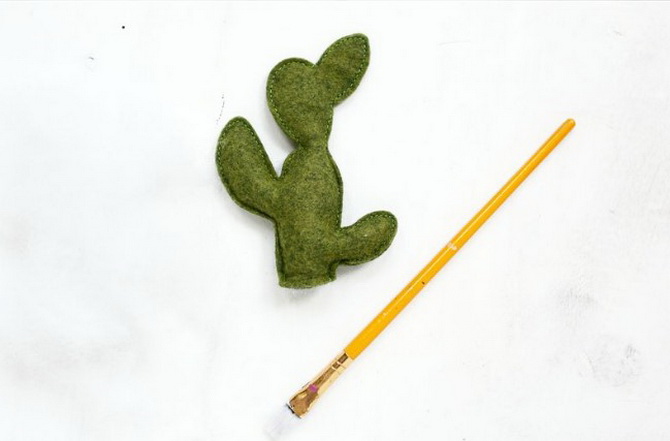
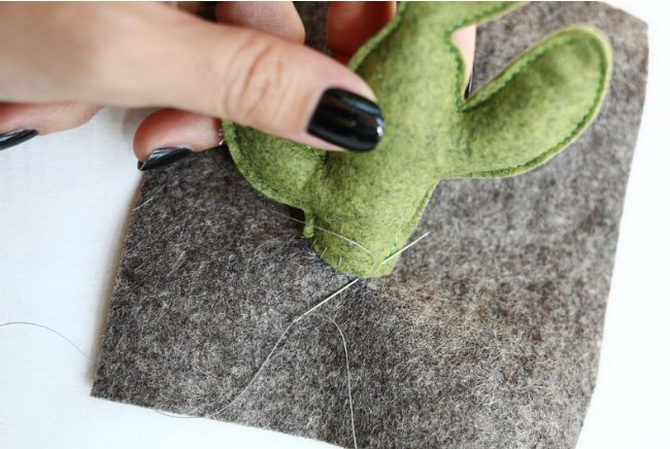
Once we have our cactus ready, use a needle and thread to attach the underside of the cactus to the gray felt you will be using as cactus soil. Next, cut the foam to the diameter of the pot and repeat the technique of moving into the pot, as in the previous version.
Third option
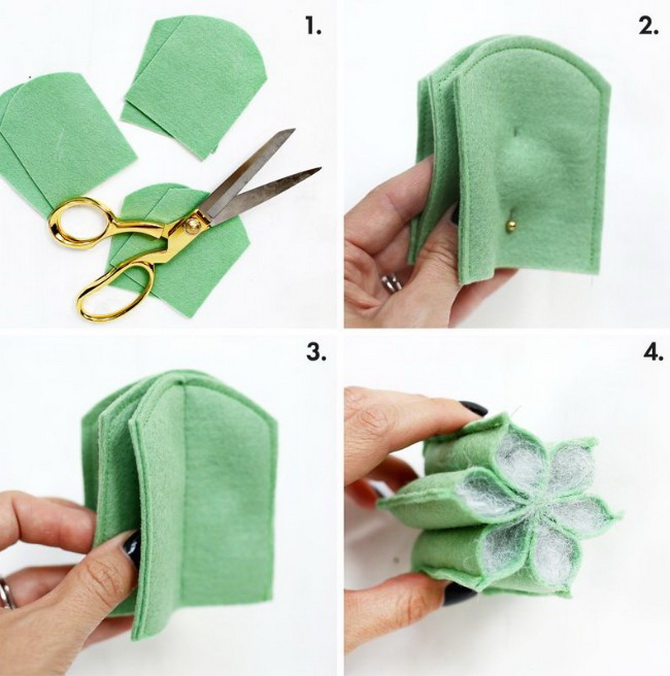
For the third type of cactus, make a paper template with a rounded top in the form of a dome of any size. You can make it high, low or wide – as you wish. Using the paper template, cut out 6 pieces from the green felt. Fold the two pieces together and sew along the edge with an overlock stitch (or on a sewing machine), leaving the bottom open. Sew the other two pairs in the same way. Stack three pairs of cactus on top of each other and sew down the middle of the fabric, sewing all the pieces together. Stuff each piece with filler until the cactus is in the desired shape. The technique for placing the finished cactus in a pot is the same as for the previous options.
If you want to decorate cacti a little, you can cut out small flowers from colored felt and glue on top.




Only registered users can leave comments