

In preparation for the wonderful Easter holiday, we create beautiful and original krashanki. And they can be decorated in different ways, for example using wax. We at joy-pup tell you how to decorate Easter eggs using wax.
You will need:
- Chicken eggs (already boiled)
- Candle wax (you can use multi-colored wax)
- Small brush and needle
- Egg dyes (food grade)
- Pot
- Dye glasses
- Spoon
- Thick paper or newspaper
- Napkins or cloth for wiping eggs
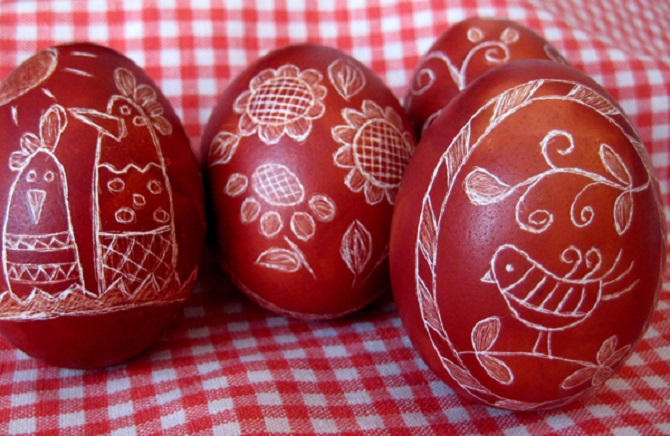
Master class on how to decorate Easter eggs with wax
- Prepare the dyes according to the instructions on their packaging. Pour them into glasses or bowls. Place all materials on the table so that it is convenient to work.
- If the wax is hard, heat it in a water bath to melt it. Using a brush and needle, apply a variety of designs to the eggs. Feel free to create.
- Dip the waxed eggs into the dye. Hold them for 5-7 minutes.
- After this, pull the eggs out of the dye and place them on paper. Let them dry completely.
- Next, carefully wipe off the wax from their surface using a napkin or cloth. You will see that the patterns you drew with wax will remain light.
- If you want your eggs to shine, you can apply a small amount of vegetable oil to them and gently wipe it off the surface.
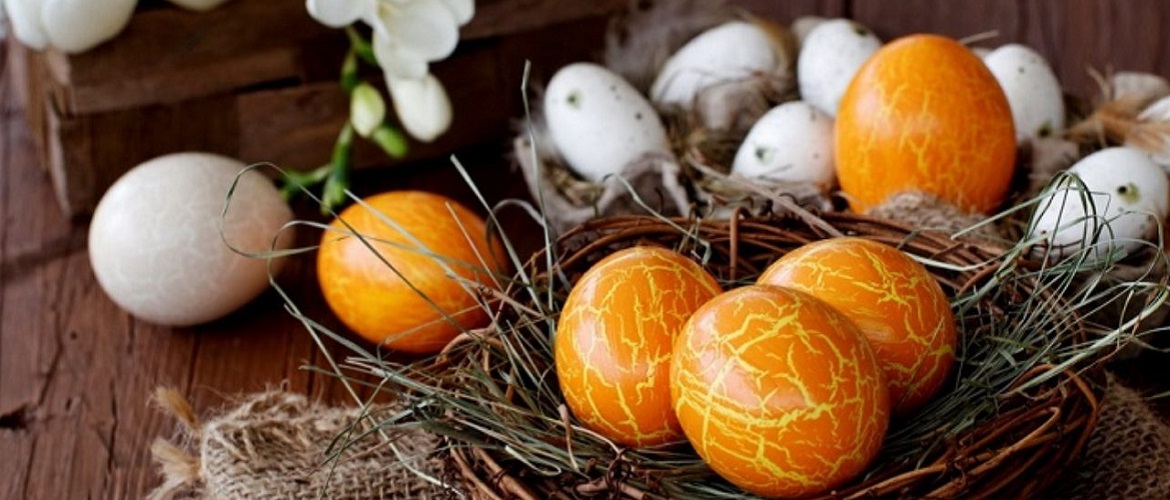
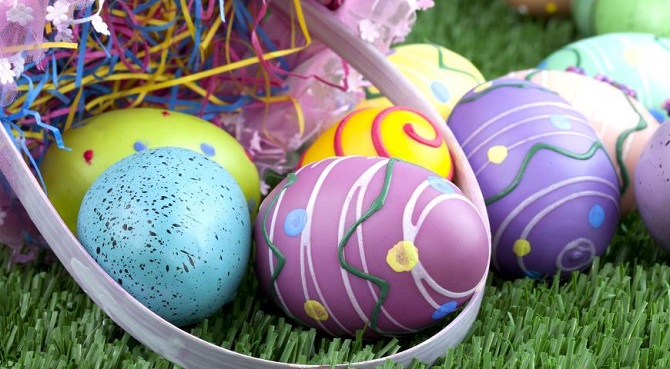
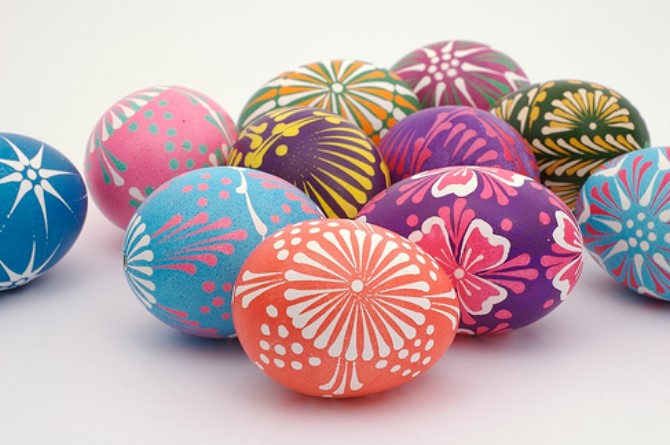
Easter egg decor with wax: photo

Изображение


Spring compositions from natural materials...
5 February 2026

DIY New Year’s Photo Booth: TOP 8 Ideas for...
16 December 2025

New Year’s decor with dried oranges...
12 December 2025
Only registered users can leave comments