

The art of creating objects from epoxy resin has become a popular trend in the world of needlework and design. And today you can easily make a clock with your own hands that will decorate the wall of the house. We offer a simple step-by-step master class.
Watch a bonus video on how to make an epoxy clock
Step 1: Prepare materials and tools
Before starting the process, you will need the following materials and tools:
- epoxy resin and hardener;
- mold for casting – it must be of the required dimensions, transparent or with a substrate to create interesting effects;
- quality clockwork;
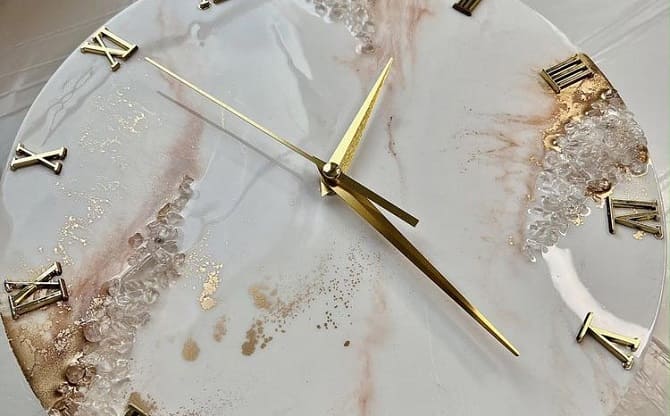
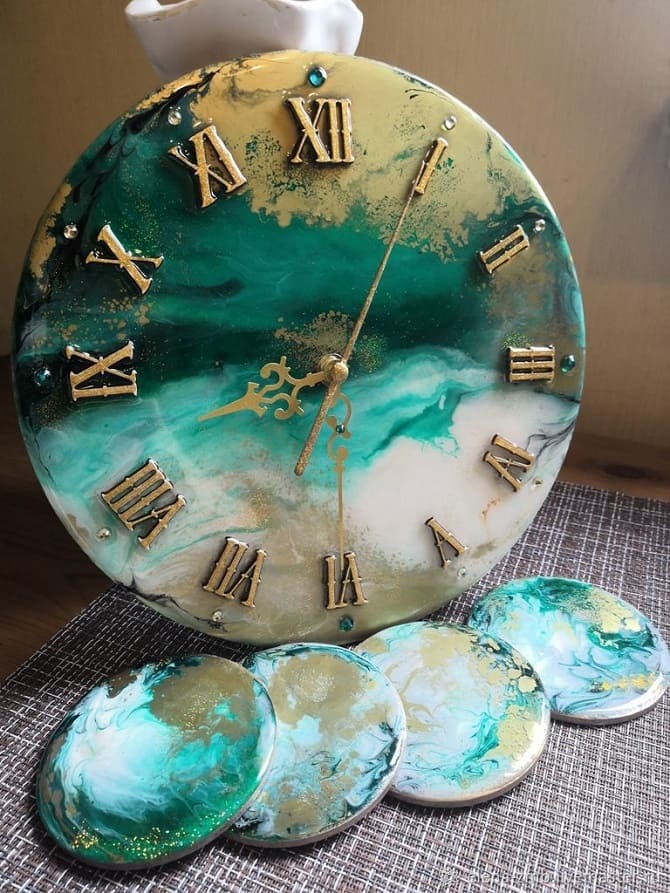
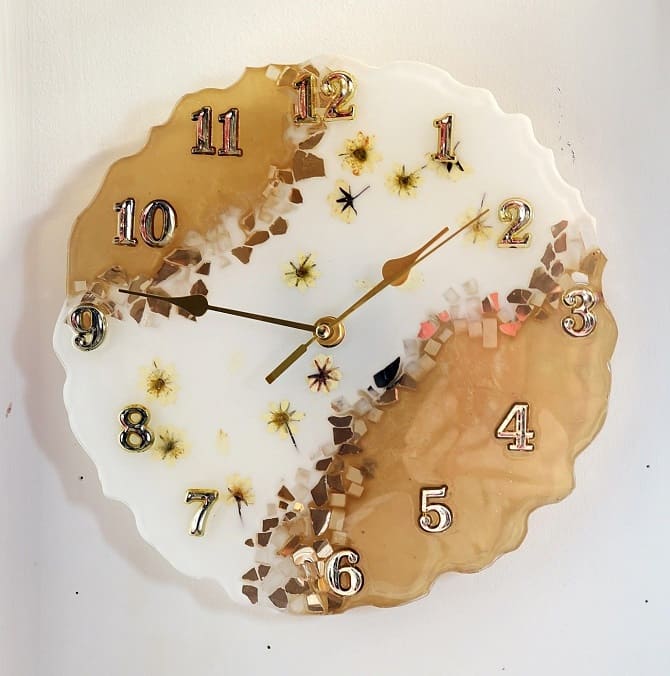
- dial with arrows – choose one that fits the style of the future watch;
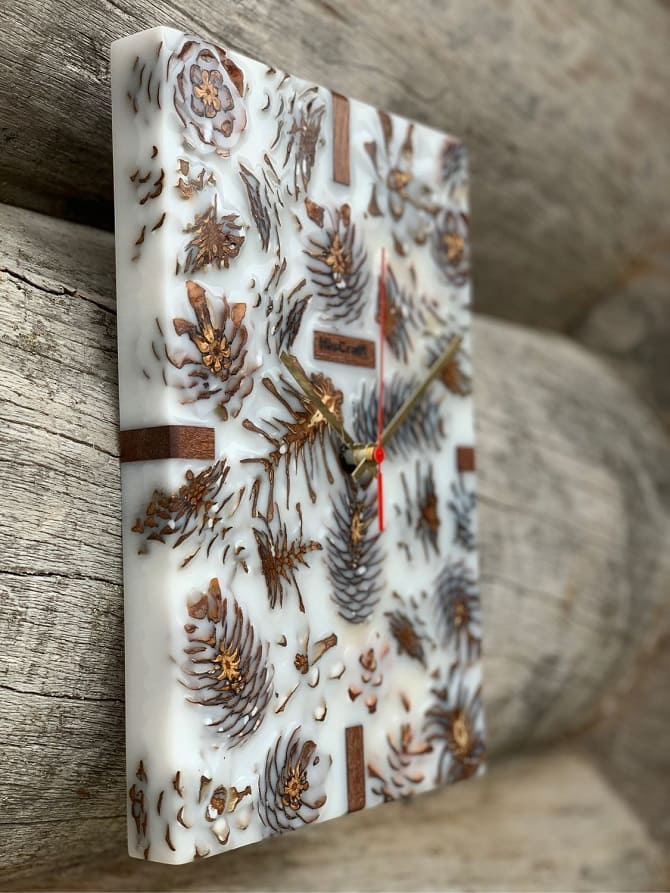
- pigments, glitter, dried flowers and other decor;
- measuring cup, sticks for mixing material, scissors.
Step 2: Mold preparation and design
You need to carefully consider the design of the watch, or you can use the options that we show. Hours can be simple, even. But the best models look in the original, unusual design, with a layered structure.
Prepare the shape for the design of future watches, which will allow you to achieve ideal options.
Step 3: Pouring with Epoxy
Epoxy must be mixed immediately before pouring into the mold. Otherwise, it may harden even before you start working with it.
As a rule, the material is mixed with a hardener, following the proportions indicated on the package. After all, each manufacturer can take certain polymers as a basis, and the proportions for them, as well as the mixing temperature, may differ.
But basically the proportions can be as follows: 10:1, 10:6, 10:4. In any case, read the instructions, otherwise the lack or excess of hardener may lead to a decrease in the quality of the mixture.
Mix the epoxy with gloves, a protective coat and goggles. If you want to add pigments or decorative elements, add them to the liquid material.
Once the mixture has been prepared, carefully pour it into the mold, creating beautiful layers as needed. Use a hair dryer to remove air bubbles.
Step 4: Adding Items
After the top layer of resin has hardened a little, insert the clock mechanism into the appropriate place. Next, install the dial and hands according to the instructions that came with the movement.
Step 5: Finishing
After the resin has completely cured, remove the clock from the mold and carefully finish the edges, if necessary, so that they look beautiful.
Add finishing touches, various decorative elements with which the watch design will be unique.
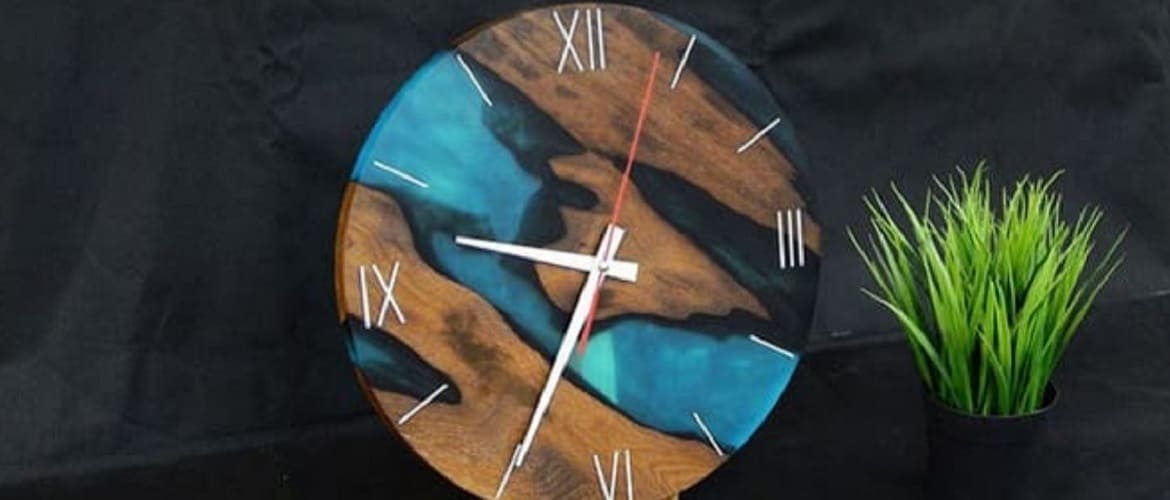
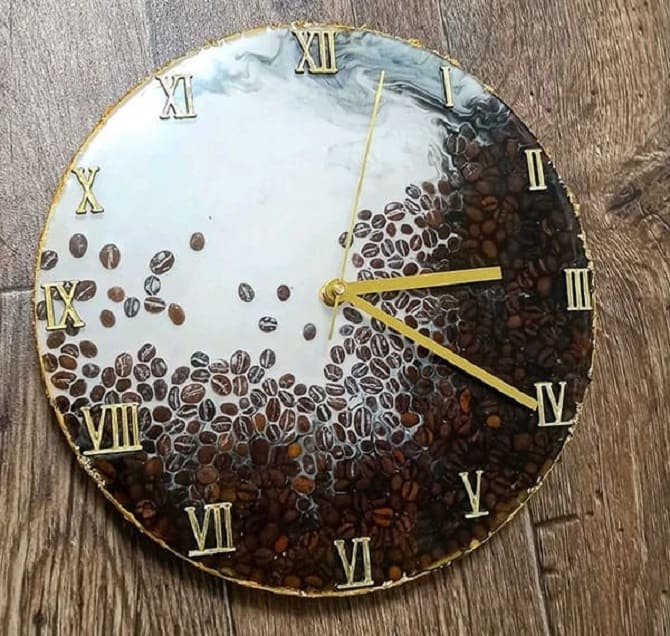
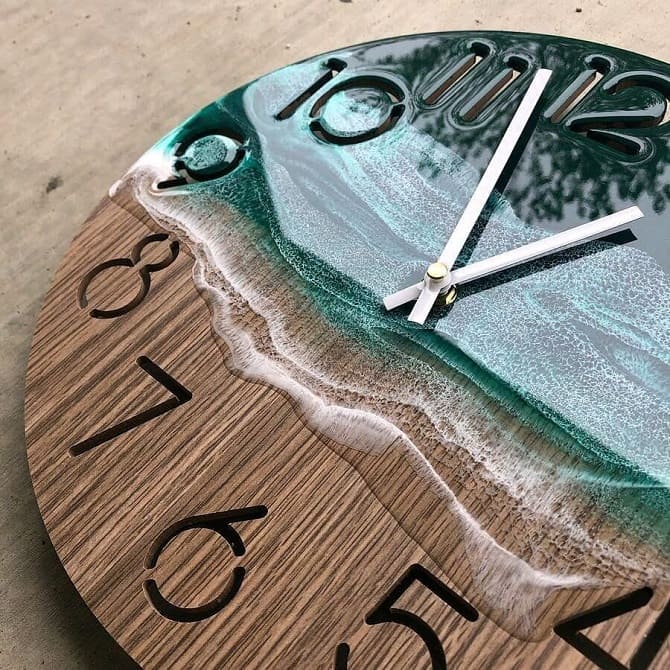
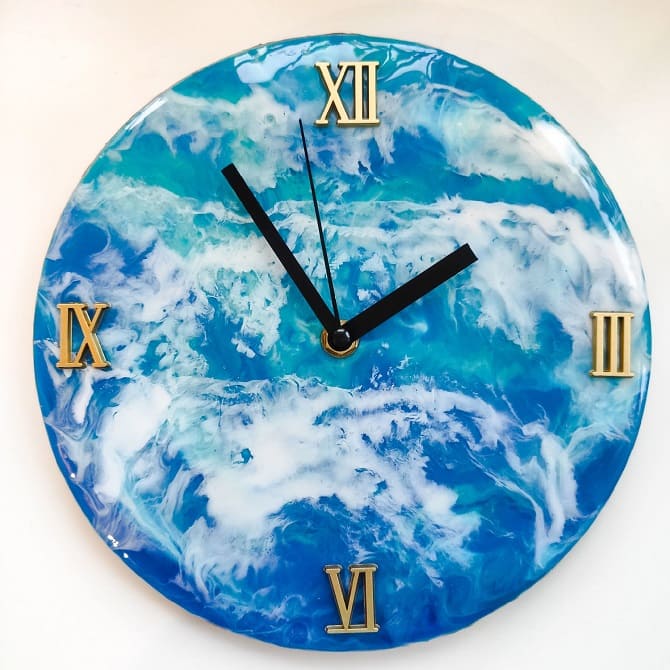
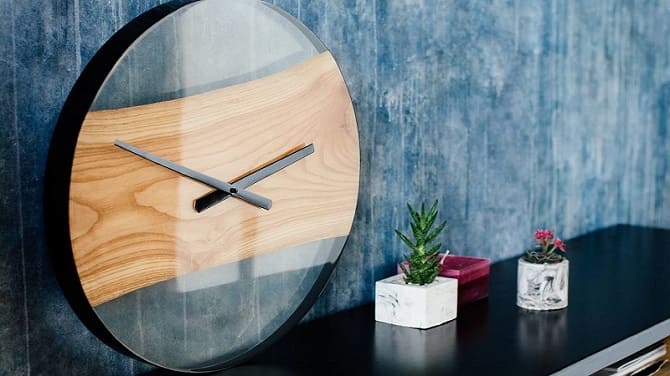
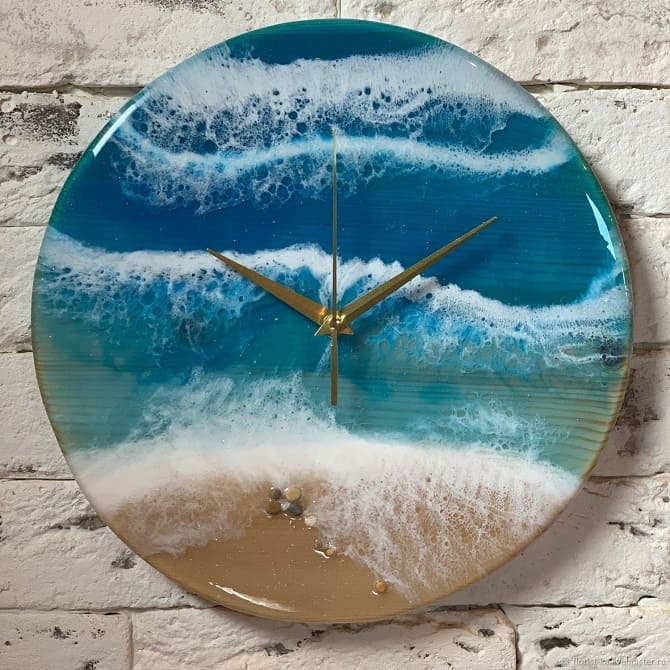
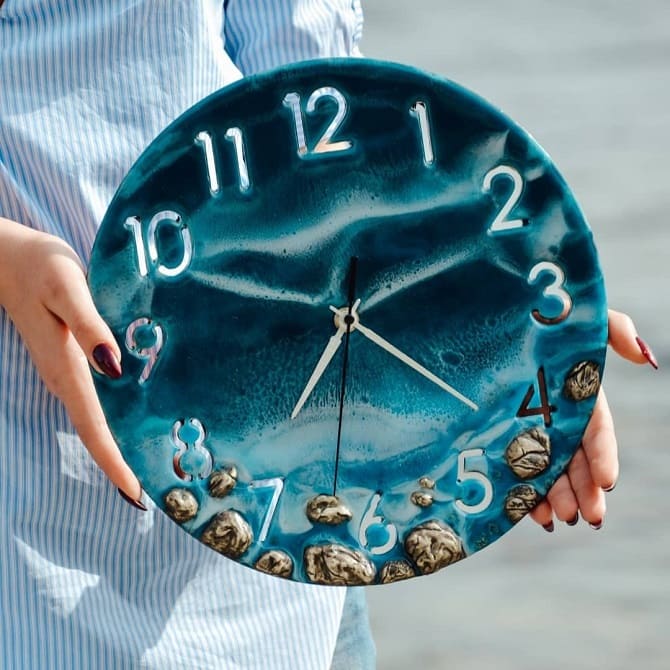
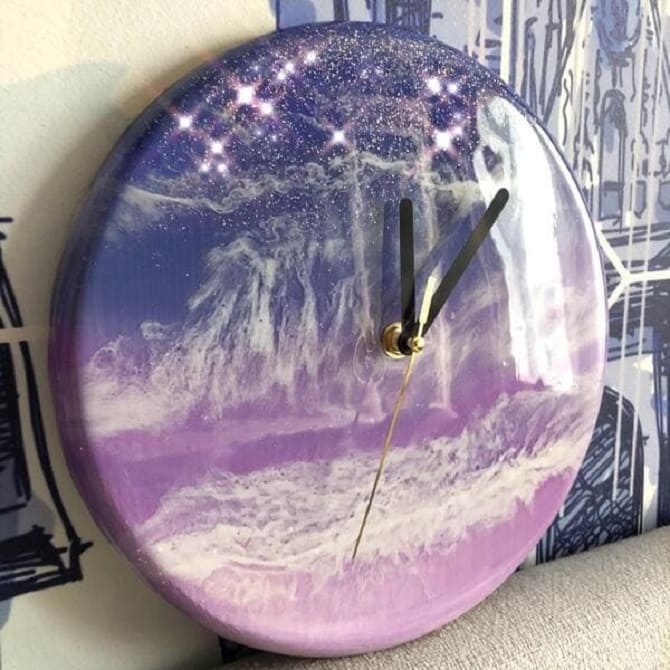
See do-it-yourself epoxy resin clock options:


To be continued…


Only registered users can leave comments