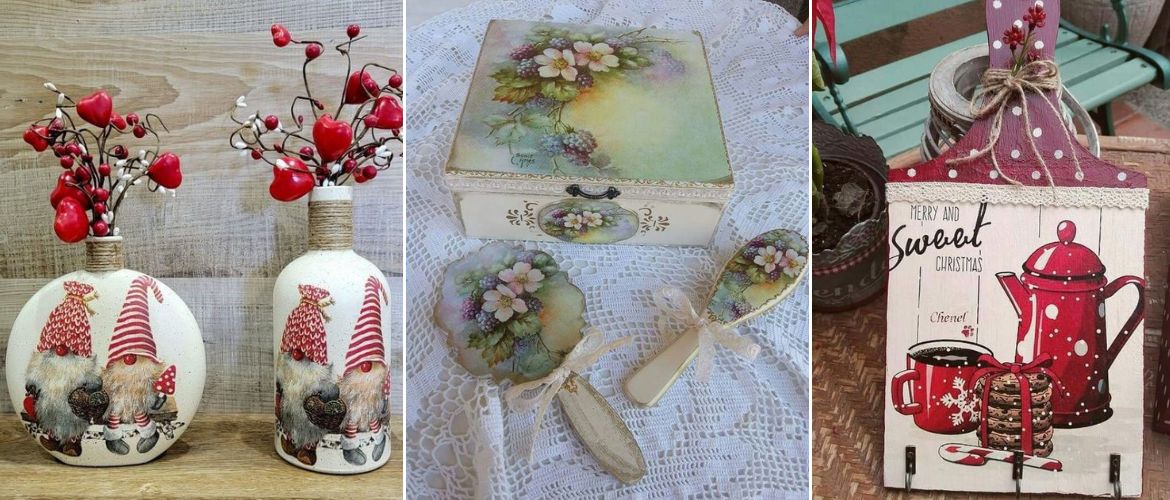


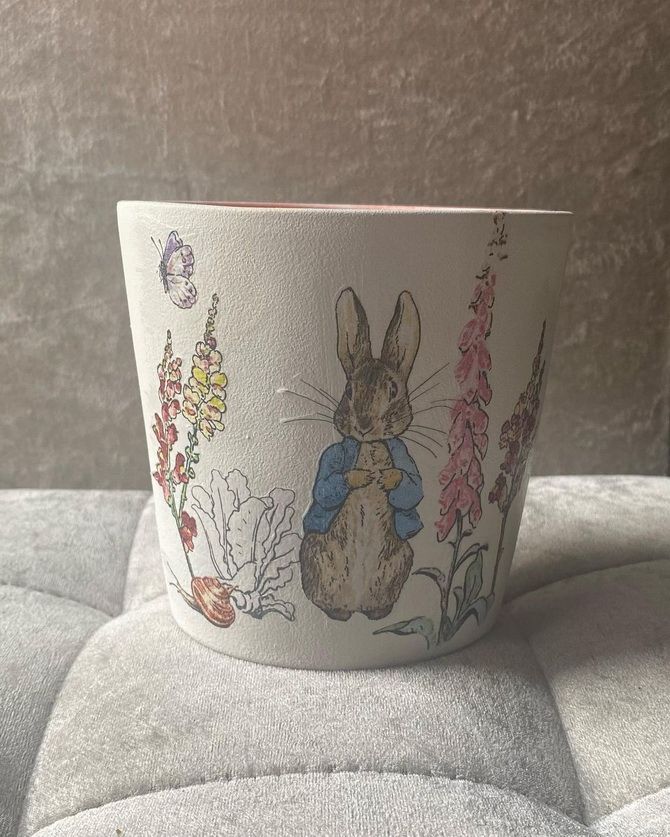
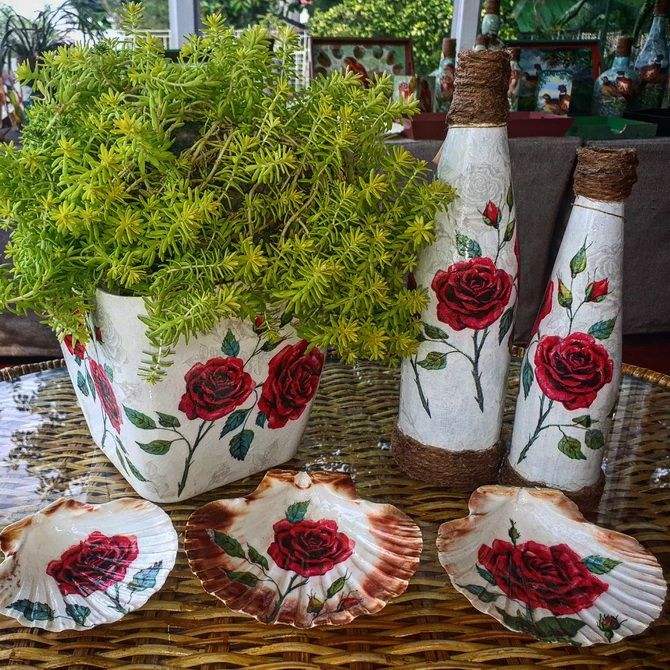
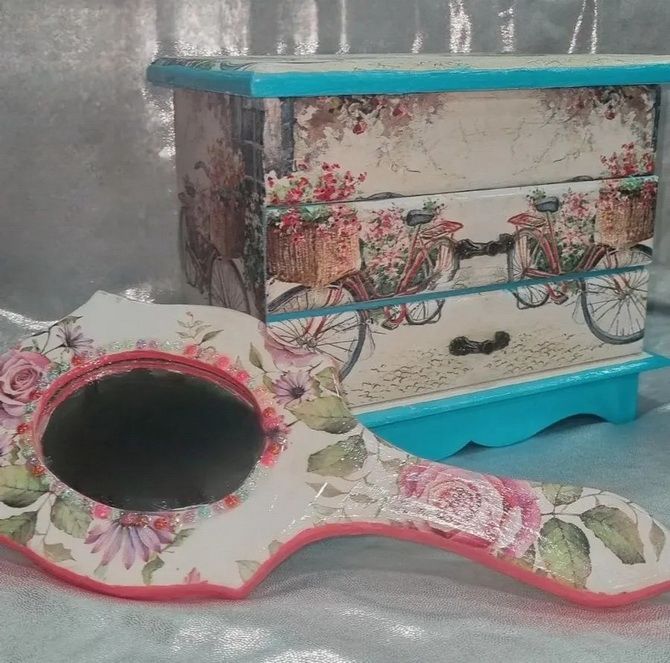
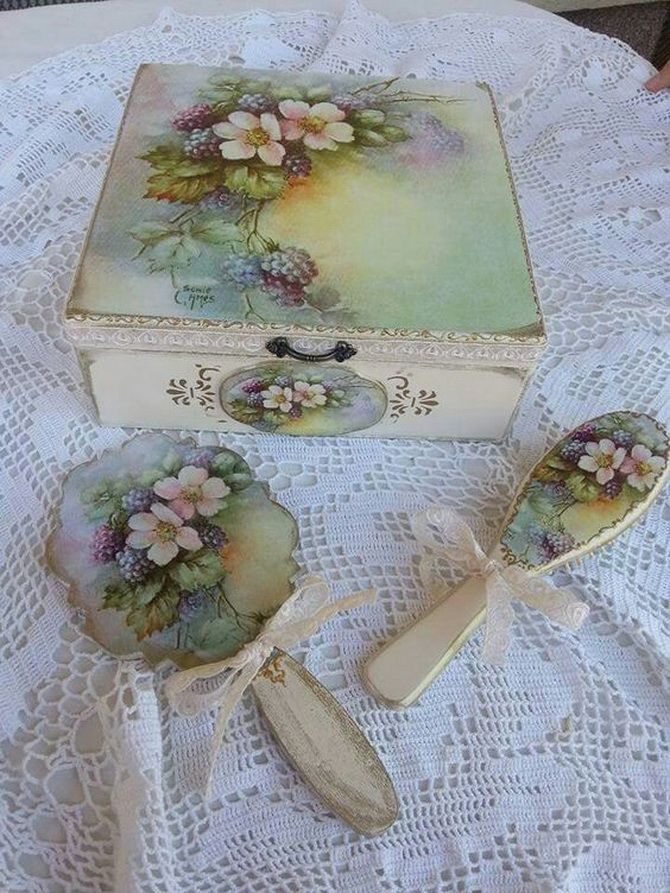
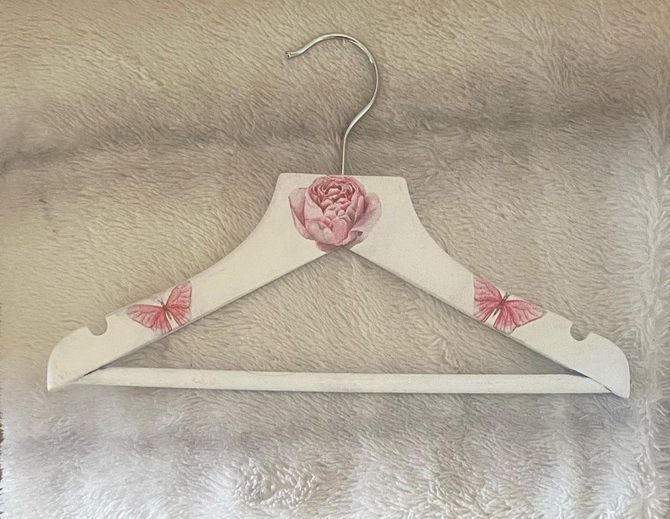
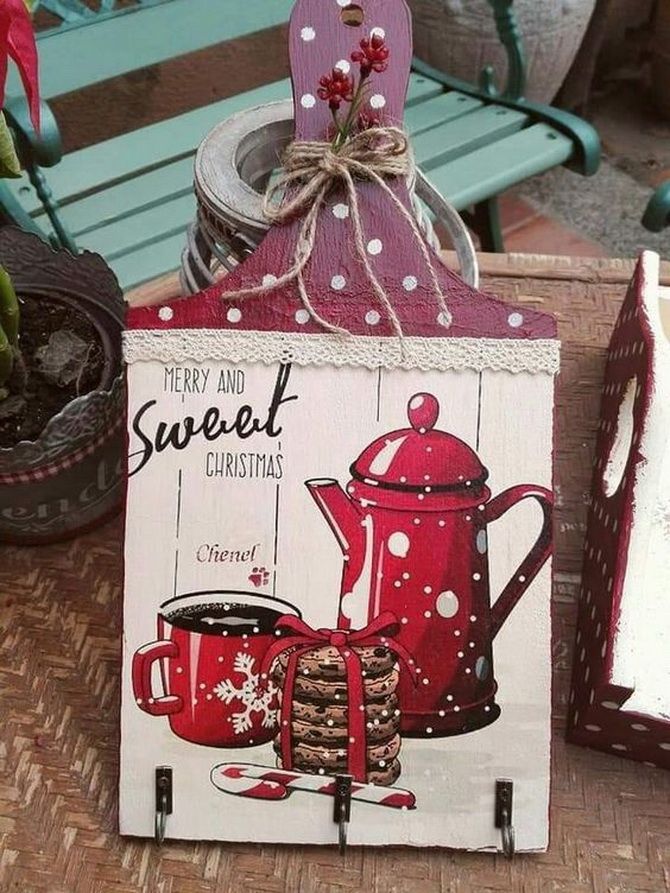
Decoupage is a pleasant and exciting handmade activity. The result can be so beautiful that it seems like a professional work. This type of creativity can be used to update and decorate furniture, household items, create jewelry and souvenirs for various holidays. Look at joy-pup decoupage ideas and techniques.
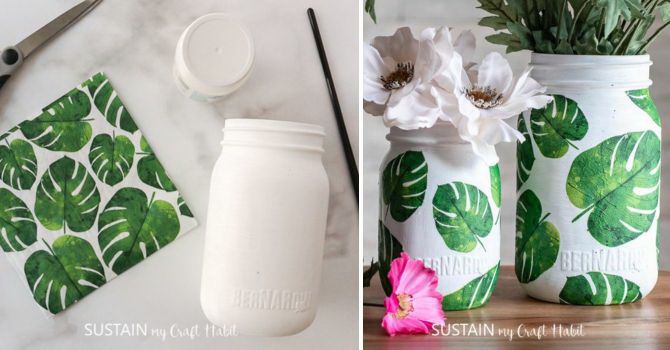
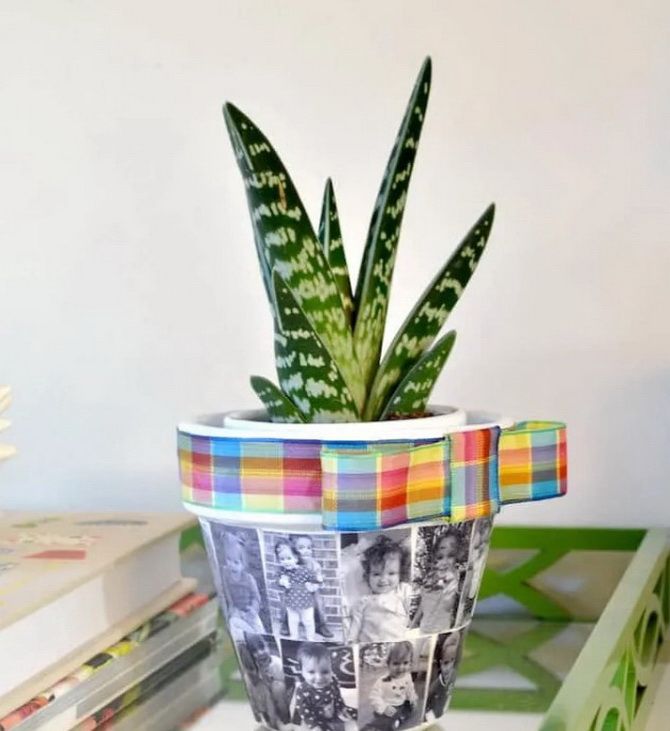
Bonus Video Flower Pot DIY Design – Decoupage with napkins
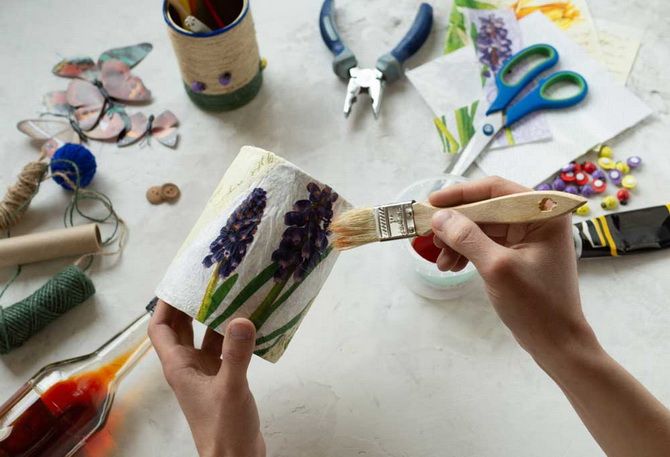
Decoupage materials
Paper. The first and most basic material that you will need to apply the decoupage technique, of course, will be paper. There is a special paper designed specifically for decoupage. which is great for smooth surfaces. Most often, craftswomen prefer three-layer napkins. There are other alternatives for decoupage that will serve as sources of inspiration.

- Wallpaper
- Wrapping
- Textile
- Postcards
- Newspapers magazines
- Photos
- Rice paper
Napkins and wrapping paper are the best choice for decoupage. They are fairly easy to cut and come in a wide variety of designs. If you are a beginner, it is best to start with pictures that have clear outlines. This way you don’t have to worry about the result not being worth your efforts.
Glue for decoupage. Once you have cut out the paper with your chosen design, it should also be glued to the surface you want to decorate. In craft stores you will find special glue for decoupage. This glue works like glue and varnish for perfect results. If you want to save energy and money, you can try alternatives that you probably already have at home.
- Polyvinyl adhesive
- Spray adhesive
- PVA glue
You will also need: acrylic lacquer, acrylic paints, primer.
Tools. You will need sharp scissors to cut the napkin. Thus, you will be able to cut clear lines without defects. For even better work, you can use a clerical knife. You will need a brush to apply the glue. Have a small piece of cloth, a sponge, and a few cotton swabs ready to wipe off any stains. You will also need sandpaper to sand down any rough surfaces before applying the decoupage technique to them.
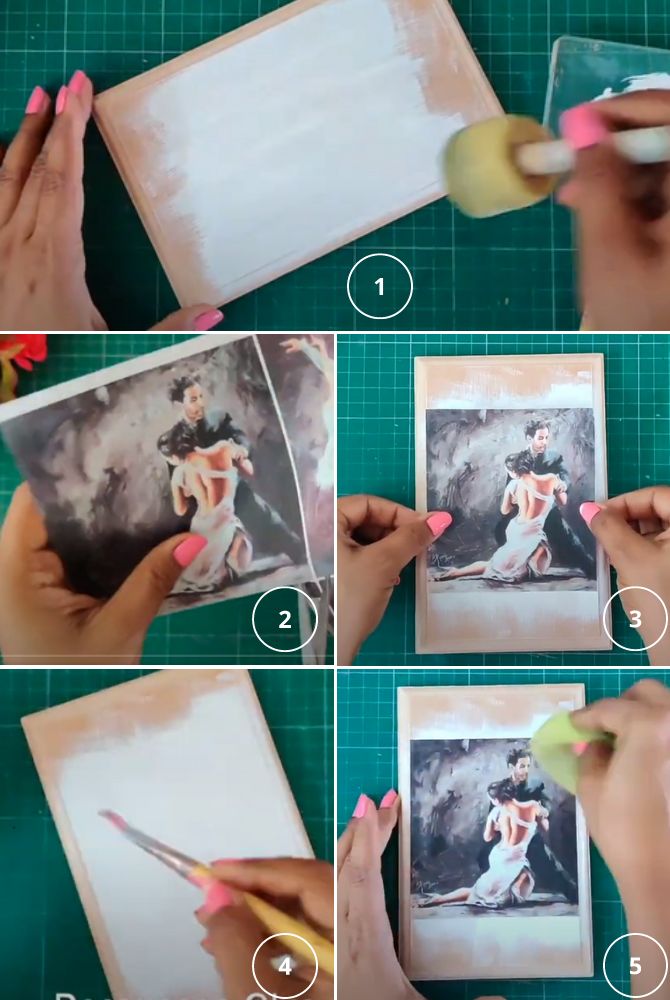
Decoupage technique
The name of the technique comes from the verb “découper”, which means “to cut” in French. The art of decoupage consists in tearing or cutting paper with a pattern, and then gluing the pieces to any surface. With it, you can breathe a second life into old objects. This is a very simple process that any beginner in needlework can handle.
- Paint the surface with white acrylic paint or primer. This will help the colors on the paper look brighter and more vibrant. Let the paint dry.
- Cut off the part of the napkin that contains the pattern or design. If the picture is torn off by hand, it will look softer when finished, and the edges will blend better with the background.
- Apply some glue to the surface, covering an area slightly larger than the piece you are going to stick on.
- Glue the picture to the surface with a brush and glue. Gently remove any adhesive bubbles with a brush. Let the glue dry a little for about 30 minutes and apply a layer of glue to the drawing. Leave for several hours for the product to dry thoroughly. If you plan to apply additional decor to your project, do so when the surface is well dry.
- Apply several layers of varnish – glossy or matte. The clear protective varnish stabilizes the sheet of paper and makes it waterproof. So you protect your product from water and wear from time to time.
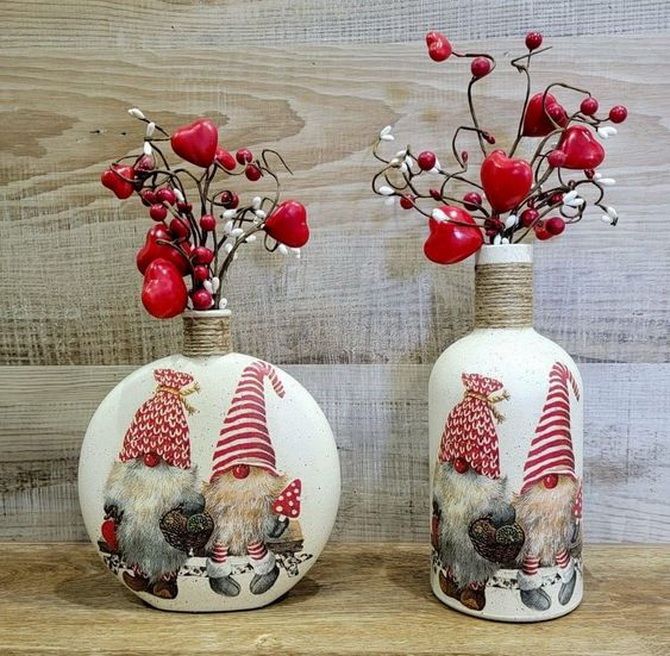
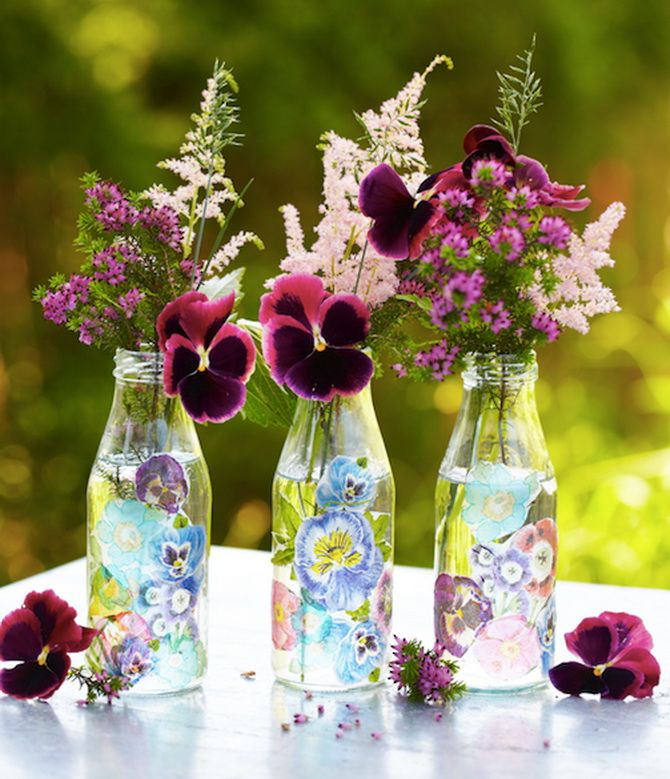
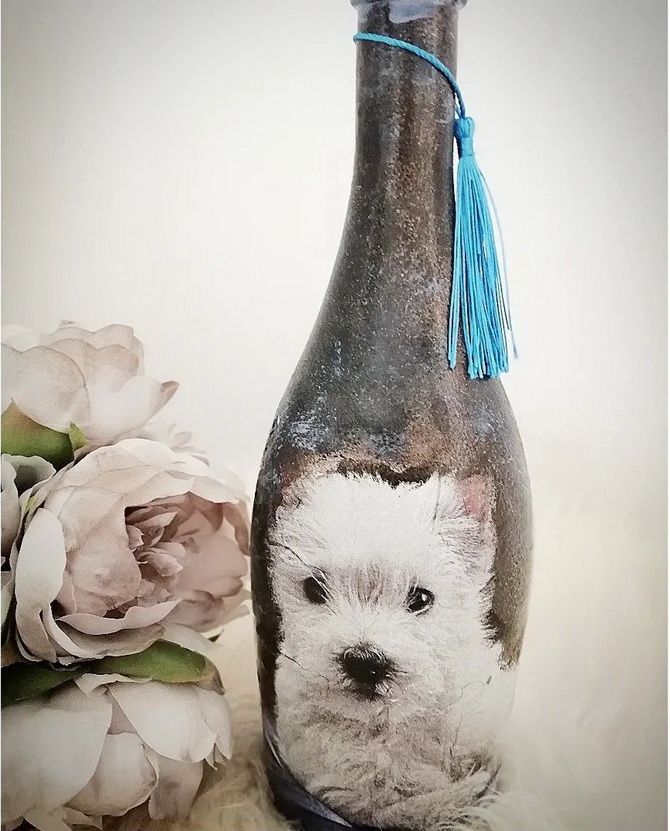
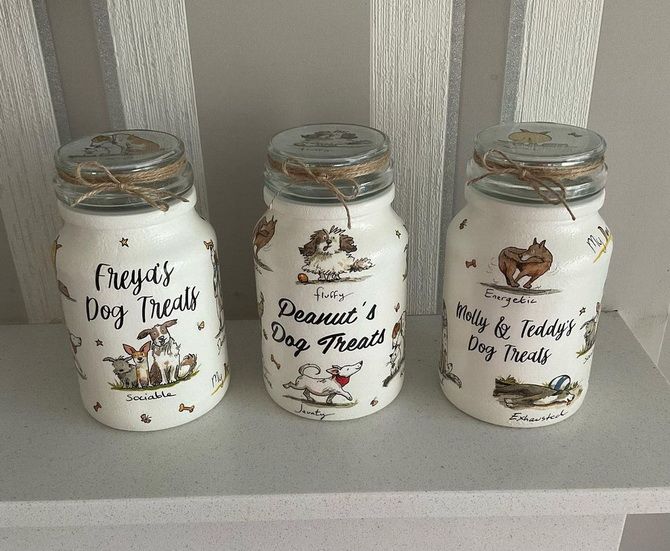
Decoupage on glass
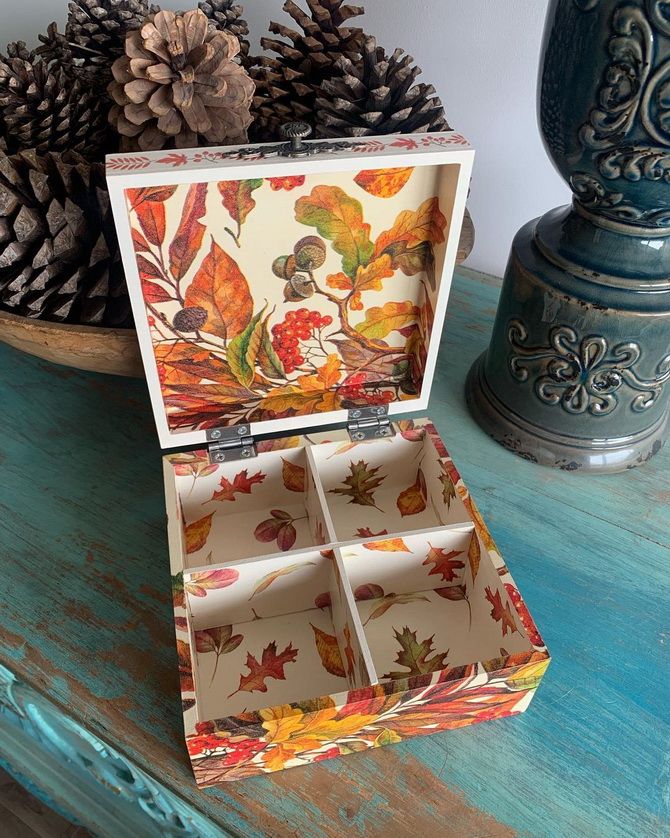
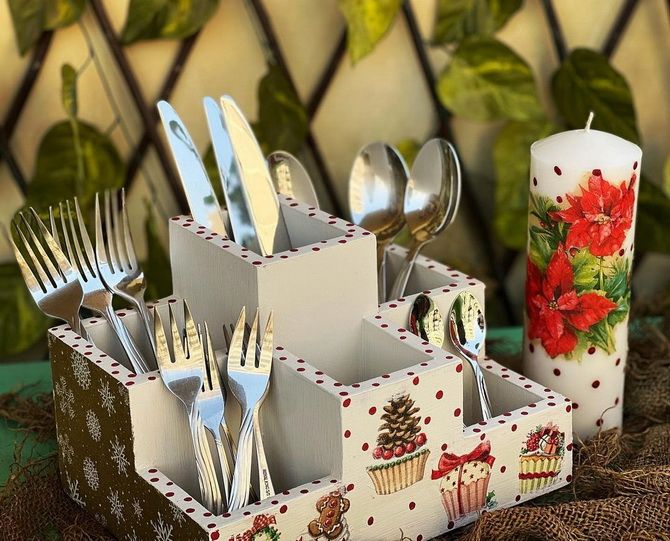
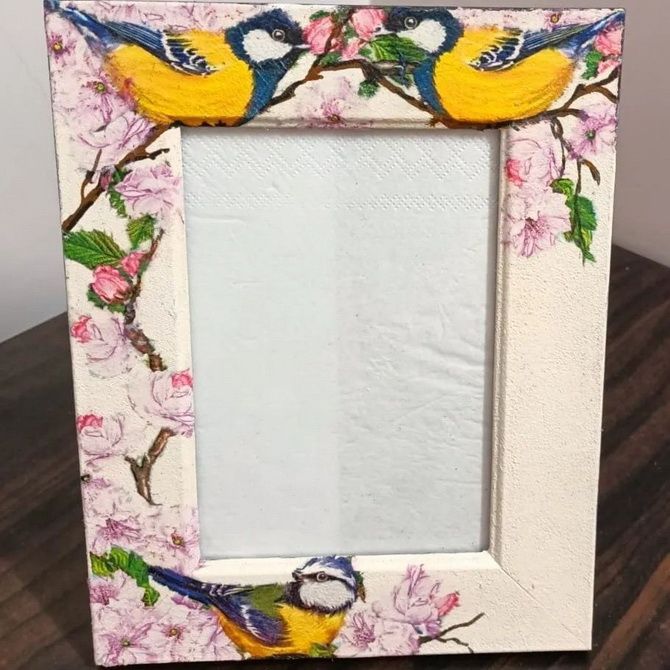
Decoupage on wood
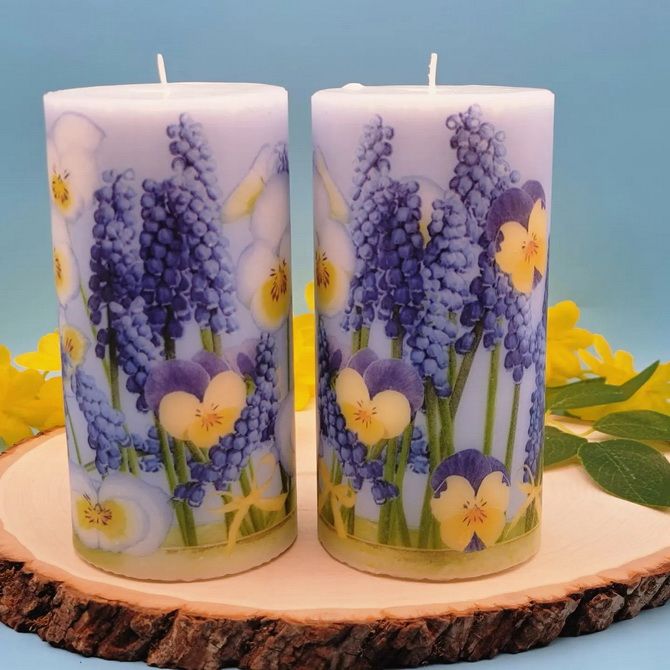
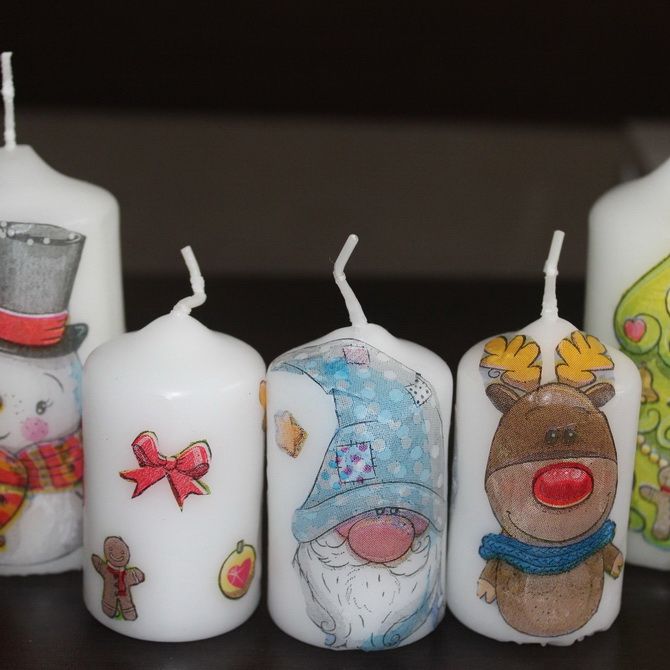
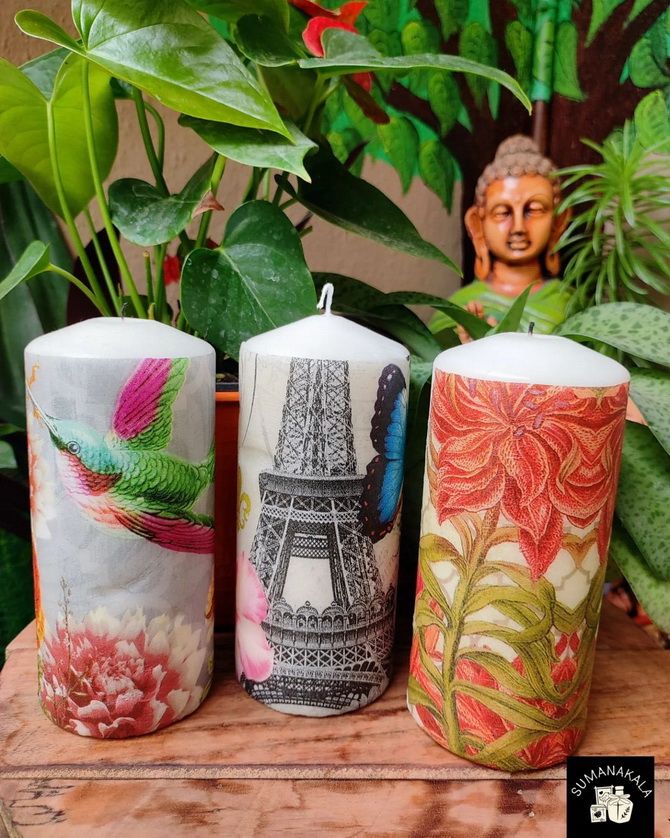
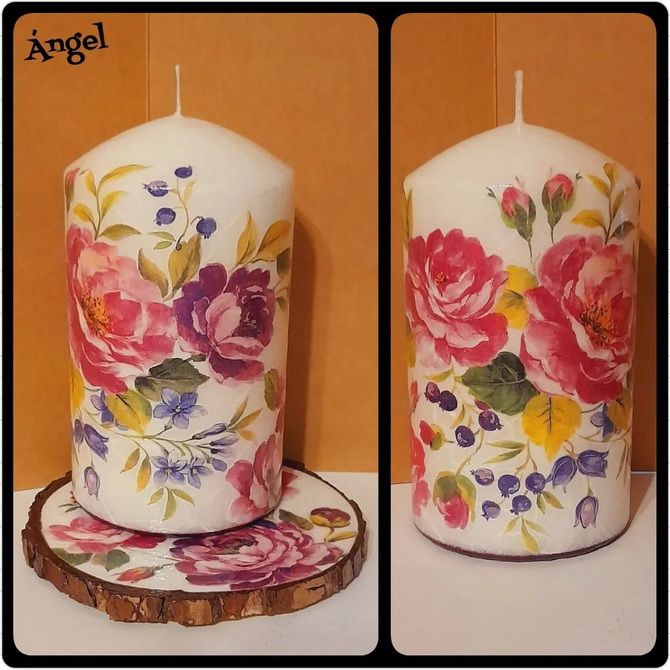
Decoupage on a candle
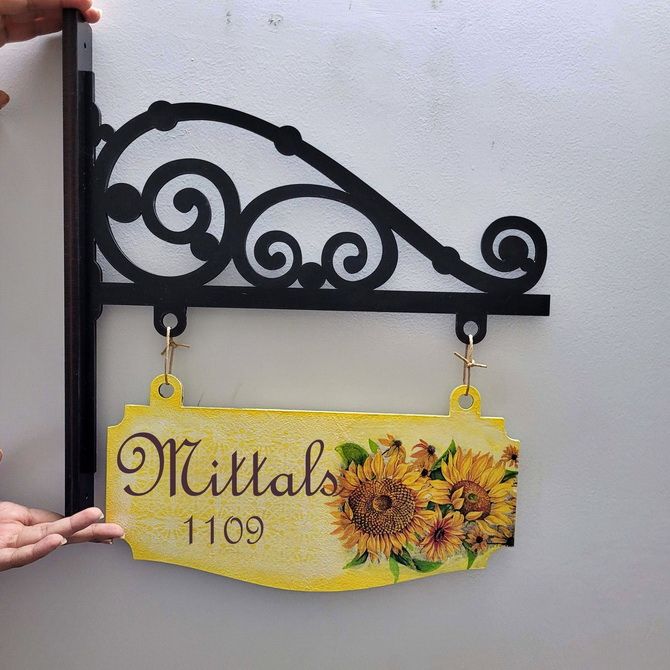
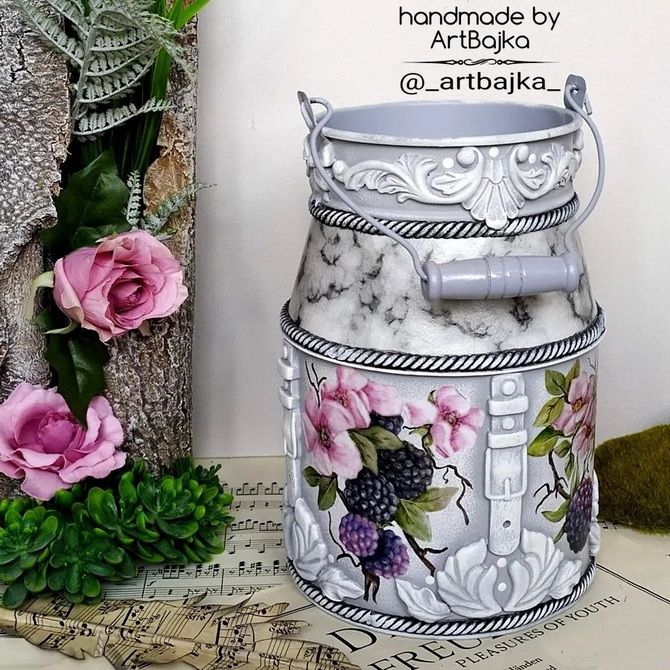
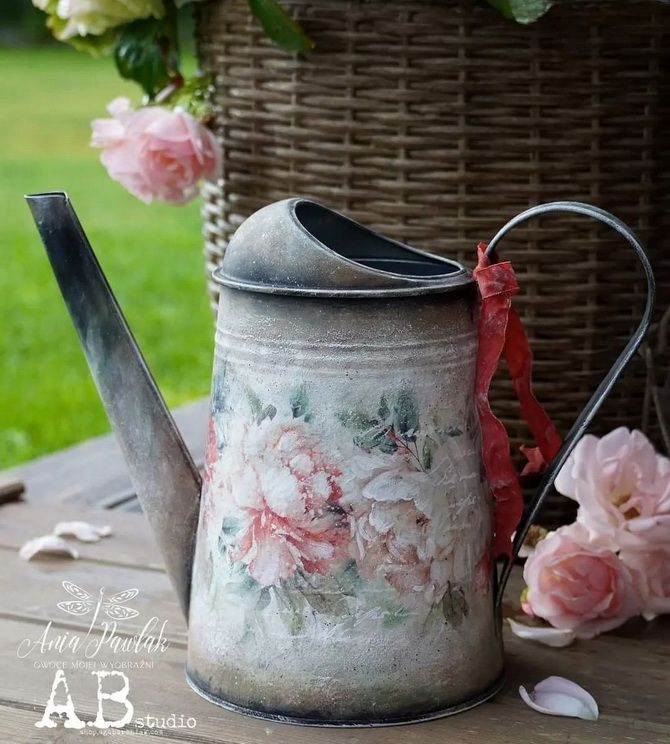
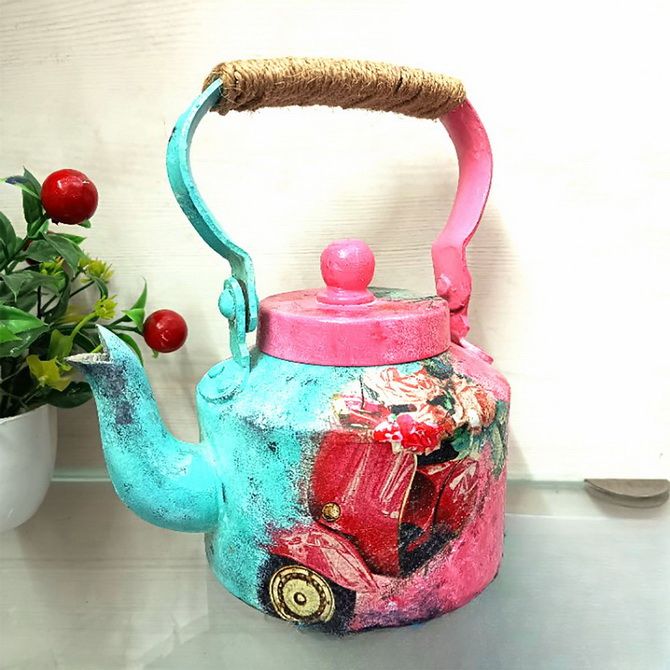
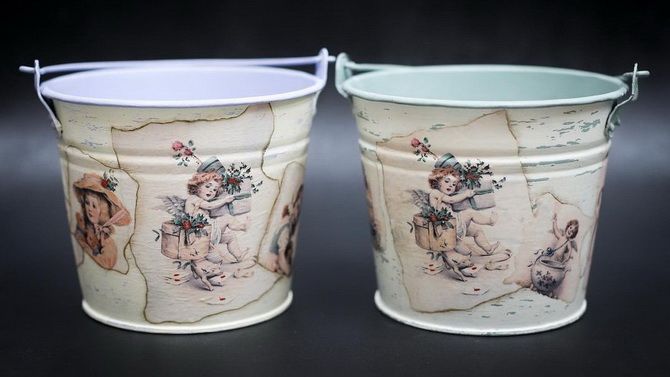
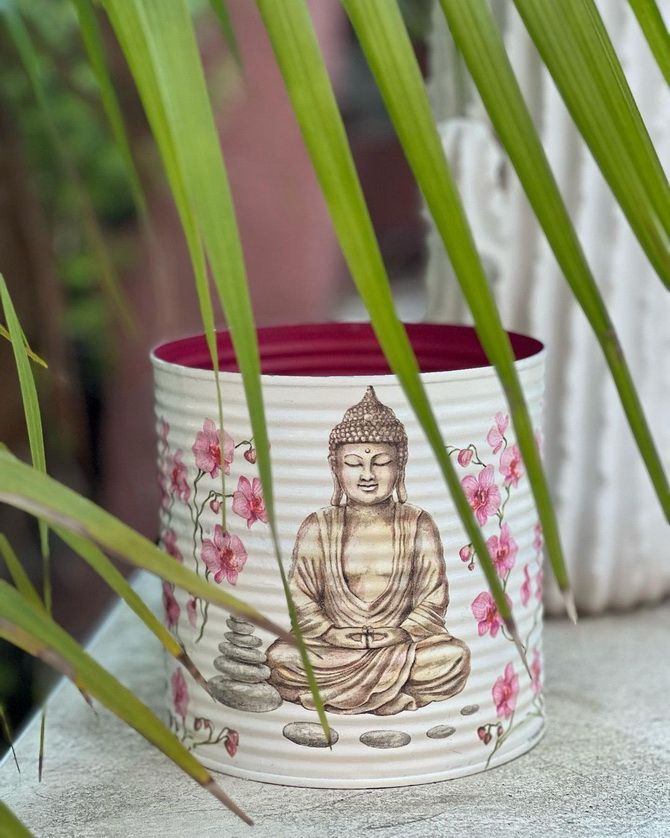
Decoupage on metal
To be continued…
Only registered users can leave comments