

Pine cones are a wonderful and unique material for children’s crafts. Their prickly texture opens up many interesting possibilities for creative ideas. We at Joy-pup will look at some easy and fun pine cone crafts for kids.
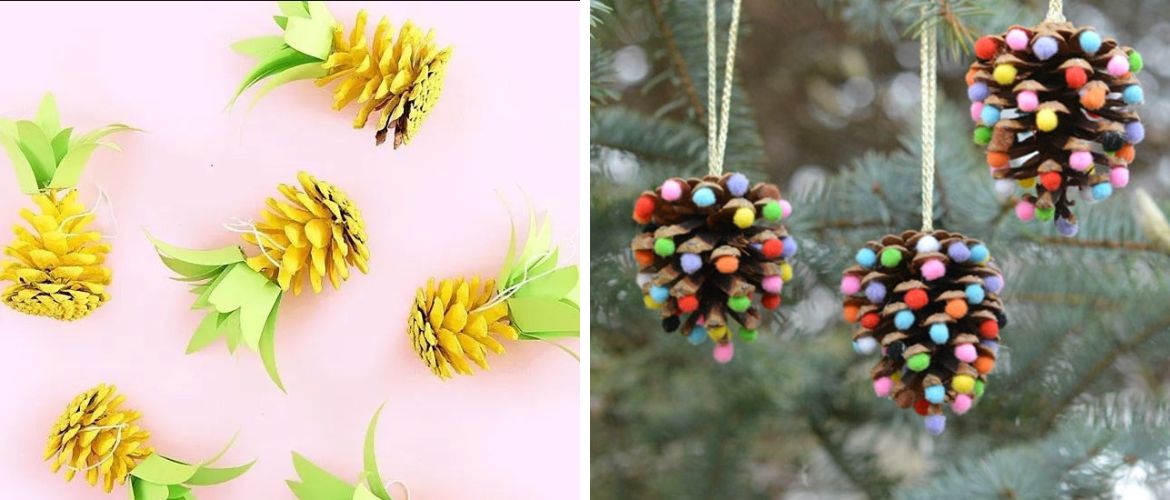
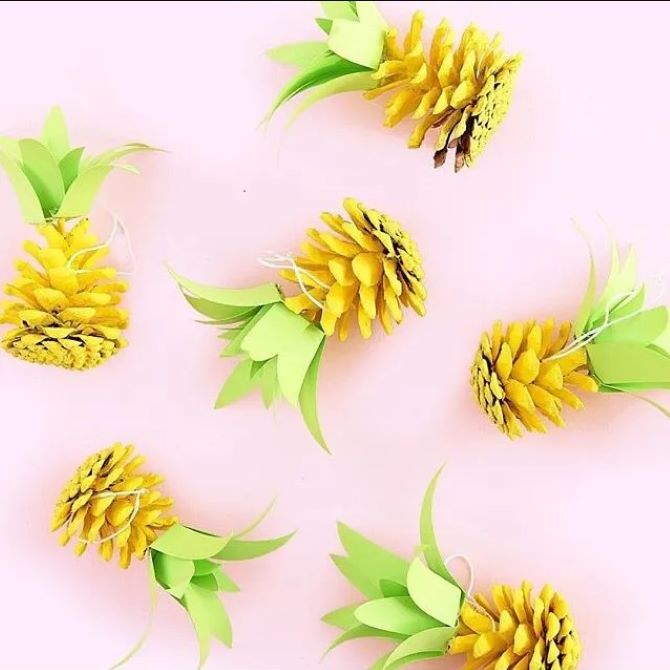
Pineapple
Making this exotic fruit is a fun activity for your little one, and the bright yellow color is a delight to look at.
Materials:
- pine cones;
- yellow acrylic paint;
- light green colored paper;
- glue gun;
- brush.
Progress
- Peel the pine cone, rinse and dry.
- Paint it yellow and add a few balls of paint to achieve a nice and vibrant shade.
- Cut 6-8 leaves from green paper, the length of which should be about half the length of the pine cone.
- Glue the leaves onto the top of the pine cone.
- After the glue has dried, use a pencil to roll the leaves outward.
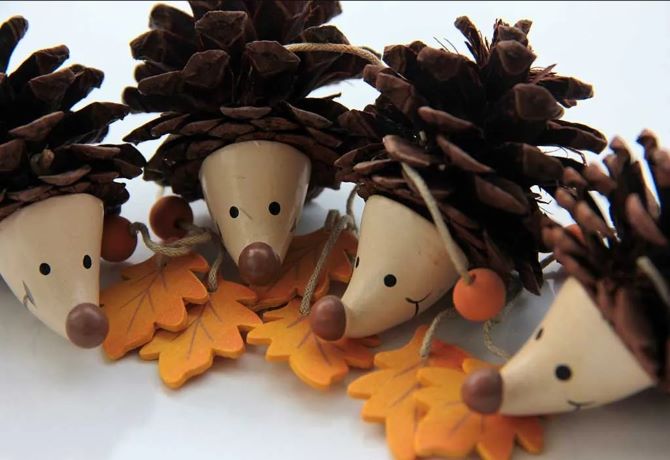
Hedgehog
One of the most fun things for little ones to do with pine cones is to make animal figurines, such as cute hedgehogs.
Materials:
- pine cones;
- brown paper;
- glue;
- scissors;
- stapler;
- brown plasticine;
- black marker.
Progress
- Place the pine cone on brown paper to measure its circumference. Draw a circle on paper according to the pattern.
- Cut out the circle and form a cone by making an incision on one side. Secure the ends with a stapler.
- Use a marker to draw eyes, ears, a nose and a smile.
- Glue the paper cone on top of the pine cone with glue.
- From plasticine, make a round spout and attach to the end of the cone.
Snake
Another fun animal craft idea using pine cones is to create a slithering snake.
Materials:
- pine cones 10-12 pieces;
- long rope;
- scissors;
- glue:
- plastic eyes;
- tongue cut out of red paper.
Progress
- Tie all the pine cones with string. Between the gaps of the rope should not be visible.
- Attach the eyes and tongue to the last pinecone to complete the craft.
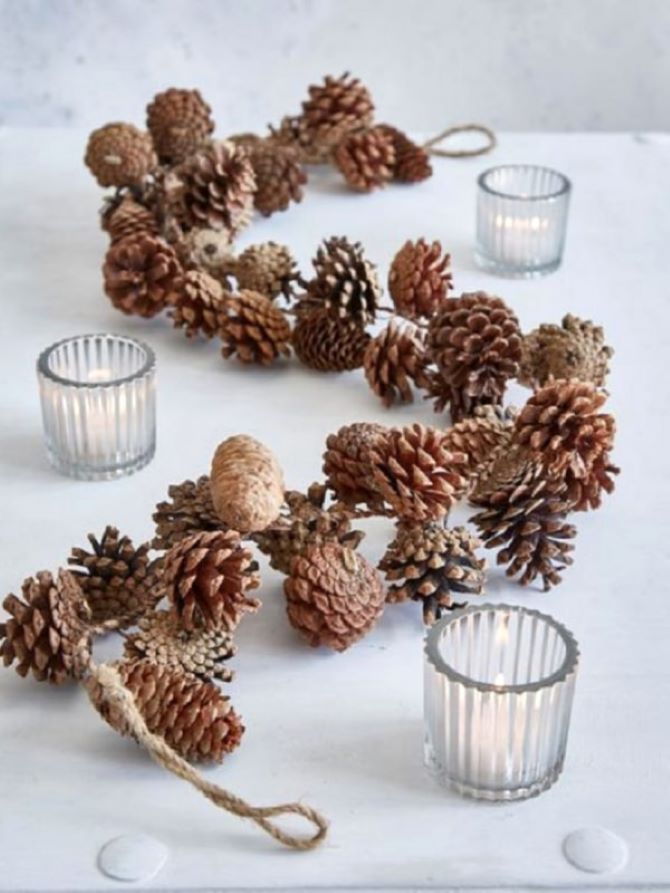
Mini composition of pine cones
Small pots of pine cones are a great home decor idea for a child’s room.
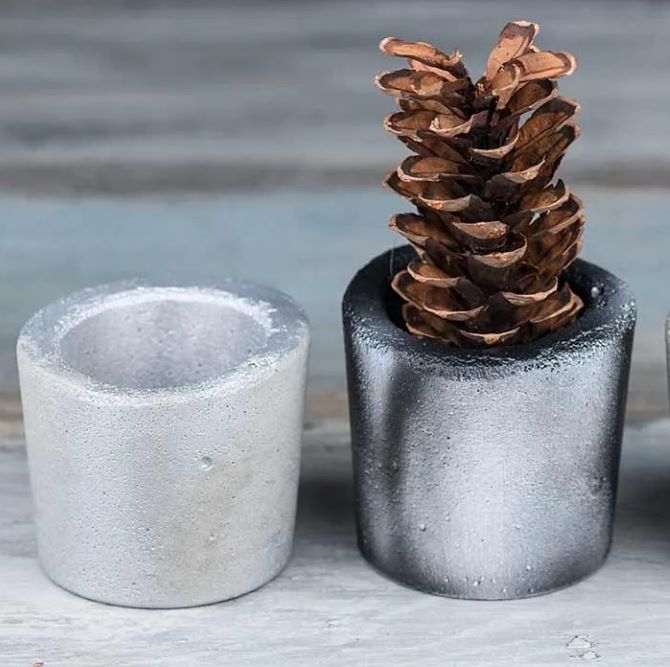
Materials:
- small cones;
- small pots (8-10 cm in height);
- silver acrylic paint;
- gold glitter powder;
- brush;
- glue.
Progress
- Take the pots and paint them silver. Let them dry.
- Using a brush, apply glue to the edges of the cones and sprinkle golden glitter powder on top. Shake the cone lightly to get rid of excess glitter.
- Place the pine cones in the pots and glue them down to help secure them.
Christmas decoration
These pom pom pine cone crafts are a great way to decorate a child’s room or use as Christmas decorations.
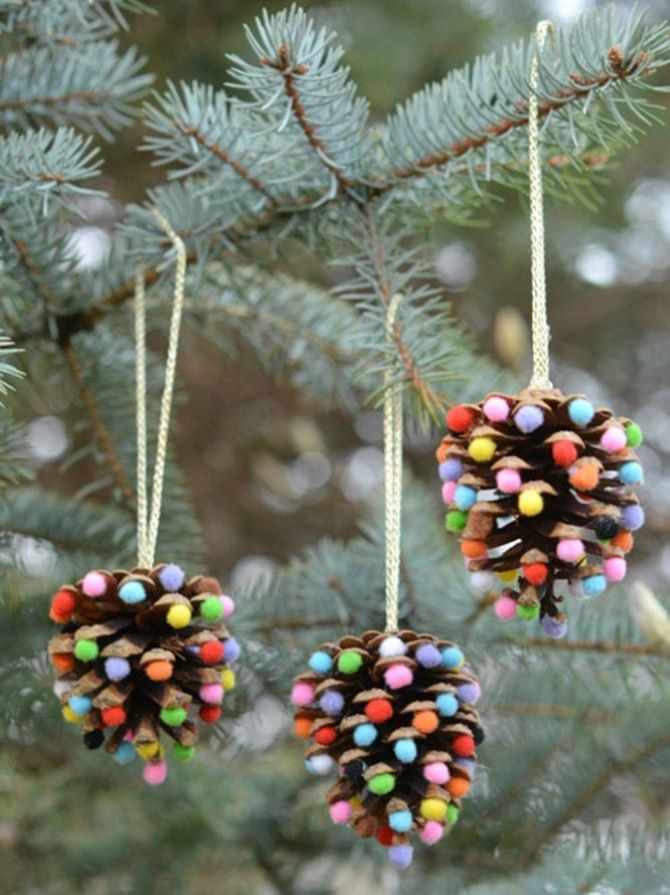
Materials
- small pompoms of different colors;
- gold thin rope;
- glue gun;
- glue.
Progress
- Cut the gold wire approximately 15 cm long.
- Make a loop of gold rope and secure it at the base of the pine cone for hanging.
- Apply glue to the pom poms and place them randomly between the pine cones.
- After complete drying, use the craft as you wish.

Only registered users can leave comments