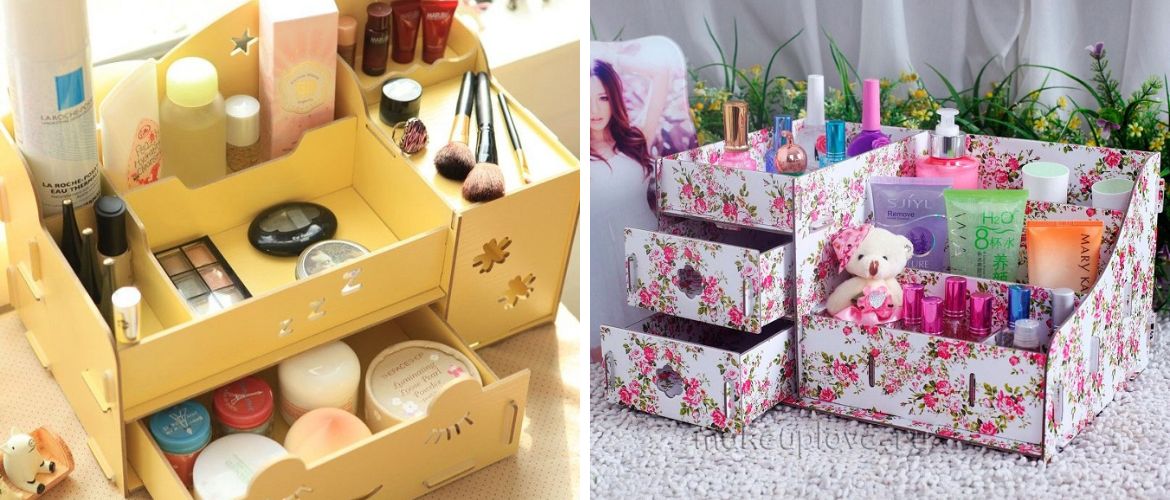

In the world of cosmetics and makeup, it is important not only to have good products, but also to store and organize them correctly. Makeup organizers are the perfect solution for this task, and making your own not only allows you to express your creativity, but also gives your makeup desk a personal touch. We at joy-pup offer several creative ideas for creating a DIY cosmetics organizer.
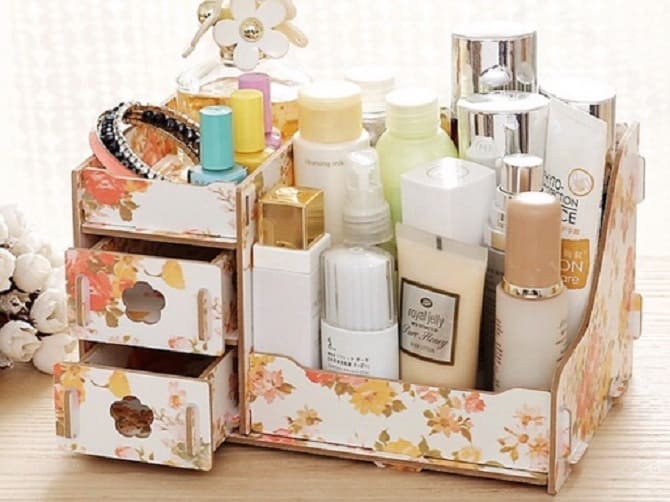
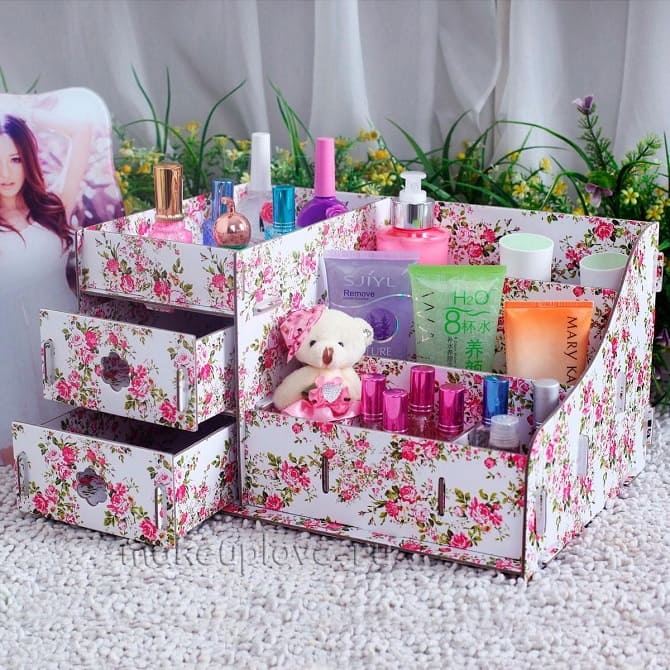
Organizer made of wood
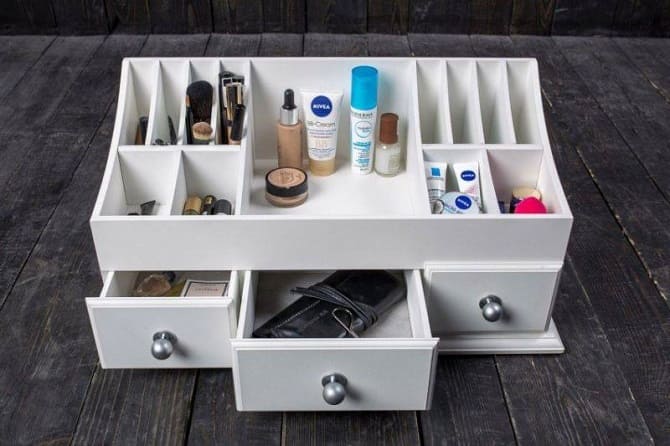
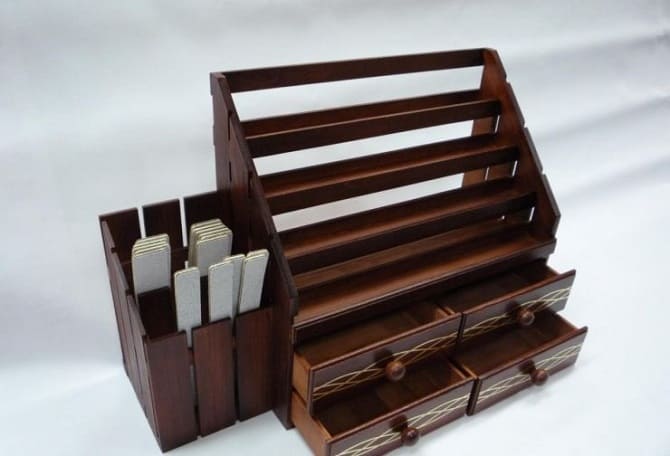
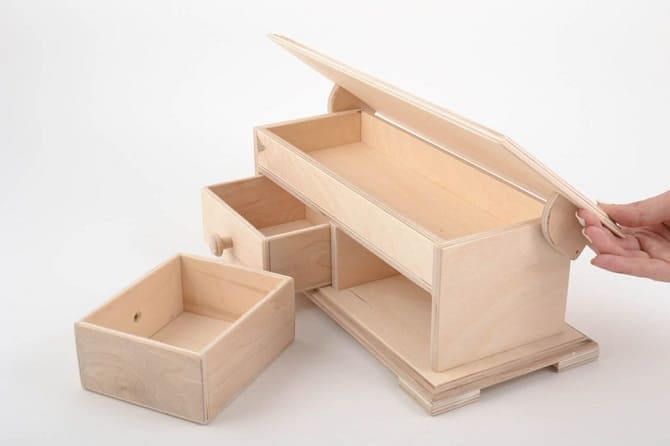
A wooden organizer will give your makeup desk a natural and stylish look. You will need the following materials:
- Wooden plank
- Saw
- Sandpaper for wood processing
- Wood glue
- Paint brushes
- Acrylic paint
- Moisture protection varnish
How to make an organizer out of wood
- Start by choosing a suitable wooden board and measure it so that it can accommodate all of your cosmetics.
- Using a saw, carefully cut out the holes for the cosmetics. You can make several large holes for cosmetic bottles and several small ones for pencils and brushes.
- Round the edges of the board and sand them to obtain a smooth surface.
- Paint the board with acrylic paint in the color of your choice. Let the paint dry.
- After the paint has dried, coat the entire surface with varnish to protect it from moisture and preserve the color.
- After the varnish has dried, your wooden organizer is ready for use.
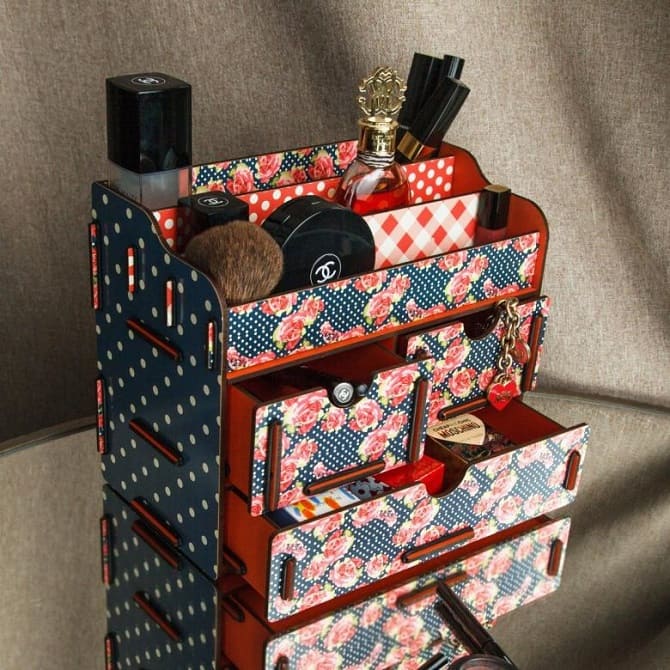
Organizer made from cosmetic boxes
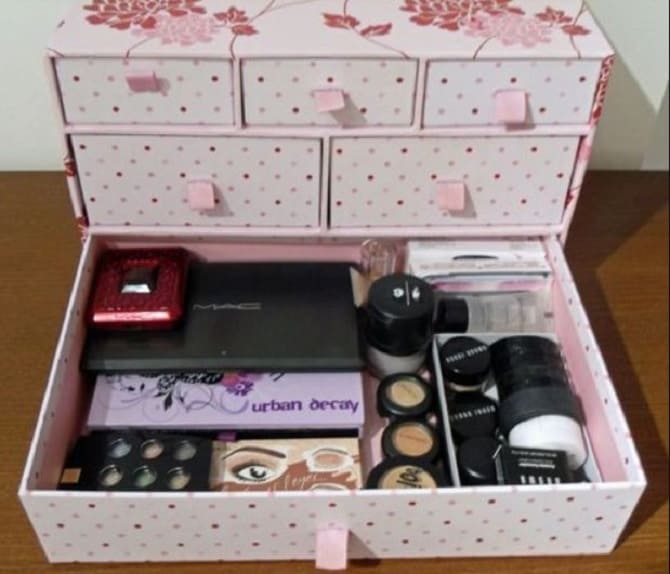
This idea is great for those who want to reuse old cosmetics boxes and turn them into a stylish organizer.
Master Class
- Collect old cosmetics boxes of different sizes and shapes.
- Cut the lids off the boxes and trim them if necessary so they are the same height.
- Place the boxes on a flat surface to form the desired arrangement.
- Using glue, connect the boxes together to form an organizer. Let the glue dry.
- Paint the organizer in the color of your choice and let the paint dry.
- Your cosmetic box organizer is ready to use.
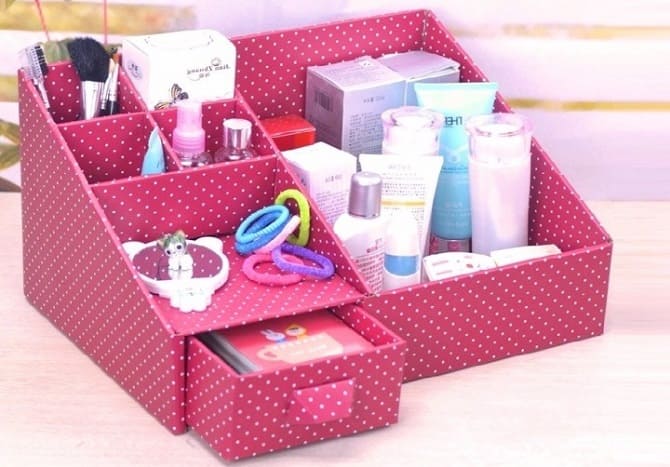
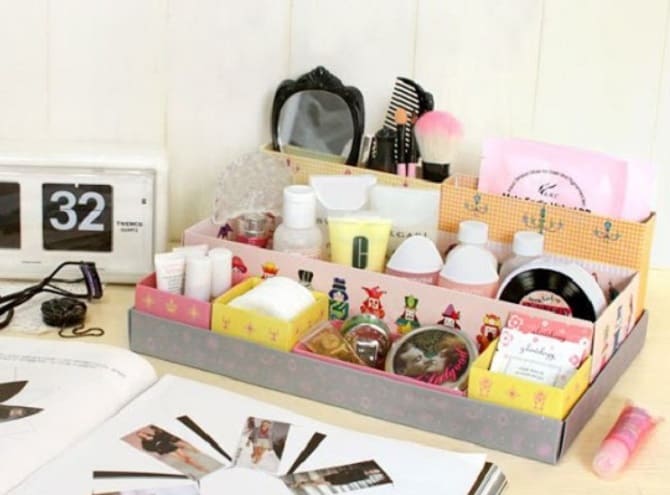
Cardboard organizer
For this idea you will need:
- Cardboard of different colors
- The sizes and shapes of the sheets depend on your preference.
- Glue
- Glue gun
Master Class:
- Choose cardboard in different colors and sizes.
- Arrange the sheets so that they form the structure of the organizer.
- Using glue and a glue gun, attach the sheets to each other to form an organizer.
- Allow the glue to dry completely before using the organizer.
To be continued…
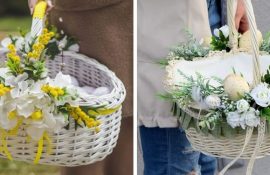
How to decorate a basket for Easter: new ideas...
5 April 2025
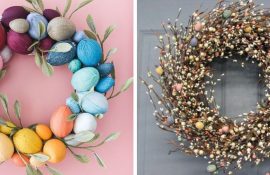
DIY Easter Wreath: How to Make, Ideas with Photos
31 March 2025
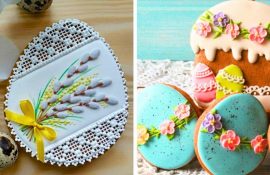
Easter gingerbread: recipe and decor options
29 March 2025
Only registered users can leave comments