Scrapbooking is the art of preserving memories and important moments in unique scrapbooks, turning them into creative arrangements from photographs, decorative materials, and personal notes. This exciting process allows not only to bring photos to life, but also to convey emotions, creating visual stories that will remain forever in memory. We at Joy-pup will talk about the scrapbooking technique, its main stages and craft options that allow you to experience the joy of creativity and capture moments that are worth attention.
Bonus Video HOW TO SCRAPBOOK
What is scrapbooking, execution technique
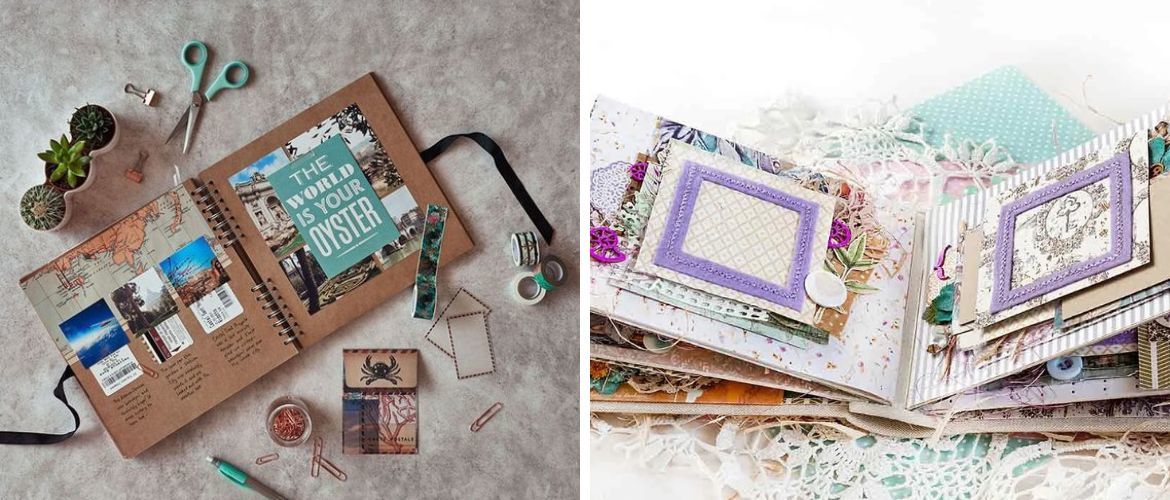
Scrapbooking is a creative technique that combines photographs, decorative materials, and personal notes to create unique albums and pages that capture important moments and memories. This process allows you to express your creative personality and preserve the important moments in your life. Don’t be afraid to experiment with colors, textures, and décor to create unique crafts. See step-by-step instructions for creating scrapbooking.
Step 1: Prepare materials and tools
- Photos.
- Scrapbooking paper in different colors and patterns.
- Various decorative elements: stickers, ribbons, buttons, beads, etc.
- Scrapbooking glue or double sided tape.
- Scissors with narrow blades.
- A ruler to measure and align elements.
- Double-sided tape for creating three-dimensional layers.
- Ink, stamps, brushes and other drawing and decorating tools.
- Scrapbooking album (you can use ready-made or make your own).
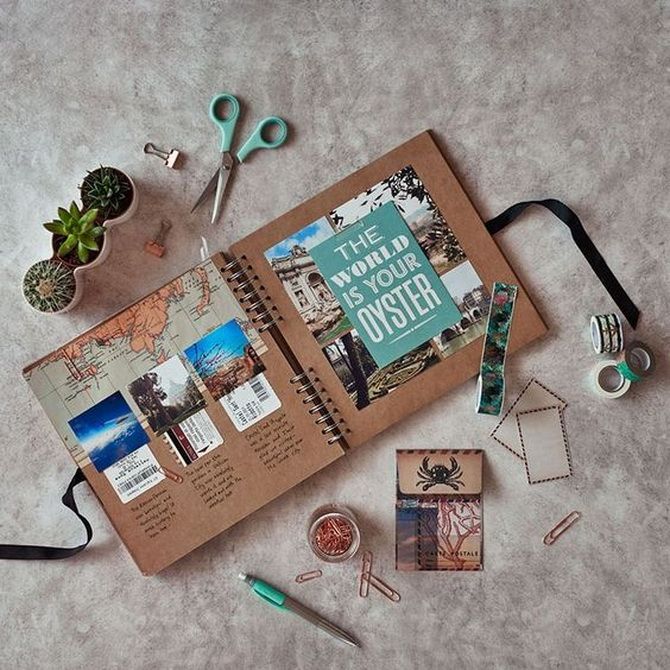
Step 2: Choosing a theme and composition
Decide what story you want to tell through scrapbooking. It can be an album about a trip, a wedding, children, a holiday, and so on. Think about what photos and materials are suitable for your topic.
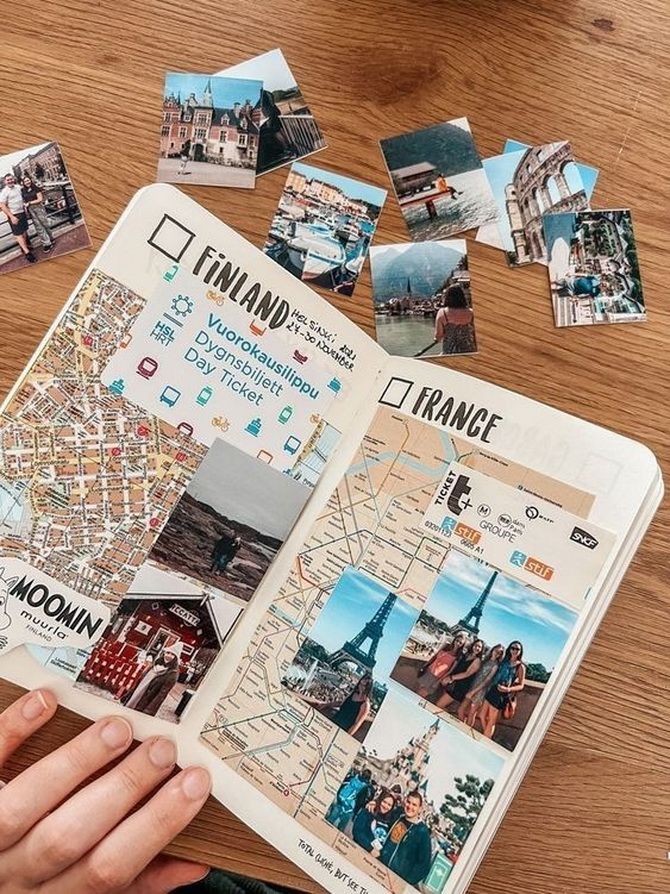
Step 3: Organizing the Pages
Arrange photos and decorative elements across pages, imagining what the final composition will look like. This will help you better evaluate the layout of the elements and decide what you want to add.
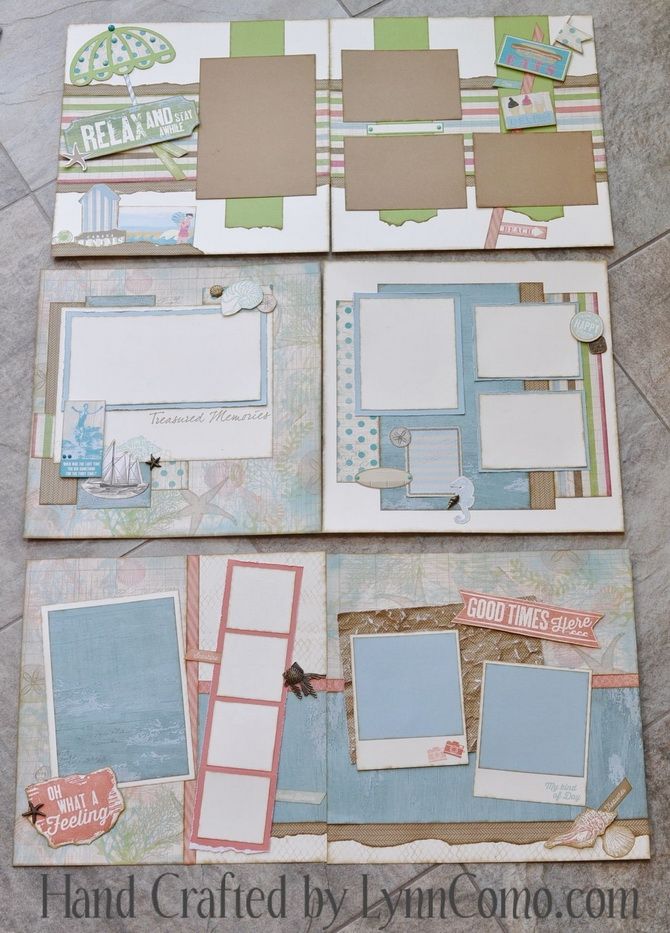
Step 4: Making the Background
Select the paper for the background of the page. Cut it to the size of the album and glue it to the page. This will be the base layer for further embellishments.
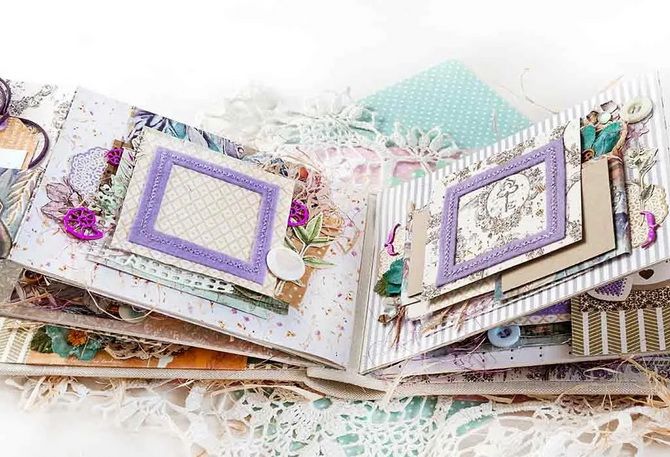
Step 5: Adding Photo
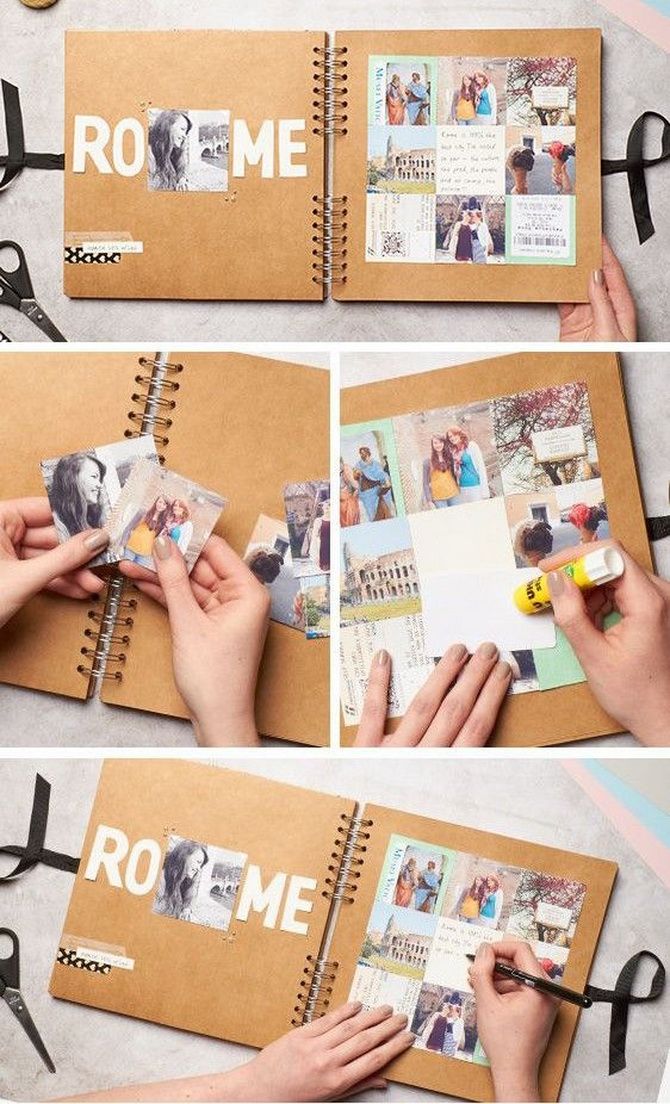
Select the photos you want to use and cut them into the shape you want. Arrange the photos on the page according to the composition and glue them.
Step 6: Decorate
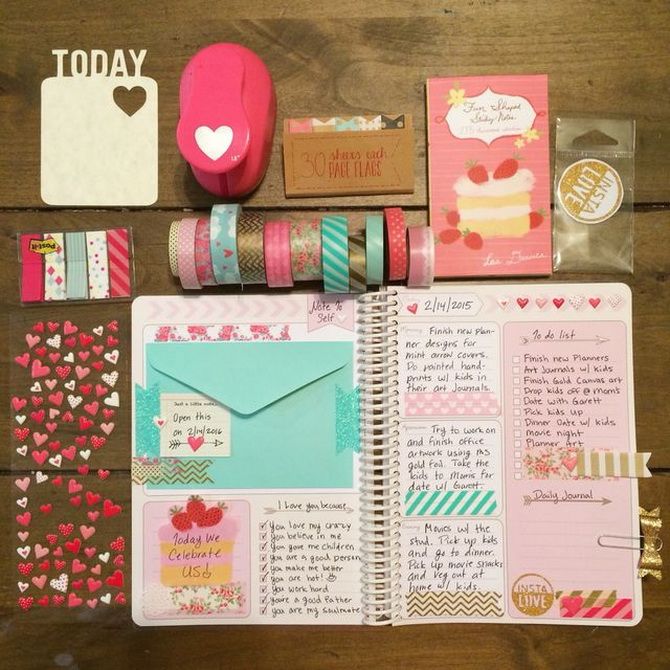
This is the most creative stage. Use stickers, ribbons, buttons, beads, and other decorative elements to decorate the page. You can create layers by adding volumetric elements with double-sided tape.
Step 7: Adding entries
Write short notes, comments on your photos and memories. You can use stickers with text or write by hand.
Step 8: Finishing
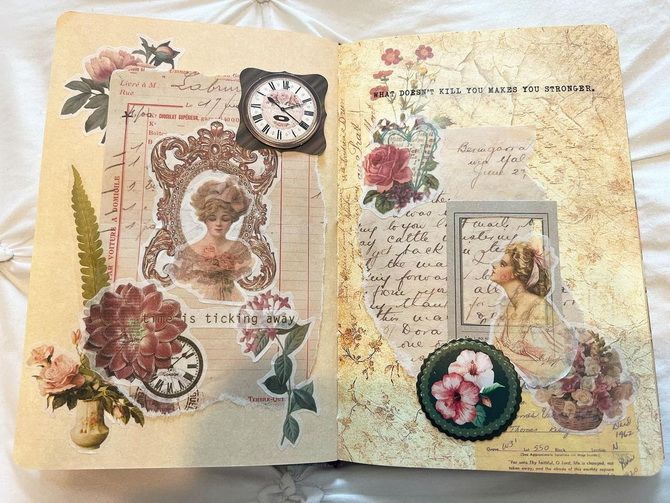
Evaluate the result and make sure you are happy with the composition and appearance of the page. Make adjustments if necessary.
Creative Scrapbooking Ideas
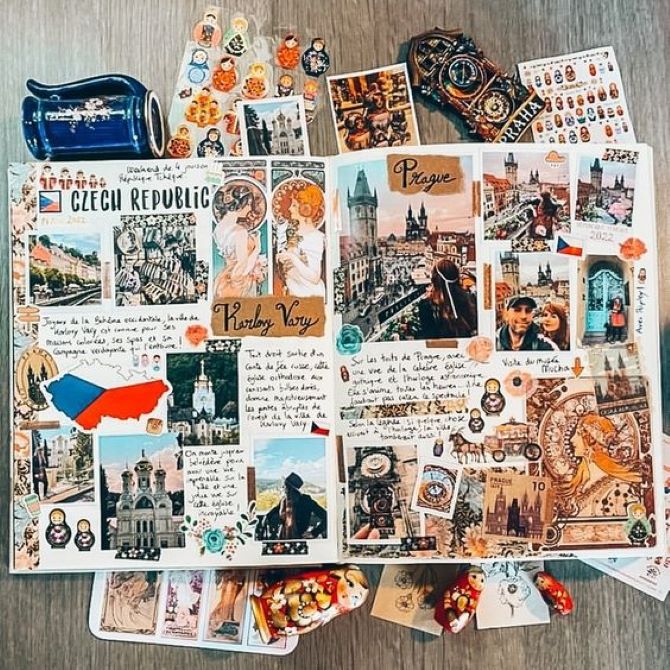
Travel Album: Post photos, tickets, postcards, and adventure notes.
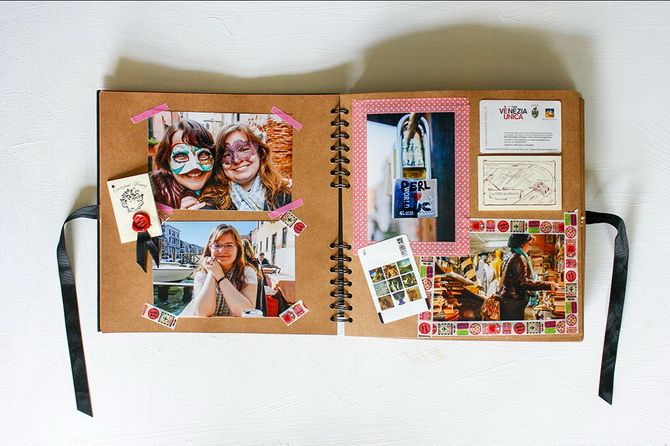
Family Album: Create pages dedicated to each family member with photos and memories.
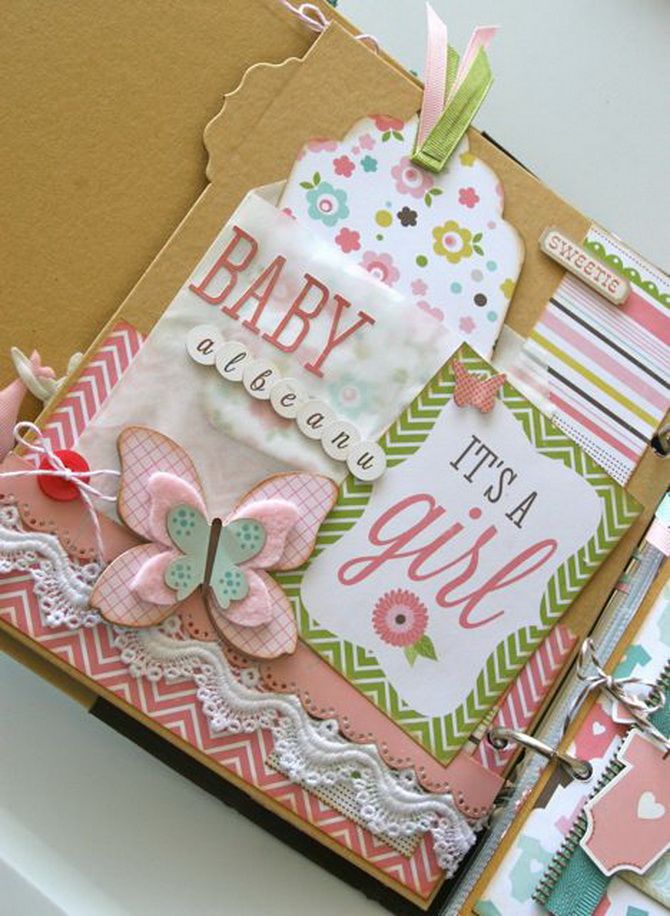
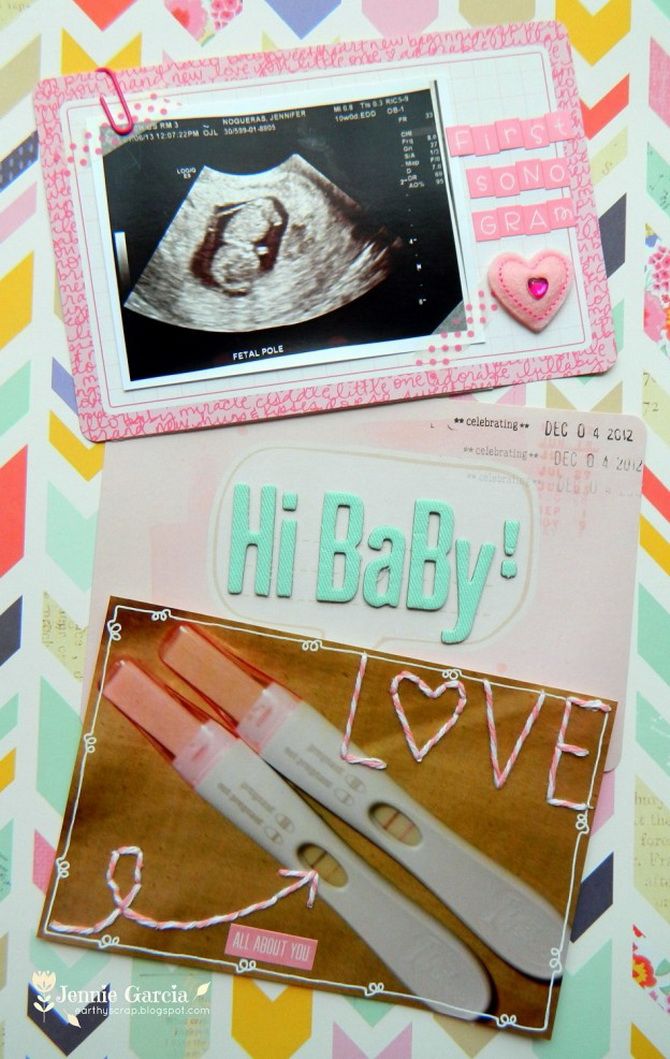
Pregnancy: collect in one album all the moments of the intrauterine development of the unborn baby.
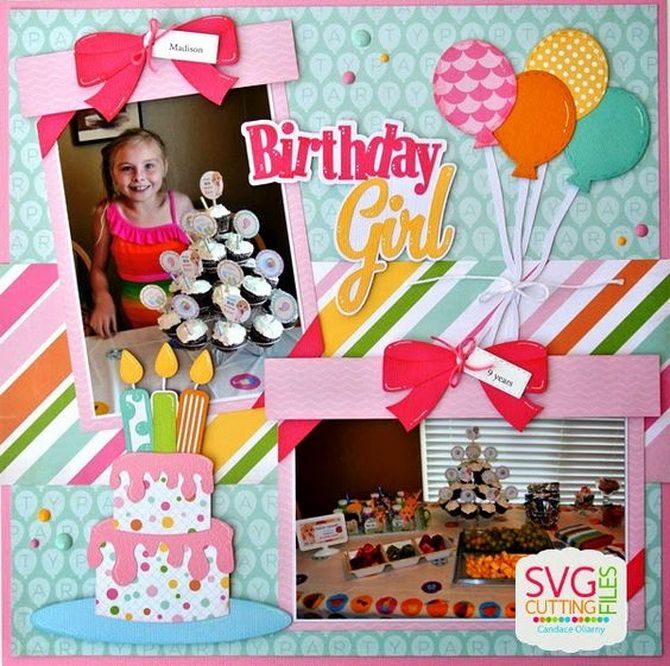
Greeting card: Make an original card using scrapbooking to congratulate a loved one.
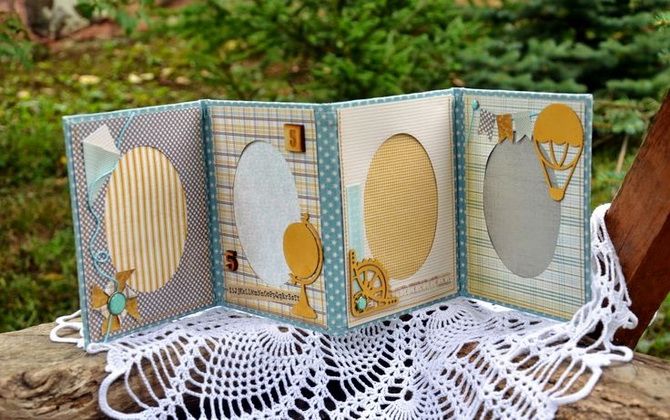
Decorated Frame: Decorate a scrapbook style photo frame and give it as a gift.

Only registered users can leave comments