

A gift made with your own hands always has a special meaning. March 8th is a wonderful occasion to express your love and gratitude to the dearest person in the world – our mother. And what could be more touching than a gift made by children? Watch joy-pup for step-by-step master classes on making paper tulips with your own hands.
Bonus Video How To Make Tulip Bouquet Paper
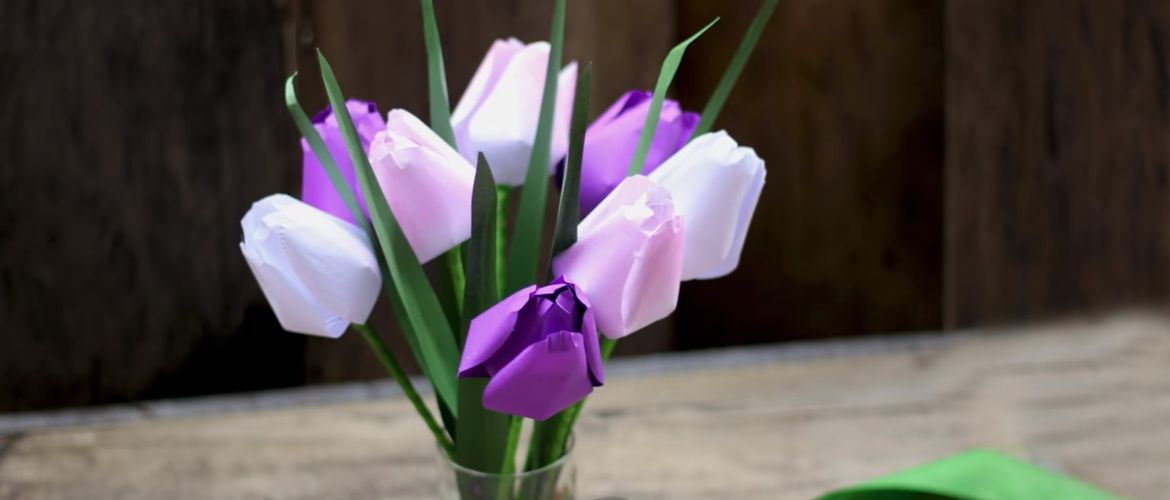
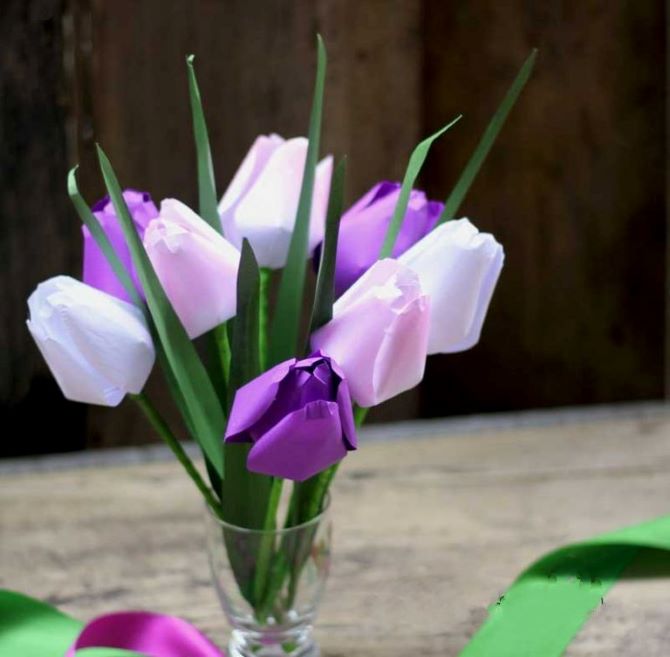
Delicate tulips – master class
Materials:
- A4 paper in white, green and purple;
- straws for drinks;
- pencil;
- ruler;
- PVA glue;
- floral tape;
- toothpick.
Step-by-step master class
- Prepare materials and tools. Download the petal template here and cut out the desired number. To make 1 tulip you will need 6 petals.
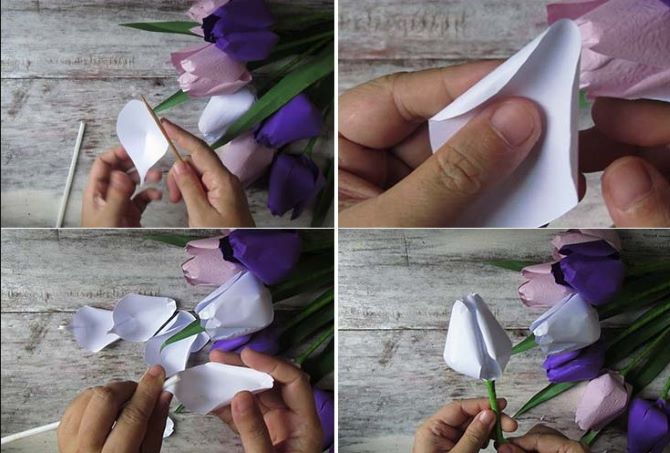
- Cut out the petals using scissors. You can make a tulip with soft pink edges. To do this, blend the pink chalk along the edge of the part.
- Glue the parts along the cut. Twist the ends inward with a toothpick. Lightly squeeze the top of the petal with your fingers.
- Glue the petals to the tube, 3 petals on each layer.
- Use green floral ribbon to wrap the straw.
- Cut out leaves 2 cm wide from green paper, the length is arbitrary. Make one end of the part narrower – this will be the top.
- Glue the leaves to the stem of the flower.
- Make purple and white tulips this way. Form flowers into a bouquet and give it to your mother for the holiday.
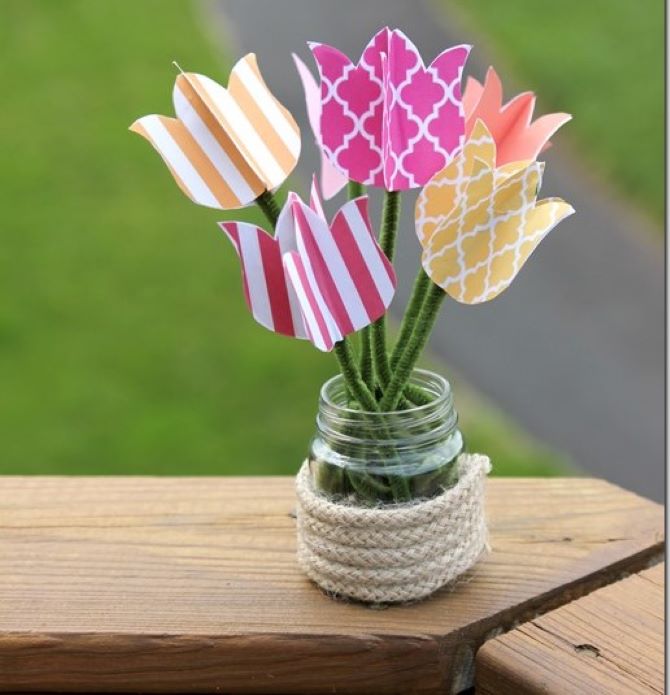
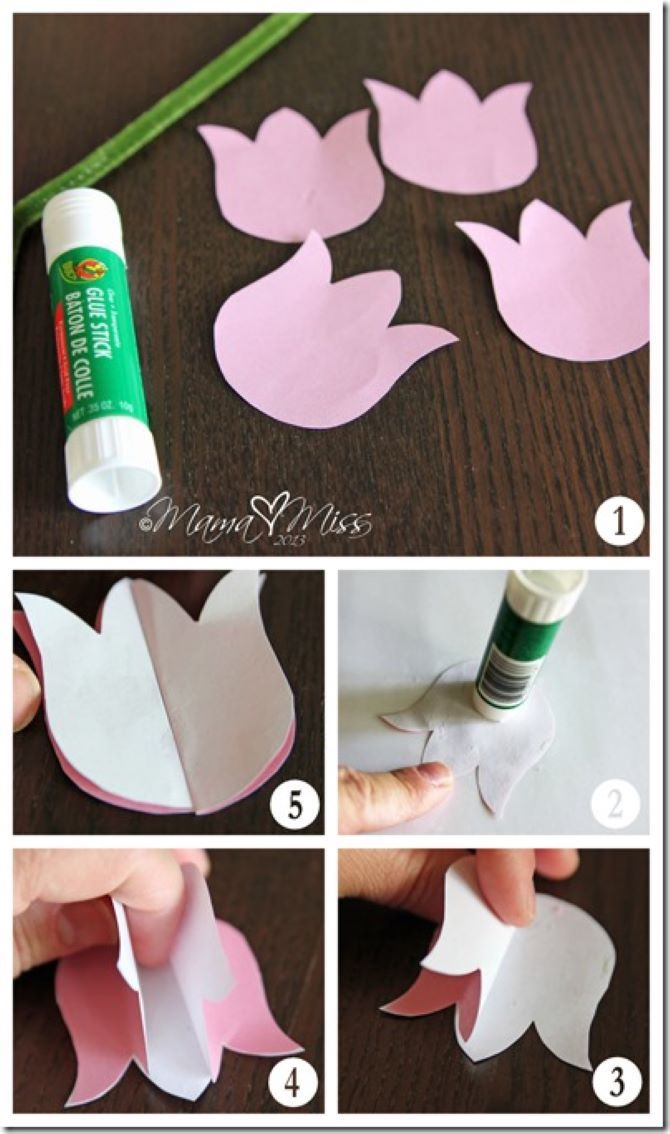
DIY 3-D tulips
Materials:
- paper of different colors or with prints;
- chenille wire;
- glue stick;
- scissors.
Step-by-step master class
- Cut out flower heads from paper (pictured below), each tulip requires 4 pieces. Fold them in half.
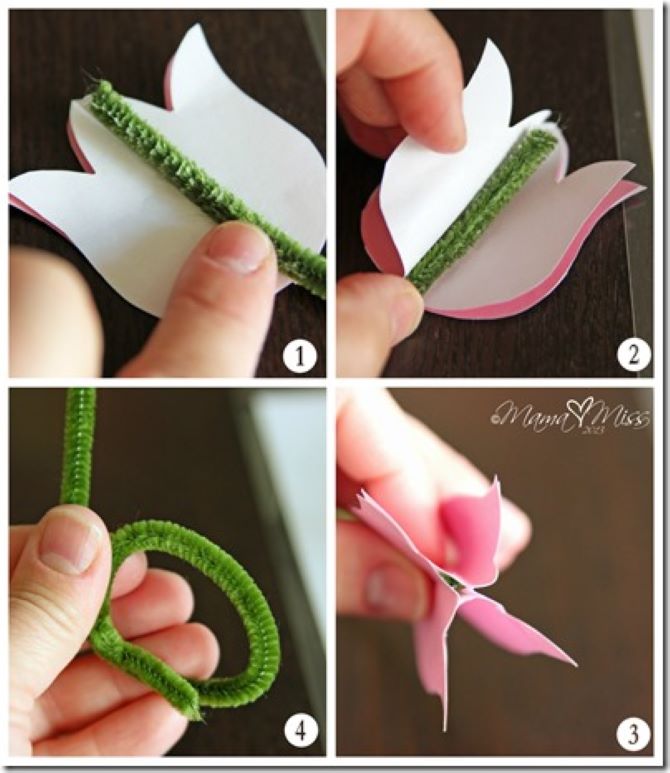
- Take the chenille wire, coat the end with glue and stick it to the central part of the flower.
- Glue the second part of the tulip to half of the first part, leaving the other half free.
- Add the third piece in the same order as the previous one, leaving one half without glue.
- Lay out, pinch and fold the parts of the tulip head until symmetrical.
- If the chenille wire is too long, do not cut the ends, but roll them into a circle to make the stem easier to place in any vase.
- Repeat the above steps for each tulip, varying the height of the wire bases for different flower heights.
- Arrange the tulips in a vase.
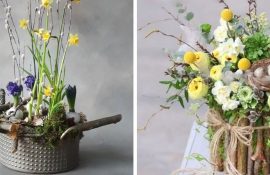
Spring compositions from natural materials...
5 February 2026

DIY New Year’s Photo Booth: TOP 8 Ideas for...
16 December 2025

New Year’s decor with dried oranges...
12 December 2025
Only registered users can leave comments