

Coffee Topiaries are beautiful decorative items made from coffee beans. Making them with your own hands is a fun and creative process. See Joy-pup for a step by step tutorial to help you create coffee topiary.
How to make a topiary step by step
Topiary can be created in many variations, but most types follow the general principle. If you study our basic instructions, you can create your own unique product that matches your preferences.
You will need:
- foam ball d=10 cm;
- brown acrylic paint;
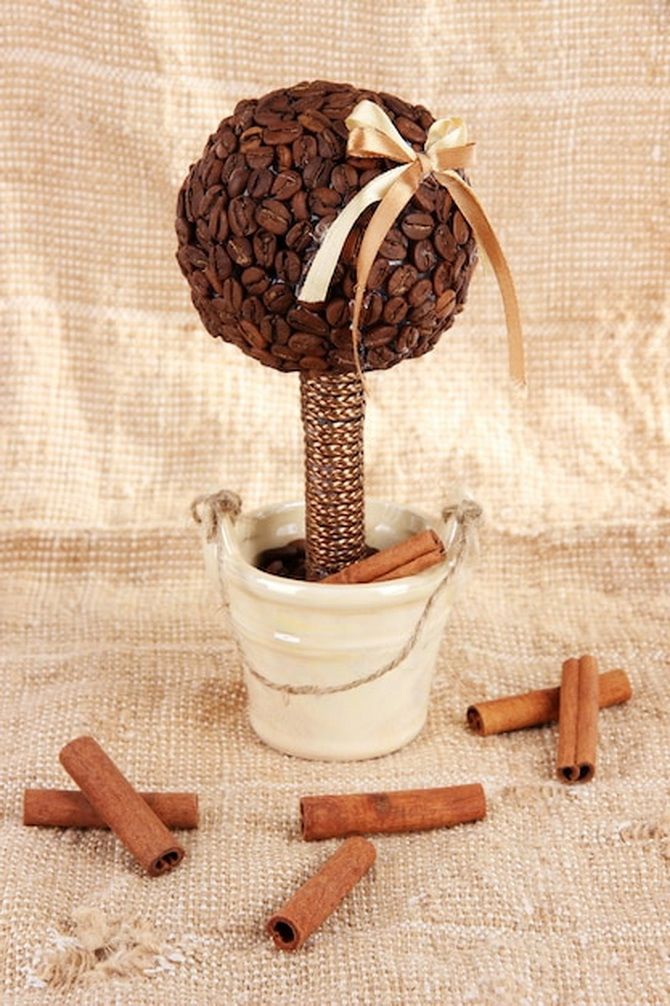
- coffee beans – 200-300 g;
- glue gun;
- beautiful container for the base;
- gypsum;
- wooden stick;
- any decor – ribbons, beads, flowers, cinnamon stick, etc.
Step 1. Start by coloring the styrofoam balls dark. Paint it with brown paint and leave to dry well. At this stage, you can also paint the trunk or pot, if desired.
Step 2. After the ball is completely dry, you can start cutting a hole for the barrel. Mark the area where the tree trunk will be, circle its outline and then cut a hole about 2-3 centimeters deep. Apply glue to one end of a wooden stick, and stick it into the ball about 2 cm.
Step 3: Glue the coffee beans to the foam base, starting at the top of the balloon and work your way around and down. Glue the grains with the flat side down, try not to leave too many empty spaces. Press the coffee against the ball so that they fit snugly together.
Step 4. Leave the base glued with grains to dry for several hours. Then stick another layer of coffee beans on top to cover the empty spots.
Step 5. Mix gypsum with water, knead the gruel and pour it into the container, not reaching 2-3 cm to the edges. Place the tree in the middle of the pot and hold it for several minutes until the mixture has completely hardened. After that, leave the topiary for 12-24 hours until the “soil” is completely dry.
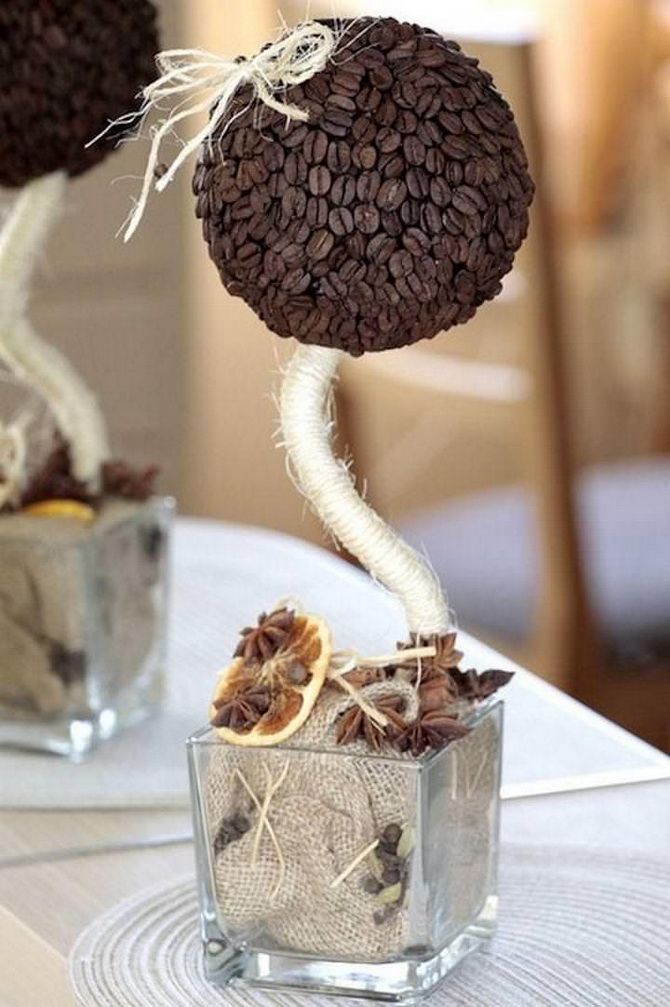
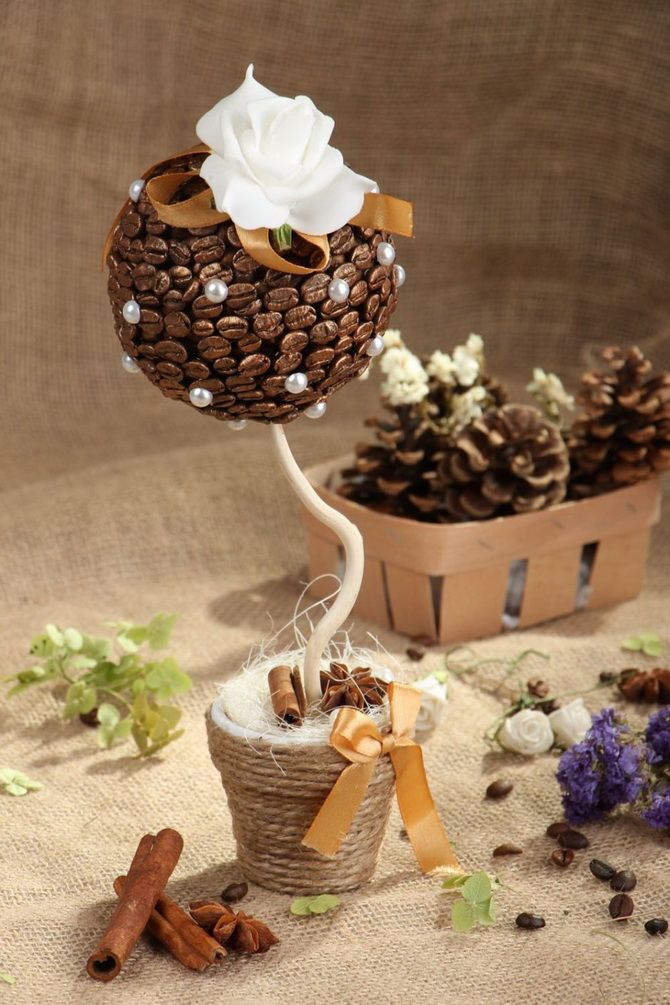
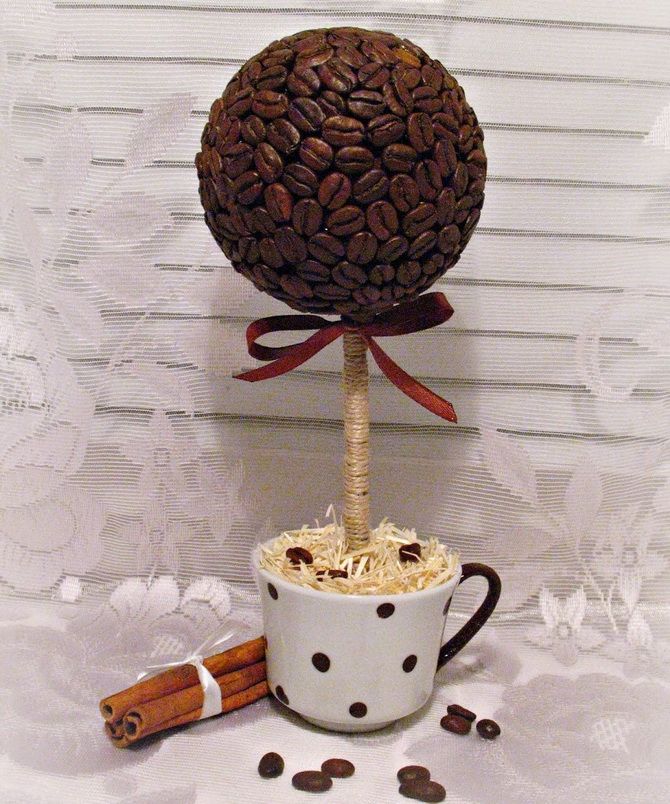
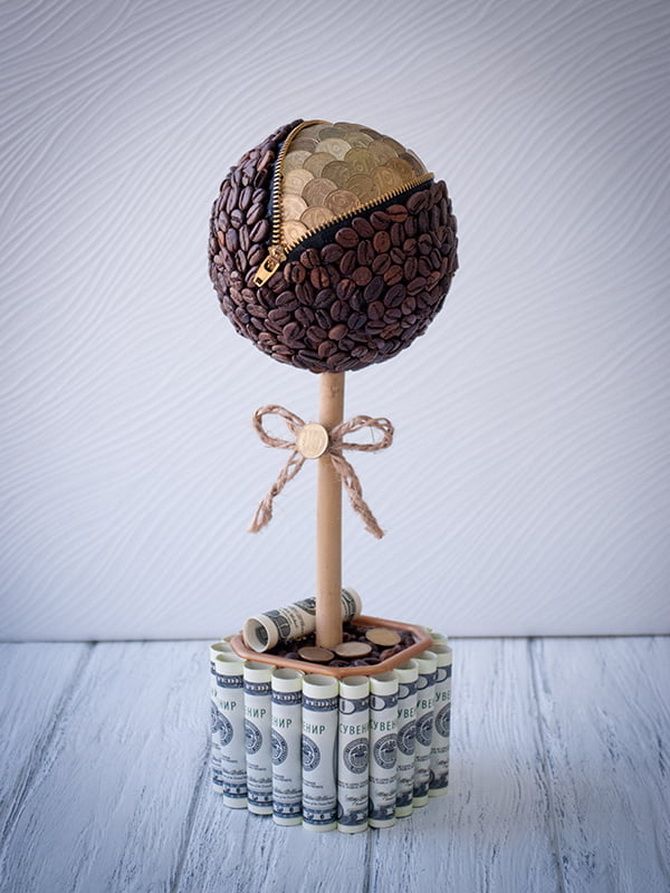
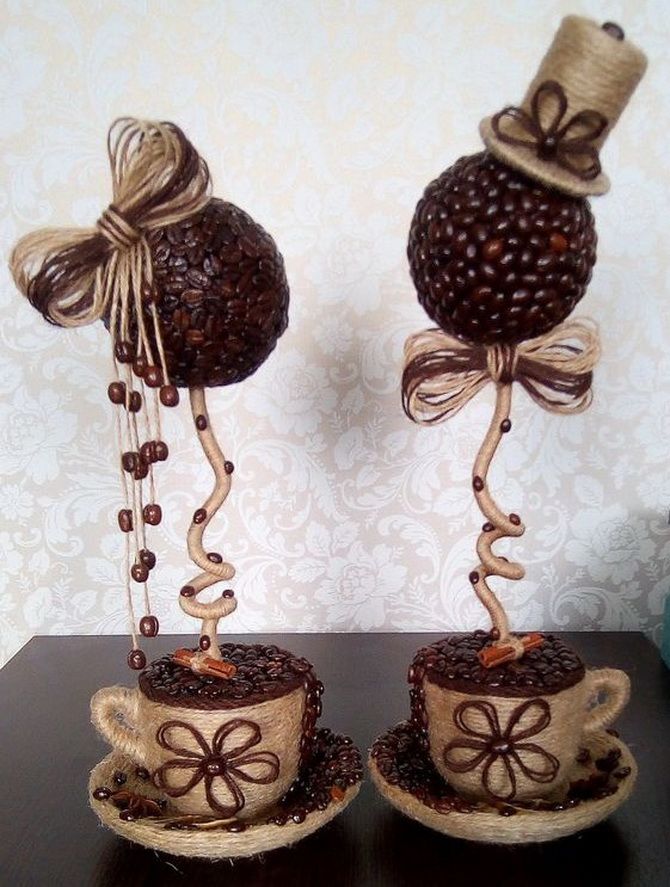
Step 6. When the topiary is ready, start decorating the tree. Apply ribbons, beads, tulle and other materials to give it a finished look. If you want to create a tree with a curved shape, wire can be used as the trunk. It is recommended to wrap the wire with green or brown thread for the best effect.
Watch the video below on how to make a coffee topiary with your own hands.
Videos Coffee topiary tree
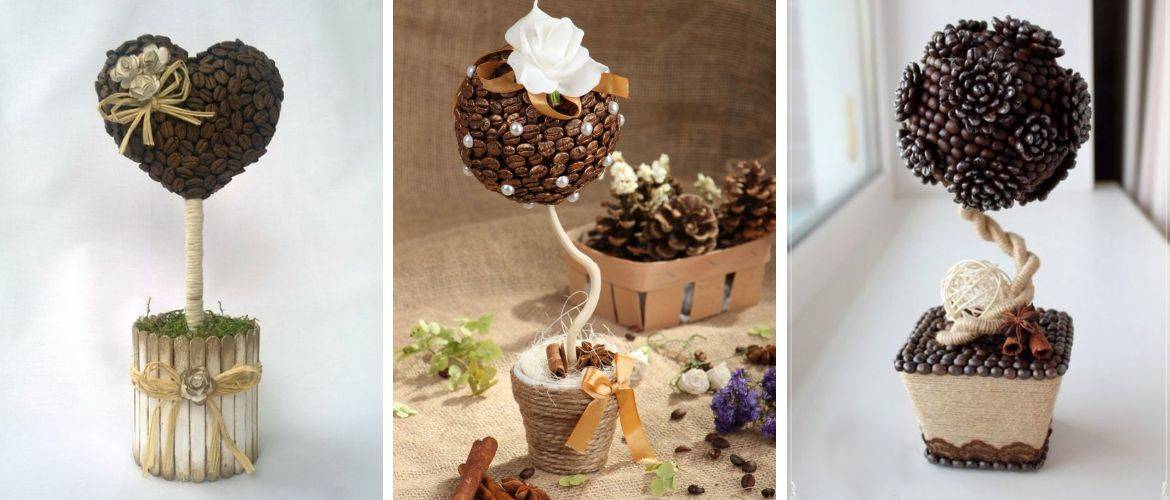
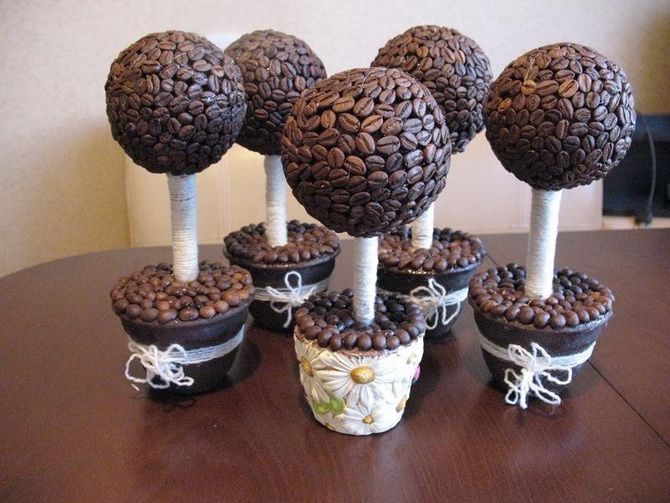
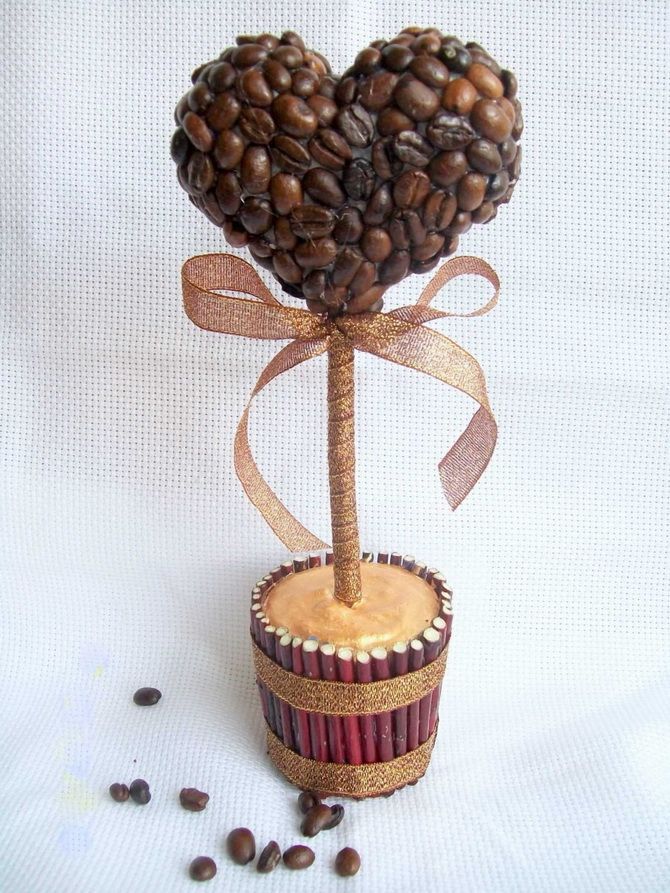
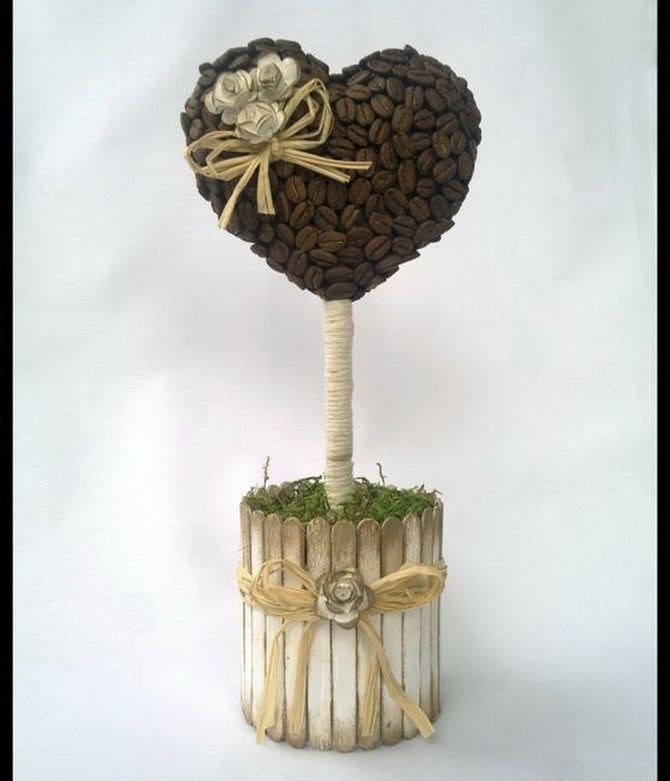
Coffee topiary – options


Only registered users can leave comments