

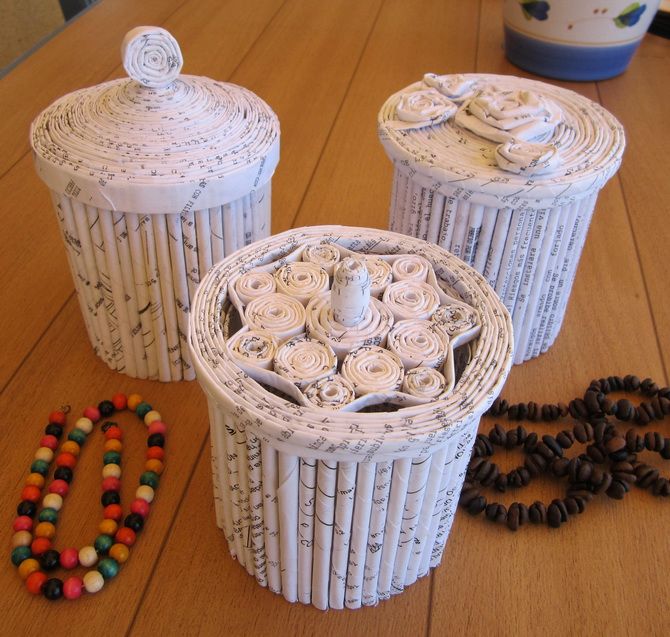
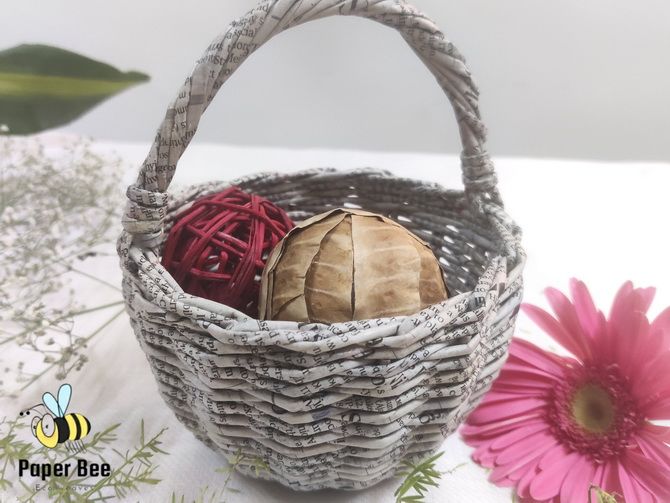
Weaving products from paper vines will be an exciting activity that brings pleasure. As a result of the work, you can create such beautiful things that it seems as if they are made from a real vine. See Joy-pup for how to make a basket out of newspaper tubes.
Bonus Video How To Make Newspaper Basket
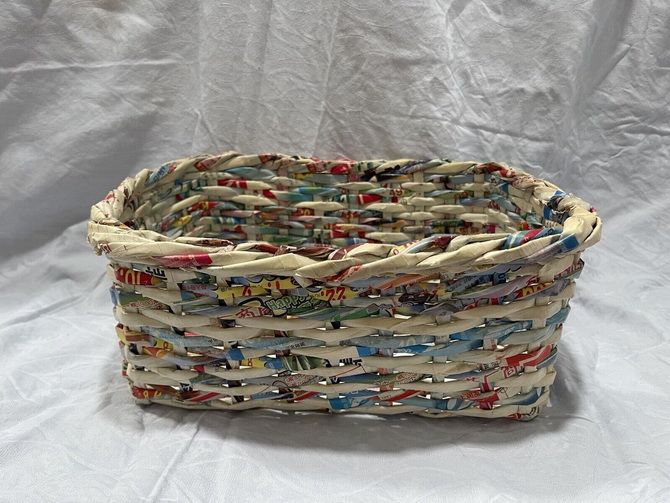
Weaving a basket from newspaper tubes step by step
To create a paper vine basket, you will need the following materials and tools:
- newspaper pages of various colors and widths;
- PVA glue;
- scissors;
- long needle;
- thick cardboard (for the base);
- ruler;
- brush or stick for applying glue.
Step by step master class:
Step 1. To create a paper vine, you need to cut a newspaper sheet into strips about 7-8 cm thick along the direction of the text. Then these strips are twisted into a tube using a thin needle measuring 2.5 to 3.5 mm. For a basket, you will need about 20-30 strips. You can use stripes of the same color or create an interesting pattern by combining different colors.
Step 2. Draw and cut out the basis for the basket from thick cardboard. For example, it can be round or oval.
Step 3. Apply a small amount of glue to one of the strips of paper vine and attach it to the base of the basket. Wrap the strip around the base to secure it. Make sure the strip is snug against the base to avoid gaps.
Step 4. Continue braiding by applying glue to the strips and crisscrossing them to create the sides of the basket. Attach each strip above the previous strip to create the desired wall height. Raise the strips gradually to get a nice basket shape.
Step 5. Continue weaving until you reach the top of the basket. Pin the last strip carefully and trim if necessary.
STEP 6. If you want to add decorative elements, you can use additional strips of paper vines in different colors. For example, you can create edges or patterns by gluing strips around the perimeter or on top of the basket.
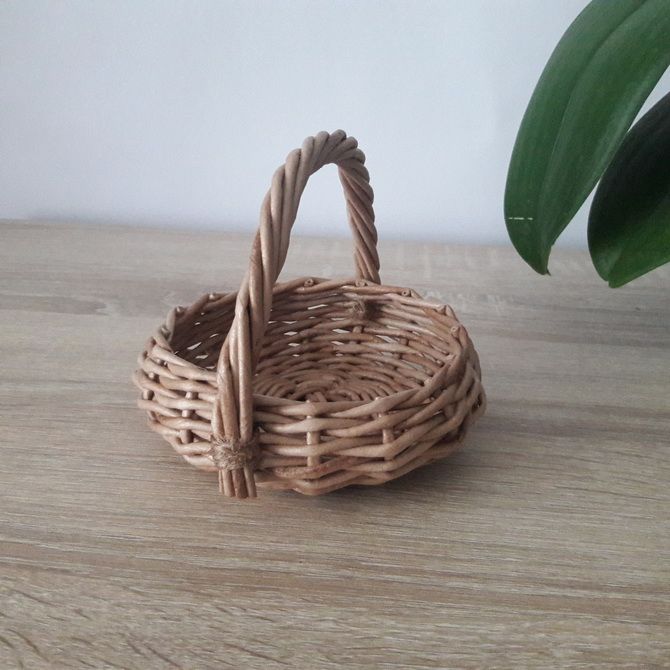
Step 7. Add a pen using newspaper tubes or tape.
Step 8. Let the basket dry well, then, if desired, paint the finished product with stain, acrylic paint or decorate with decoupage. You can also cover it with varnish for greater durability.
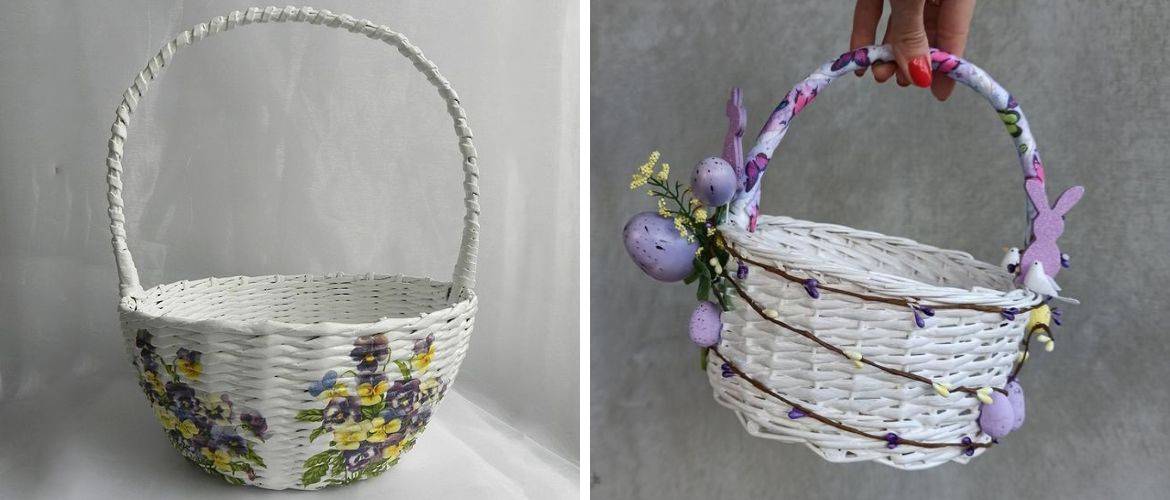
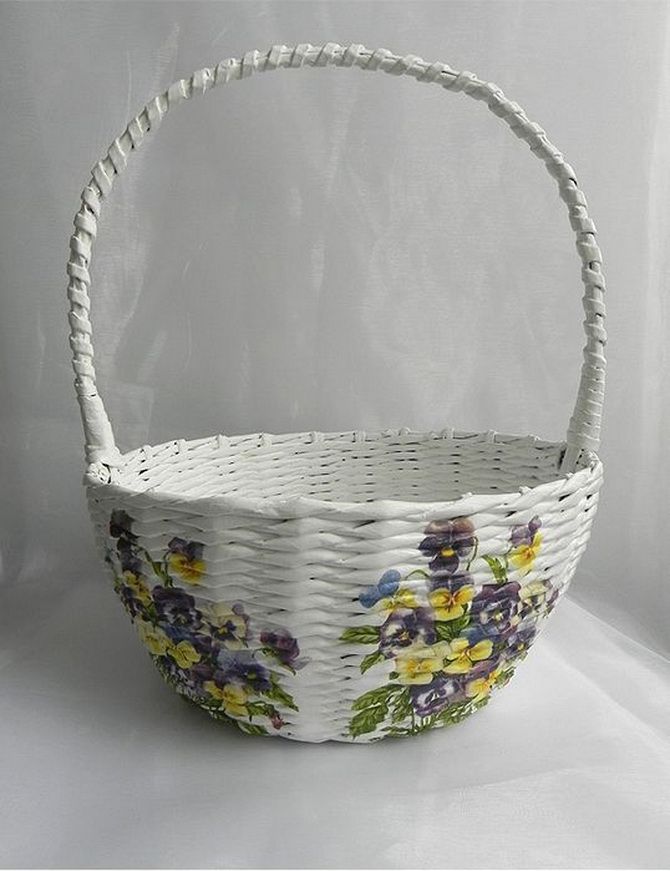
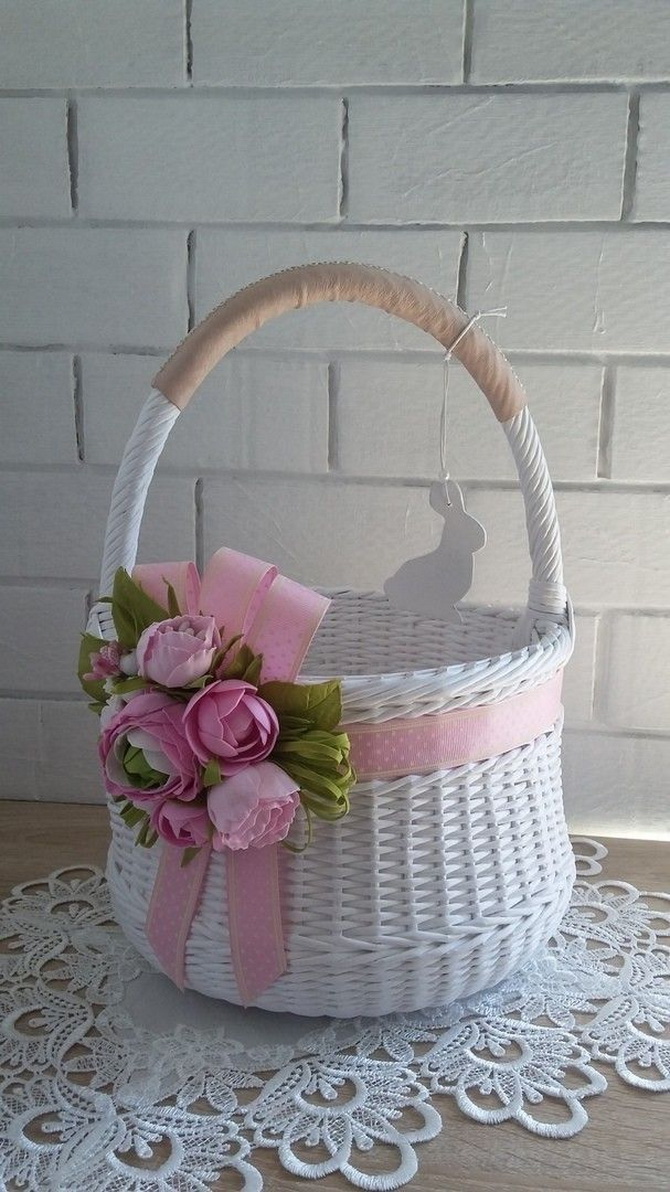
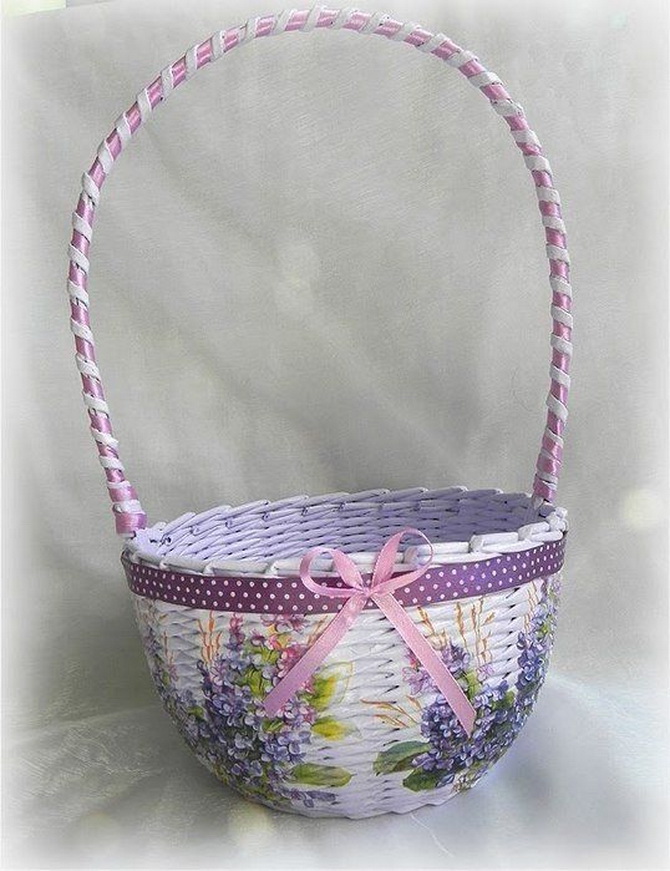
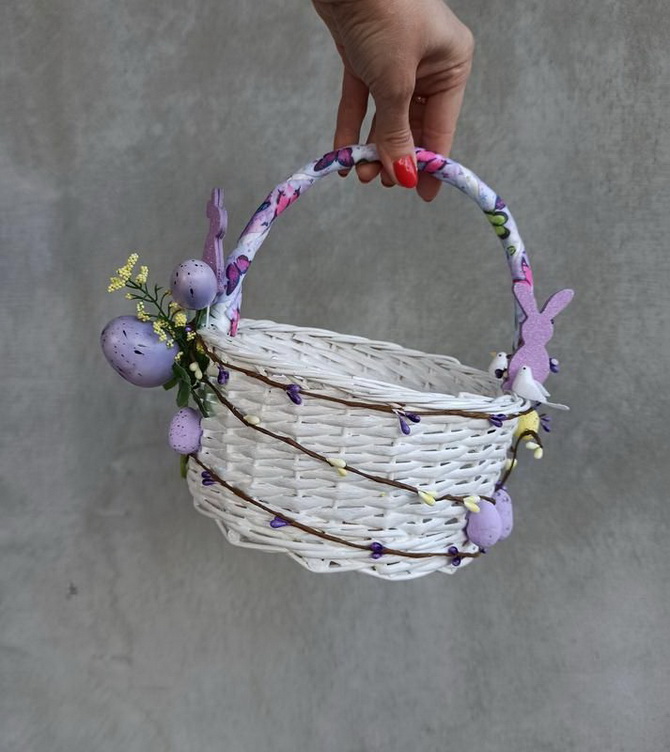
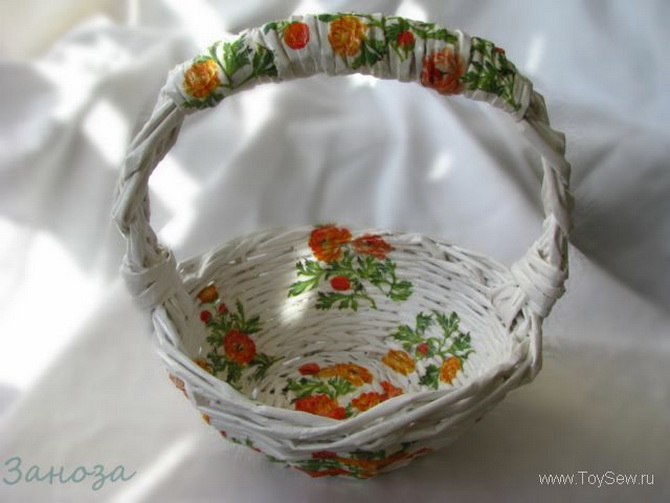
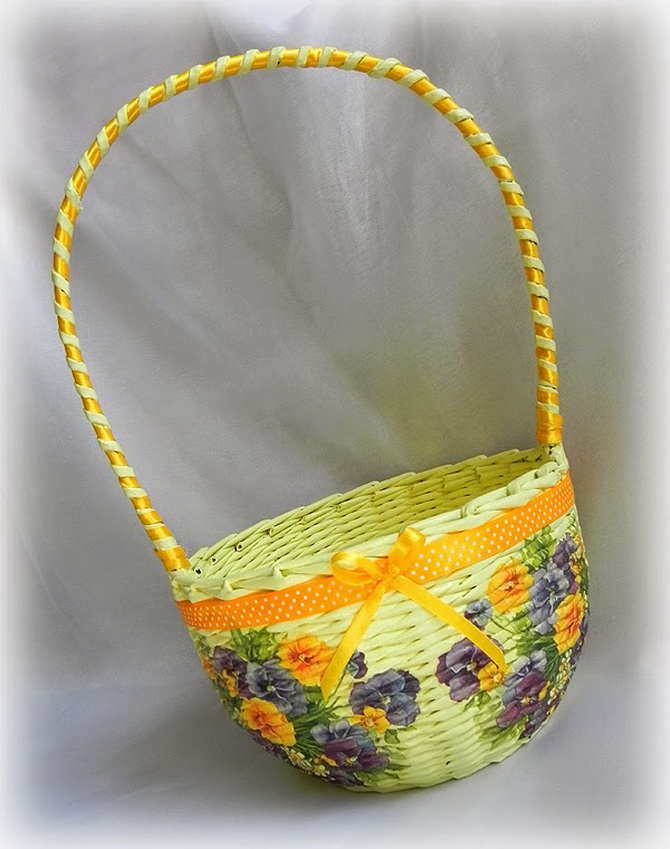
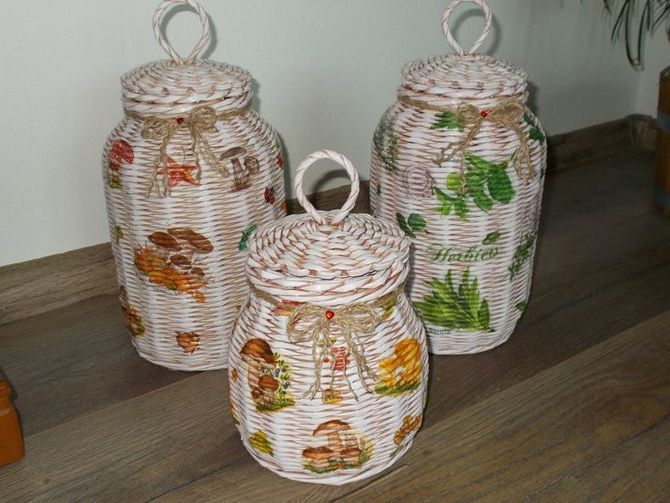
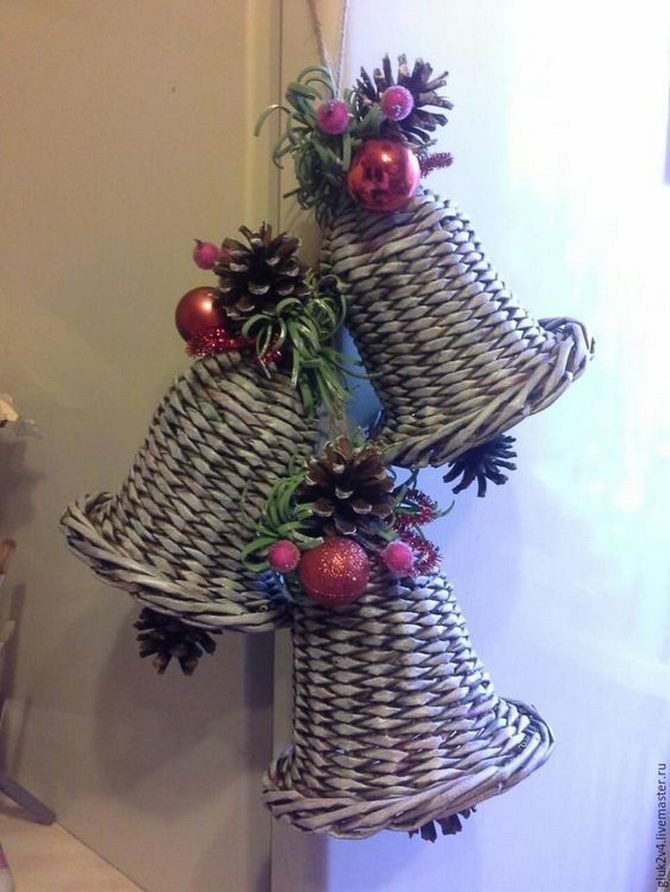
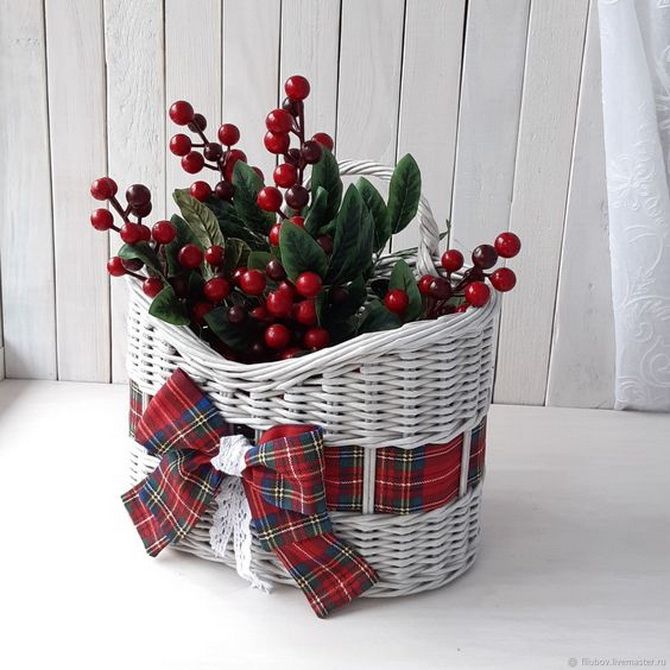
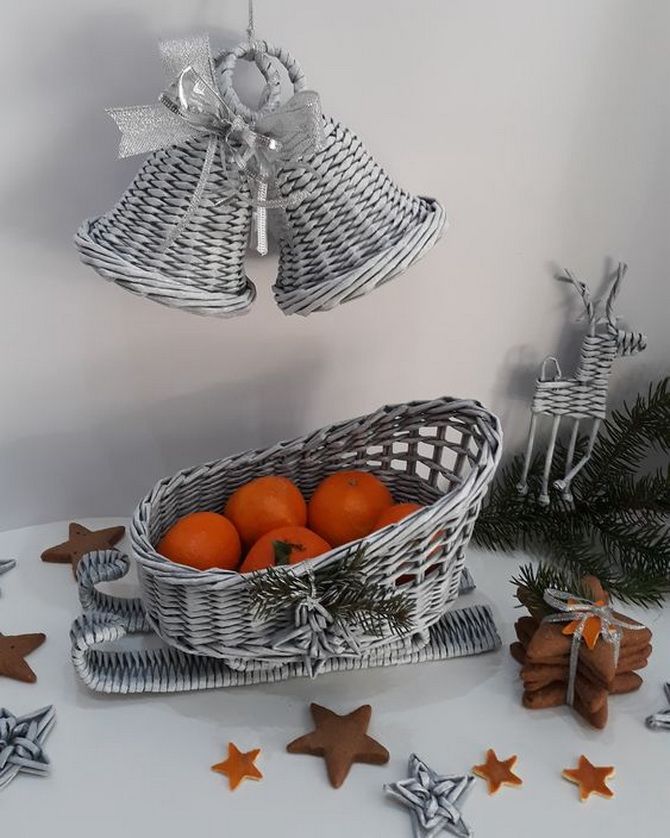
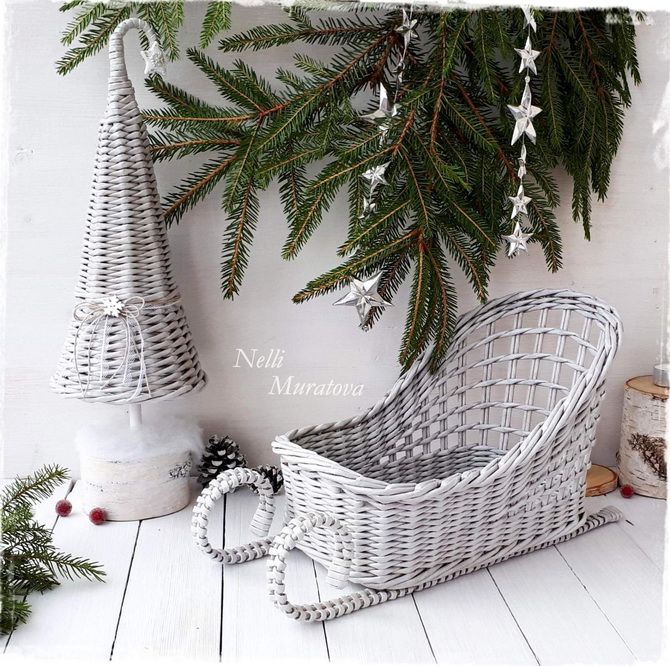
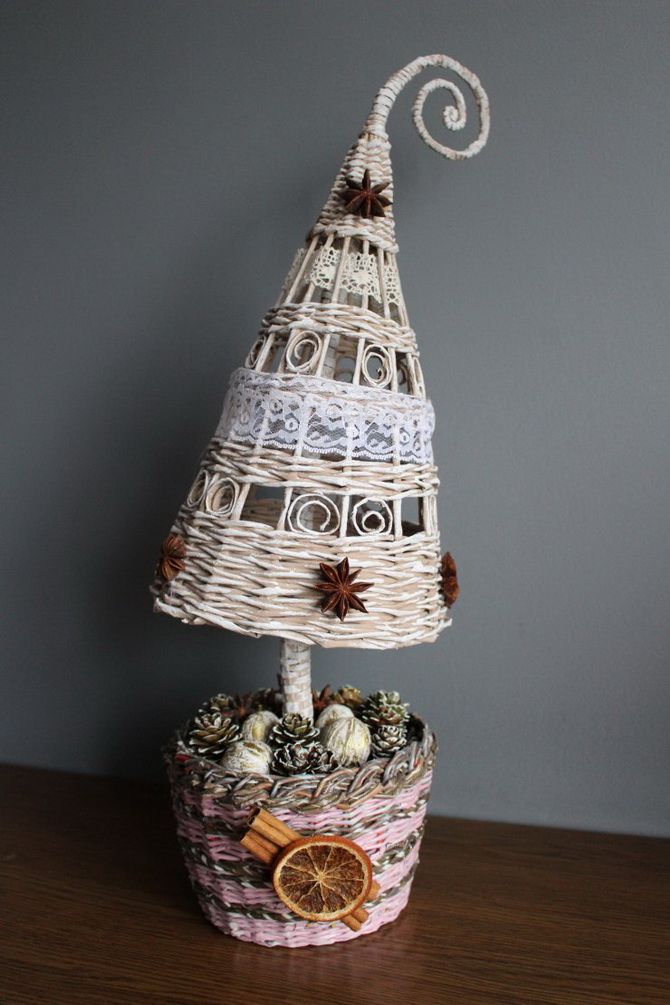
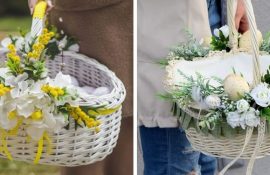
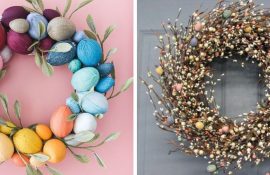
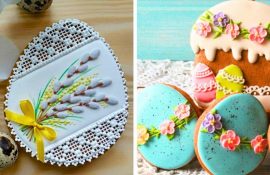
Variants of products from paper vines
Working with paper vines can be a little tricky and requires patience and precision. However, with practice, you will be able to create beautiful and unique paper vine products.
Only registered users can leave comments