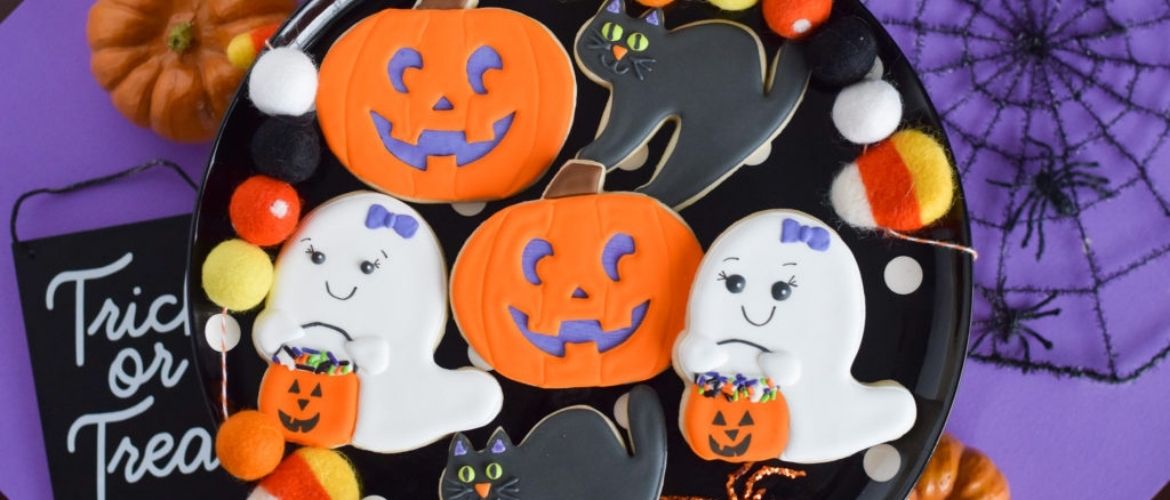
A fun, scary Halloween celebration borrowed from American culture. Now we’re also dressing up in creepy costumes, doing zombie make-up and baking sweets in the form of body parts and ghosts.
Joy-pup has prepared a selection of the most interesting dark baking recipes for you. If some sound familiar to you, don’t be surprised: the effects depend on the shape and should be really scary. So let’s bake cookies for Halloween: recipes with photos, recommendations and life hacks.
Vampire jaw (recipe for the lazy)
Spooky cookies can be made from purchased round cookies (shortbread, oatmeal): the wider the diameter, the cooler.
We need
- round biscuits: 24 pieces
- red glaze
- White Marshmallows
- chopped almonds: 48 slices
Tip: Ready-made vanilla frosting is sold in candy stores, including colored ones, but in general it’s not difficult to make at home by adding red food coloring.
How to make icing
- powdered sugar: 150 g
- milk: 3-4 tablespoon
- vanilla sugar: 1 teaspoon / or vanilla powder: 1 Prize
- Molasses: 60 g
- red food coloring
Mix powdered sugar with milk, vanilla and color in a small bowl and rub well into a smooth paste. Pour in the corn syrup and beat until the frosting glitters. If the mixture is too thick, add a little more molasses.
Basic process (step by step)
1. Carefully cut the cookies in half.
2. Smear all halves with glaze.
3.Cut the marshmallows and pin them in a row on the bottom rug so that they look like “teeth” (as in the photo below).
4.Cover with the other half of the biscuit and carefully place the chopped almond pieces – these are vampire teeth – between your cheeks.
admire your creation.
“The bats”
On the way out, we should have an excellent Halloween-themed biscuit: the photo is very eloquent. If you know how to bake a brownie, great because this dessert is the starting point for an insidious bat breeding plan.
If not, we will remind you.
ingredients for Brownies
- dark chocolate: 1 bar
- butter: 180 g
- eggs: 3
- flour: 75 g
- sugar: 300 g
- salt: 1/4 TS
preparation
1. Put butter in a small bowl (glass, ceramic, enamel), break the chocolate into pieces, stir, melt in water, let cool.
2.In a bowl, beat the eggs with sugar and salt until smooth.
3.Add the chocolate fudge and mix thoroughly.
4. Pour flour there and mix again: you should get a “flowing” dough.
5.Cover a rectangular shape about 22×30 cm in size with parchment, pour the dough into it.
6.Put in the oven preheated to 175 °, bake for 30-35 minutes, check the readiness with a toothpick.
7. Let cool down completely.
We move on to the main recipe.
we need
Butter and chocolate fudge: half the size of a brownie
Melted chocolate: about half a bar
“Oreo” dark biscuits
brown sugar
red Dragee (f. E. M & M’s)
Der Hauptprozess
1. Remove the cooled brownie from the mold, break into pieces, mix with the chocolate-butter fudge, form small balls.
2.We put the balls on a tray covered with parchment and put them in the refrigerator for 2 hours.
3.Take it out of the refrigerator and let it stand at room temperature for 15 minutes.
4. Carefully break the biscuits in half: these are the wings of bats.
5. Dip the “wings” in the melted chocolate and insert them into the balls.
6. One by one, dip all the semi-finished “mice” in chocolate and return to the tray.
7. Sprinkle with brown sugar.
8.Insert eyes made of dragee.
Visual instruction – on video
Severed finger cookies
Or “witch fingers”, the main thing is frost on the skin! Children will love this idea, and adults – whatever they want.
we need
- flour: 2,5 cups
- butter: 150 g
- sugar: 1 glass
- baking powder: 1 TS
- egg: 1 piece.
- vanilla sugar: 1 teaspoon / or vanilla powder: 1 Prize
- salt: on the tip of a knife
- almonds (pumpkin seeds can be peeled)
- red jam
the main process
1.Grind the butter with sugar, beat the egg there and mix thoroughly.
2. Mix the flour, salt, baking powder and vanilla sugar, mix with the butter and egg mixture.
3.Knead a fairly firm and smooth dough, wrap it with cling film and put in the refrigerator for half an hour.
4. This time there is no need for Halloween cookie cutters: Simply cut the dough piece by piece and roll out thin sausages – “fingers”. If they turn out to be slightly crooked – don’t be discouraged, it should be.
5.In each “finger” we stick a “nail” – a seed with a sharp end pointing outwards.
6.Cut the strips with a thin knife – there should be creases on your fingers!
7. Place on a baking sheet and place in the oven preheated to 180 °, bake for 20-25 minutes.
8.Let it cool down and carefully pour the blood-red jam over the prepared “fingers”.
Another version of Nightmare Fingers with a step-by-step description of the process in the video:
“Mummies”
An excellent vacation candy horror story to bake with your kids. It is based on classic shortcrust pastry, the rest is a matter of technology.
we need
- flour: 250 g
- butter: 150 g
- sugar: 3 TS. spoon
- egg: 1 piece.
- cocoa powder: 50 g
the main process
You need to prepare two types of dough: dark (for mummies) and light (for dressings).
1.For dark dough, mix 150 g of sifted flour, 2 tbsp. Tablespoons of sugar and all of the cocoa powder.
2.Add 100 g of softened butter and mix with a mixer on high speed. The result is a crumbly “crumb”.
3.Separate the yolks from the whites (it will come in handy a little later), pour into the prepared mixture, mix well.
4.Roll the dough into a ball, wrap in cling film and refrigerate for 1 hour.
5. For a light batter, mix 100 g of flour, 1 tbsp. Grind a spoonful of sugar, 50 g of softened butter and also into crumbly crumbs.
6.Fügen Sie das Eiweiß hinzu, rollen Sie den Teig zu einer Kugel und kühlen Sie ihn 1 Stunde lang.
7.Roll out the light dough thinly and cut into thin strips: These are our “bandages”.
8.Pinch off the dark dough in pieces and form flat ovals from them – actually mummies.
9. We make eyes out of two small balls of light dough, and pupils out of dark dough.
10.We wrap our mummies crosswise, slight negligence does no harm.
11. Place on a baking sheet, place in the oven preheated to 180 °, bake for 20-25 minutes.
Such funny “horror films” are made.
“Ghosts”
are you afraid of ghosts? If you get hold of the right cookie cutters, Halloween can be considered a success: you can just eat them!
we need
for the test
- flour: 450 g +a little more to sprinkle the work surface
- baking powder: 1 TS
- salt: 1/4 TS
- butter: 200 g
- sugar: 1 glass
- egg: 1 piece.
- milk: 1 Tablespoon. spoon
- vanilla sugar: 1 teaspoon / or Vanilla Powder: 1 prize
for the glaze
- sugar powder: 150 g
- milk: 3-4 tablespoon
- vanilla sugar: 1 teaspoon / or vanilla powder: 1 prize
- molasses: 60 g
- black food coloring
the main process
1.Mix the flour, baking powder and salt in a large bowl.
2.In a separate bowl, grind the butter and sugar, add the egg, milk and vanilla and stir until smooth.
3. Gradually add the flour mixture, knead the dough, roll into a ball, wrap with cling film, refrigerate for 1 hour.
4. Dust a work surface with flour and roll out the dough about 0.5 cm thick.
5. Cut out the figures with molds, roll out the remaining dough again and cut out the ghosts again.
6.Place on a parchment-lined baking sheet and place in the freezer for 10 minutes.
7.Place the biscuits in the oven preheated to 180 ° and bake for 8-10 minutes until the edges are golden brown.
8. Let cool down completely.
9.In the meantime, prepare the glaze: mix powdered sugar, milk, vanillin, grind, add molasses and mix thoroughly (until thickened).
10.Put 1/4 of the frosting in a small bowl and mix with the black coloring.
11.Put about half of the white frosting in a piping bag with a tip and circle the shapes.
12. Dilute the remaining frosting with a teaspoon of milk (it shouldn’t be too thin) and also put it in a piping bag.
13. Pour the biscuits: if it is uneven, gently smear the glaze with a toothpick and pierce the air bubbles. Let dry for at least 15 minutes.
14.Now put the black frosting in the bag with the fine tip and paint the eyes and mouths of the ghosts. what is happening?


Only registered users can leave comments