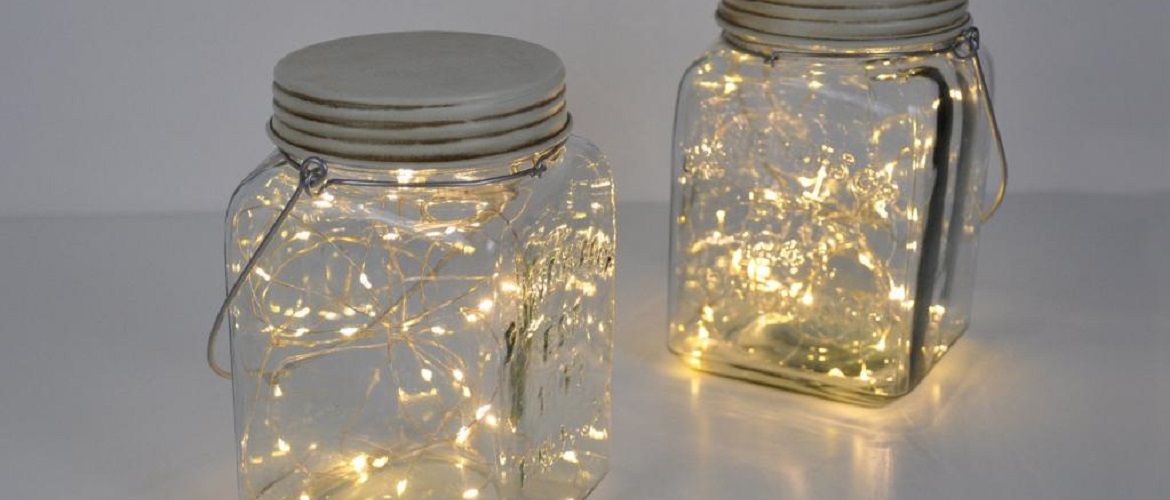


Making a DIY lantern from a jar is a wonderful way to add coziness and originality to your home interior or create a romantic outdoor atmosphere. Here at joy-pup we offer some ideas for making a flashlight out of a jar.
Watch the bonus video on how to make a flashlight from a jar with your own hands
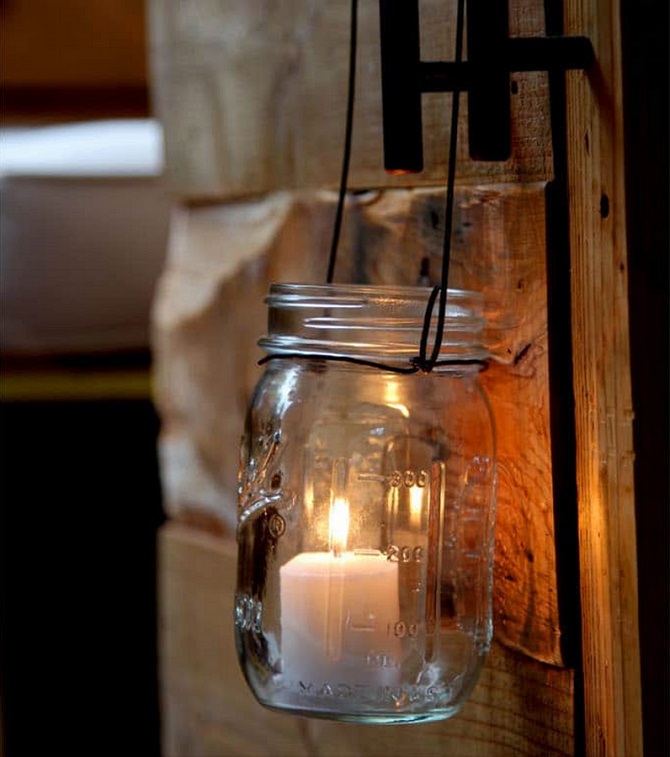
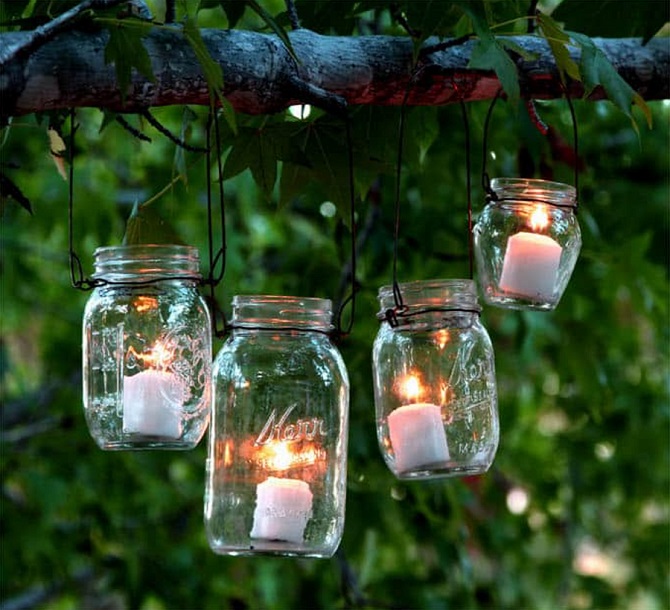
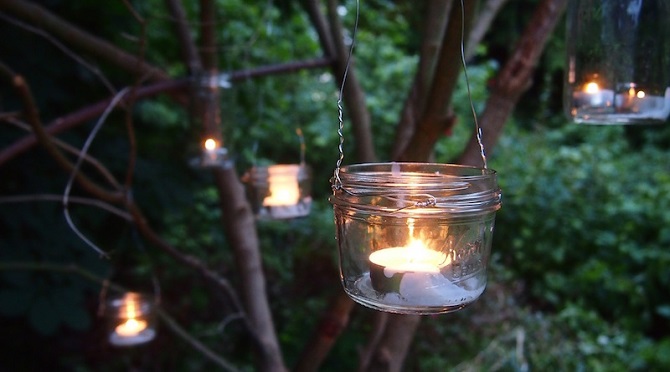
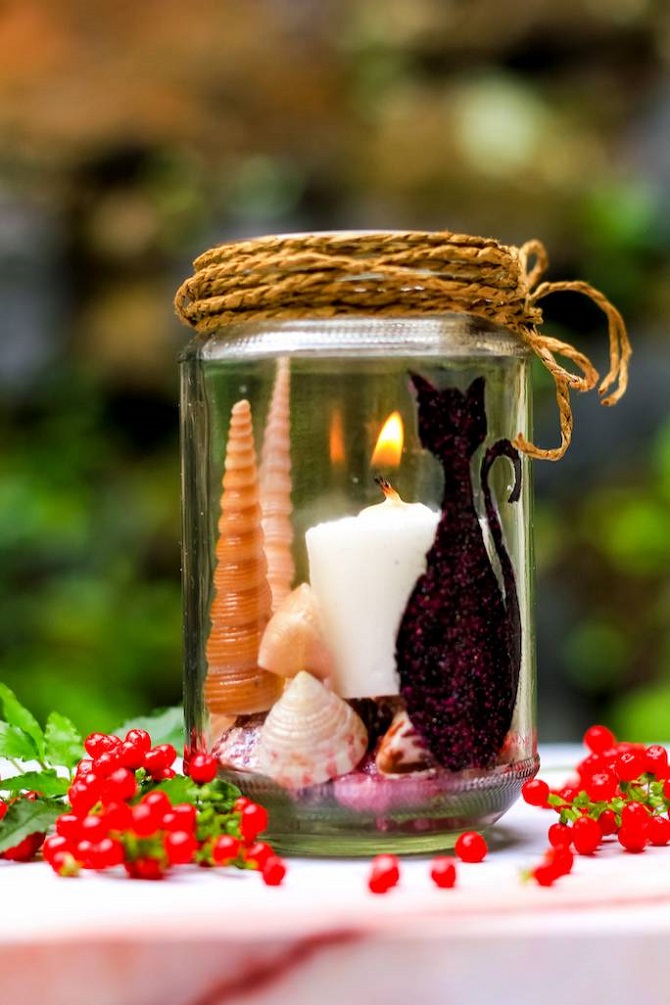
Bank-torch
Make two small holes in the lid of the jar to pass a wire or rope handle through. Then fill the jar with sand or gravel to 1/4 of the volume and place the candle in the middle. The lid can also be decorated with a colorful fabric or an original design can be drawn on it.

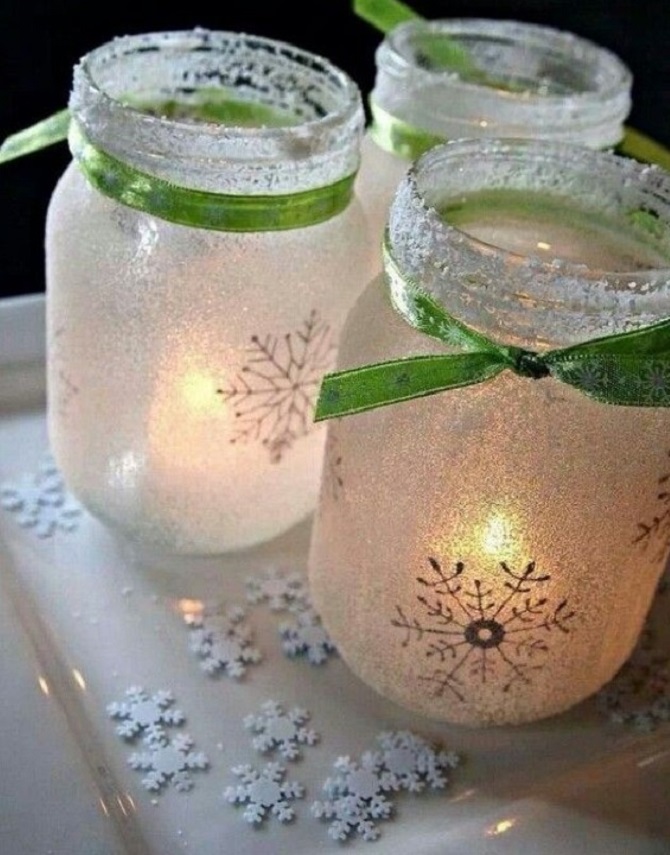
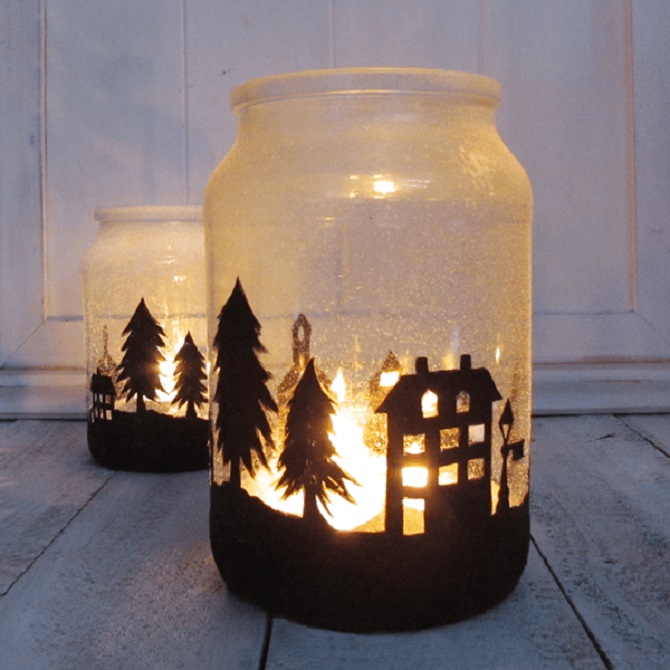
Snowball effect jar
Put some artificial snow or glitter in a jar. Then add small figures, such as deer, Christmas trees or snowmen. Fill the entire jar with water, close the lid and shake well. The resulting flashlight will resemble a winter fairy tale.
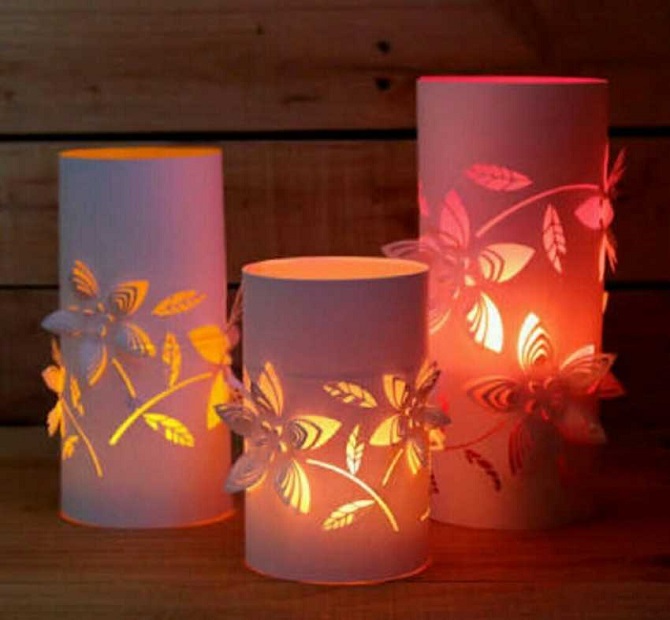
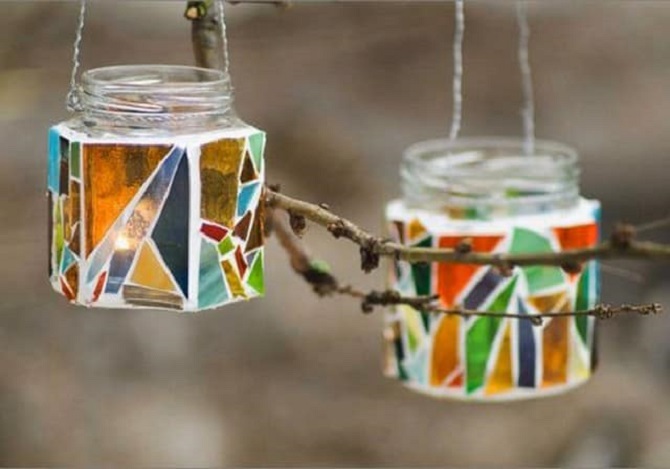
Jar with paper cuts
Cut out various designs from paper or cardboard, such as stars, flowers, or hearts. Then stick them on the glass walls of the jar using glue or double-sided tape. When lighting a candle inside a jar, the cutouts will create interesting shadows and patterns on the walls.
Master class: Flashlight with paper cuttings
You need the following materials:
- Glass jar with lid
- Paper or cardboard
- Scissors
- Glue or double sided tape
- Candle or LED light
Step 1: Preparing the jar
Remove the lid from the jar and remove any labels or adhesive residue from the glass surface.
Make sure the jar is completely clean and dry before proceeding to the next step.
Step 2: Create the cutouts
Take a sheet of paper or cardboard and draw patterns or motifs that you like on it. It can be abstract patterns, animals, plants or geometric shapes.
Carefully cut out the patterns with scissors. If you have a set of die cuts or stamps, you can use those as well.
Step 3: Attaching the notches
Place the cutouts on the inside of the can and determine their location.
Apply glue or double-sided tape to the back of each cutout and carefully stick them onto the glass sides of the jar.
Make sure the cutouts are securely attached and not peeling off.
Step 4: Finishing the Flashlight
After the glue is completely dry, put the lid back on the jar.
Inside the jar, you can place a candle or use an LED light to create a light effect.
Close the lid and check that the candle or light is non-hazardous and securely seated inside the jar.
To be continued…


Only registered users can leave comments